



Wearable nail jewellery is a charm fixed to the nail so securely that it lasts and does not catch on clothes or hair. Kirsty Meakin shows the method with a little bow: buff the spot, sit the bow in a small bead of clear acrylic, fill the gaps at each side, clean with acetone and seal everything with Mega Gloss.
The difference between a charm that pings off and one that stays is in the small steps most people skip. Filling the gaps and cleaning before the seal are what make this version practical for everyday wear.
Below is each stage in order, with the time to watch it in the video and the reason behind it.
At a Glance
- Design: a bow charm attached securely to a finished nail
- Artist: Kirsty
- Technique: clear acrylic anchor, filled gaps, gel seal
- Cure time: one minute LED or two minutes UV
- Key products: Crystal Clear Acrylic Powder, acetone, Mega Gloss, Cuticle Oil
- Video length: about 4 minutes 50 seconds
Why You'll Love This Wearable Nail Jewellery Method
- Jewellery that stays on longer.
- Filled gaps mean nothing catches on clothes or hair.
- Quick and simple.
Why the Gaps and the Acetone Matter
A charm such as a bow does not sit flush against a curved nail, so there are gaps at each side. Left open, those gaps are what catch. Kirsty fills them with clear acrylic, which makes the charm more wearable and helps it stay on.
The acetone wipe is about the seal. An acrylic brush leaves the area slightly oily, and gel should not go over anything oily. Cleaning around the acrylic first means the Mega Gloss can grip both the acrylic and the jewellery.
Products Used in This Video


How to Apply Wearable Nail Jewellery
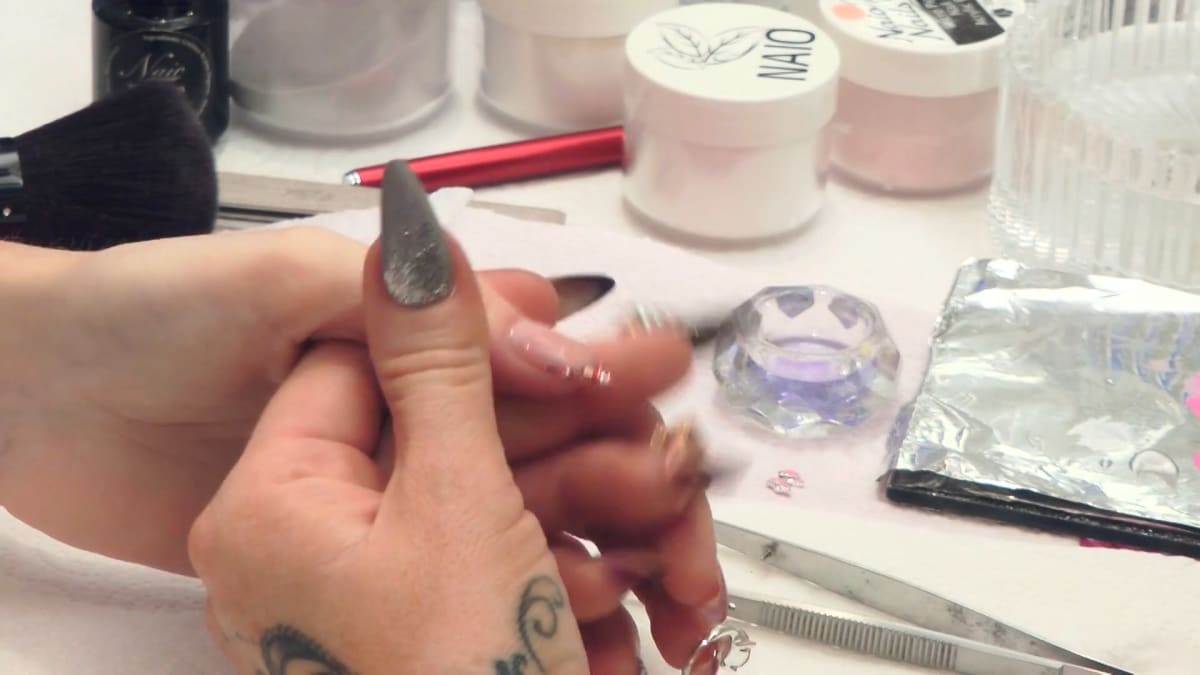
1. Buff and clean
Buff the area where the bow will sit and remove the dust. The matte section helps the acrylic stick. Watch this step at 0:45
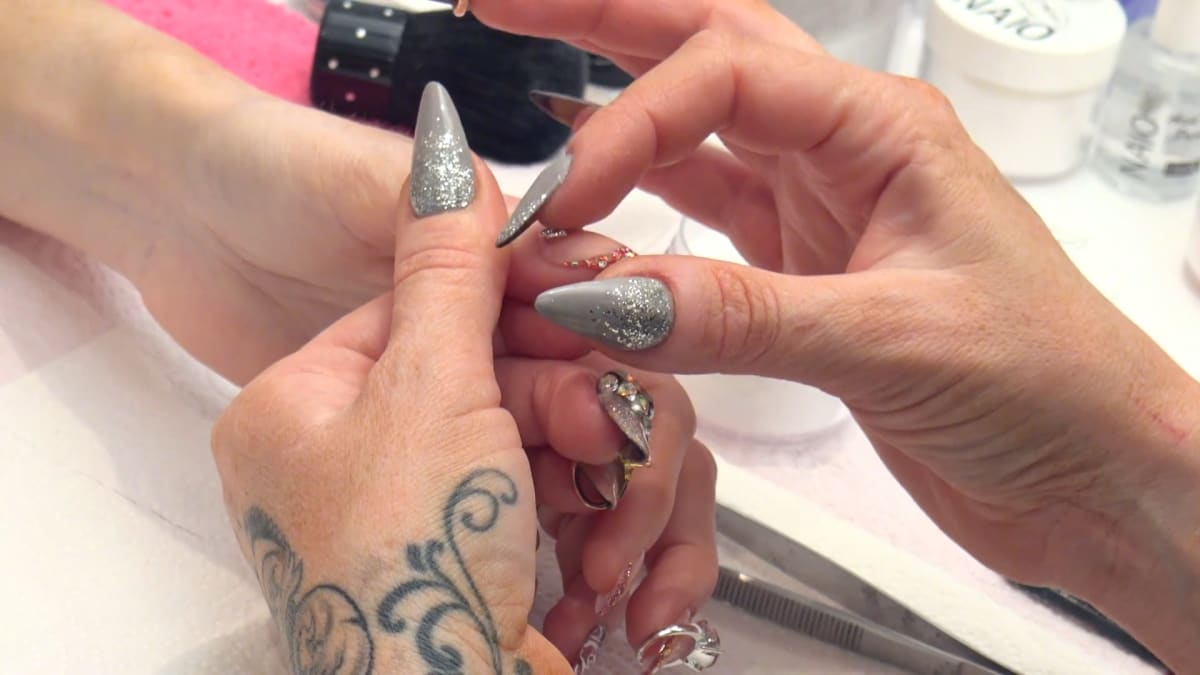
2. Place the bow
Pick up a small bead of clear acrylic, place it at the back and take it out slightly to the sides without flooding the cuticle. Place the nail charm on top, let it sink in, and press gently, close to the cuticle. Scoop away any excess with the tip of the brush. Watch this step at 1:20
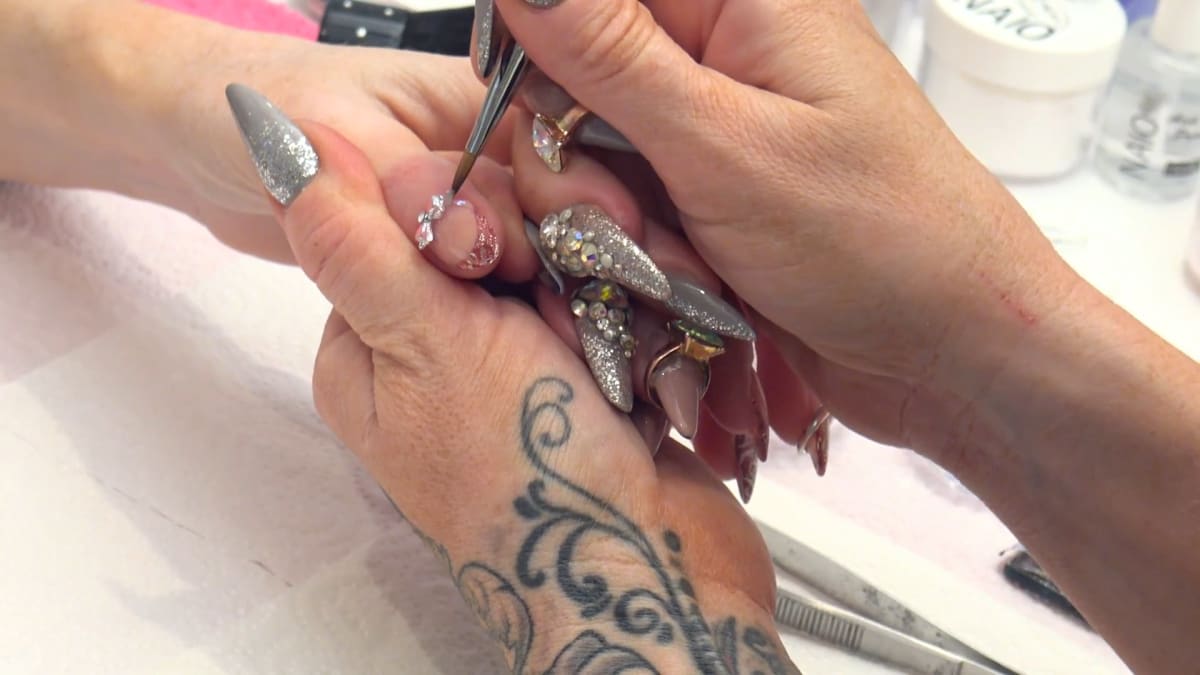
3. Fill the gaps
Fill the gaps at each side with clear acrylic. This makes it more wearable, helps it stay on and stops it catching. Watch this step at 1:55
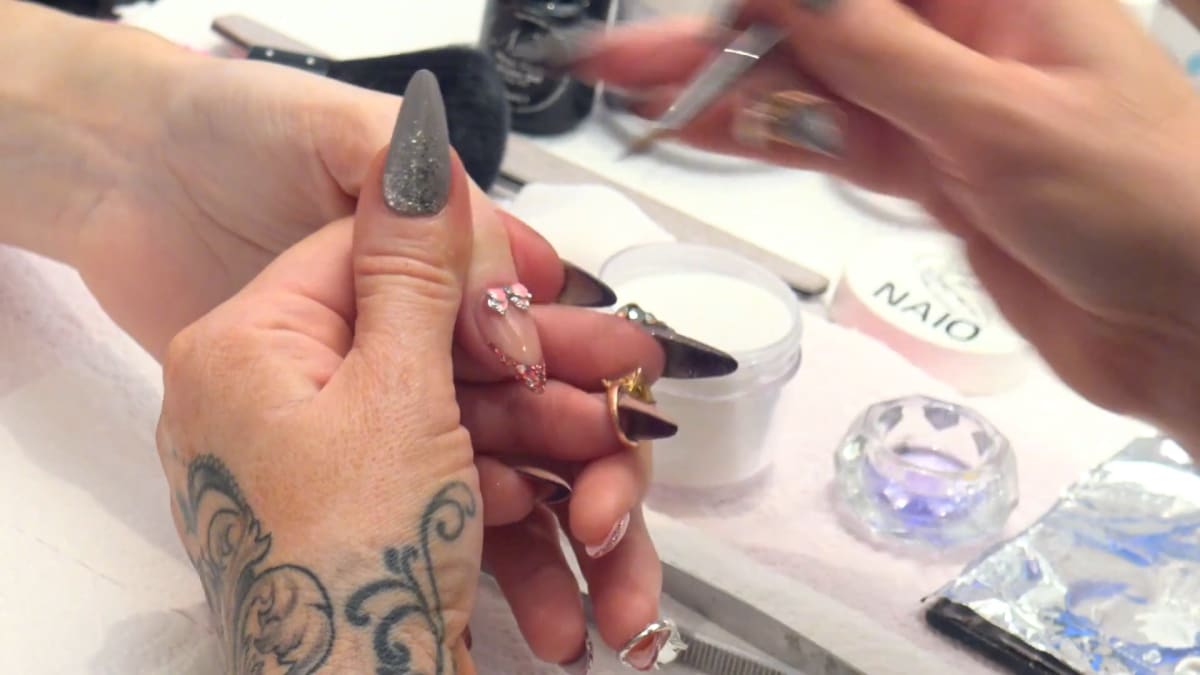
4. Clean with acetone
Clean around the acrylic with acetone on a lint-free pad, because the acrylic brush leaves it oily and you should not seal over anything oily. Watch this step at 2:30
5. Seal
Seal around the edges with Mega Gloss Sealer Gel to attach the acrylic to the jewellery, then bring it down the whole nail as one big seal. Cure for one minute in LED or two in UV. Watch this step at 3:05
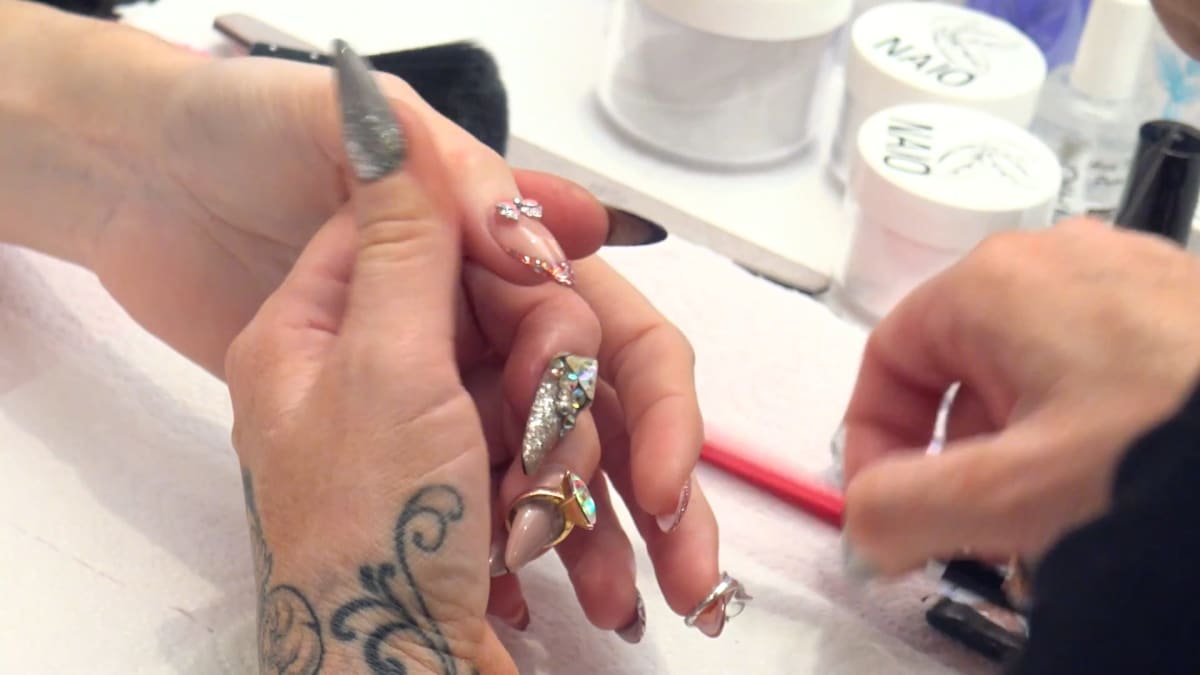
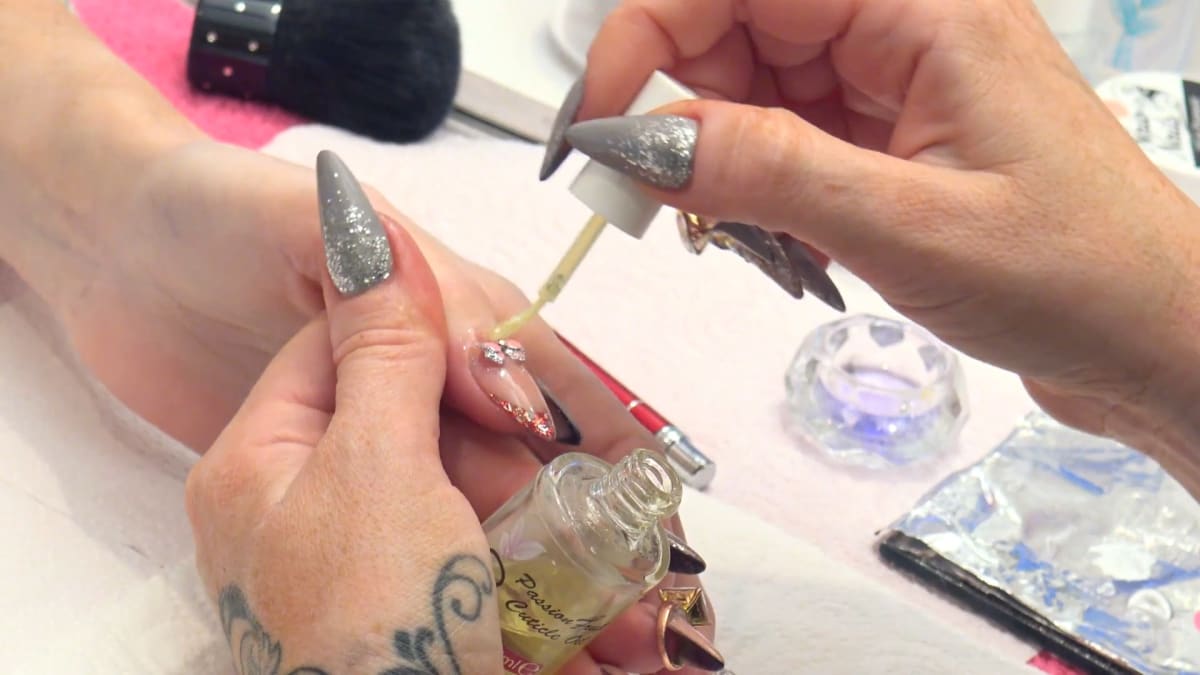
6. Oil
Finish with cuticle oil. Watch this step at 4:20
Where to find each stage of the wearable nail jewellery video
| Stage | Time |
|---|---|
| Buffing the area | 0:45 |
| Placing the bow | 1:20 |
| Filling the gaps | 1:55 |
| Cleaning with acetone | 2:30 |
| Sealing with Mega Gloss | 3:05 |
| Finished nail | 4:20 |
Pro Tips
- Use only a little pressure when pressing down.
- Clean oily areas before sealing.
Common Mistakes and How to Fix Them
- Flooding the cuticle. Keep the clear bead small and take it out to the sides, not into the skin.
- Sealing over an oily area. Wipe around the acrylic with acetone first.
- Leaving gaps unfilled. Open gaps catch on clothes and hair. Fill each side with clear acrylic.
Who Is This Design For?
This is for anyone who wants decorative jewellery that is practical to wear. If you love nail charms but are tired of losing them, wearable nail jewellery fixed this way is worth the extra two minutes.
Ways to Make It Your Own
- Use other charms in place of a bow.
- Place it on one accent nail.
Aftercare
Moisturise with cuticle oil.
Frequently Asked Questions
How do you attach a charm to a nail so it stays on?
Buff the area, sit the charm in a small bead of clear acrylic, fill the gaps at each side, clean with acetone and seal with Mega Gloss Sealer Gel.
Why buff the area first?
The matte section helps the acrylic stick.
Why fill the gaps around a nail charm?
Gaps catch, and filling them helps the charm last.
Why clean with acetone before sealing?
Acrylic is slightly oily and gel should not go over oily areas.
How long do you cure the seal?
One minute in LED or two minutes in UV.
How hard should you press the charm down?
Gently. Let it sink into the acrylic and use only a little pressure.
Give Wearable Nail Jewellery a Try
Watch the video above and attach your own charm. Buff, anchor, fill, clean and seal, and your wearable nail jewellery will stay put.


