



To make embossed zebra nails, you paint a cat eye background over a black base, seal it, paint swirling zebra lines in gel polish and sprinkle acrylic powder over them while they are still wet. Once cured and dusted off, the pattern is left raised and sugared. In this tutorial Steffi shows the whole design in around ten minutes.
Inspiration can come from anywhere, and for this look it came from a plate Steffi spotted while out shopping. She recreates it with a glowing cat eye background, a hint of green shimmer at the edges and raised grey swirls.
The result is a textured, abstract zebra nail art design with real autumn and Halloween vibes, and the technique works with any colour of gel. Below are the products, the steps with their place in the video, and Steffi's tips for a crisp texture.
At a Glance
- Design: embossed zebra nails with a cat eye background
- Artist: Steffi
- Season: autumn and Halloween
- Technique: magnetic cat eye gel polish, hand-painted swirls, sugaring with acrylic powder
- Key products: Serious Black, Steam Punk, Aurora Australis, Storm Watch, Dark Side Acrylic Powder, Top Coat, Ultra Fine Detail Brush
- Video length: 10 minutes
Why You'll Love These Embossed Zebra Nails
- Texture you can feel. Acrylic powder sprinkled over wet gel gives a raised, sugared finish.
- A stunning background. Cat eye over black glows from the centre of the nail.
- An unexpected colour combination. Warm cat eye, green shimmer and concrete grey work beautifully together.
- Works in any colours. You could even make a summer version with neons.
What Sugaring Does
Sugaring means sprinkling acrylic powder over uncured gel polish, curing it, then dusting away the excess. The powder sticks only where the gel is wet, so whatever you painted is left as a raised, matte, textured pattern. No acrylic liquid is involved.
On these embossed zebra nails the swirls are painted in Storm Watch and covered in Dark Side acrylic powder. Steffi uses plenty of it: if any gel still looks shiny, there isn't enough powder and the sugared nail art won't look as textured.
Products Used in This Video


How to Create Embossed Zebra Nails
1. Paint the black base
Apply a nice thin, even layer of Serious Black. It's opaque enough that one layer is fine. Let it self level for a few seconds and cure. Watch this step at 0:50
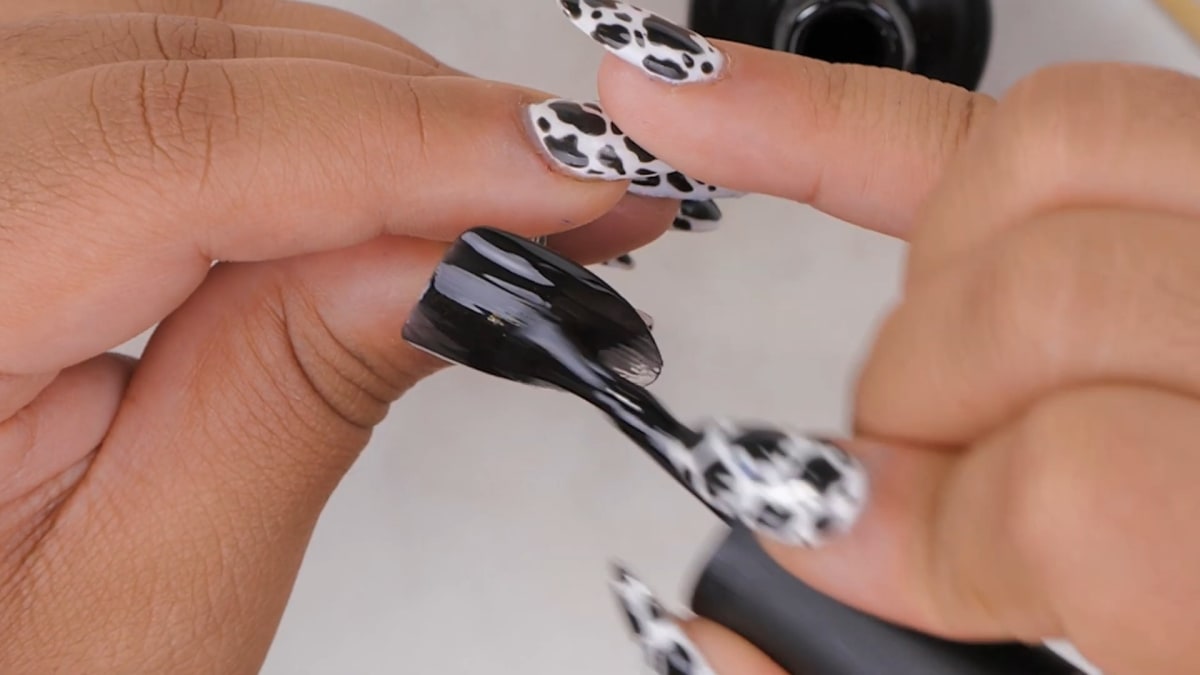
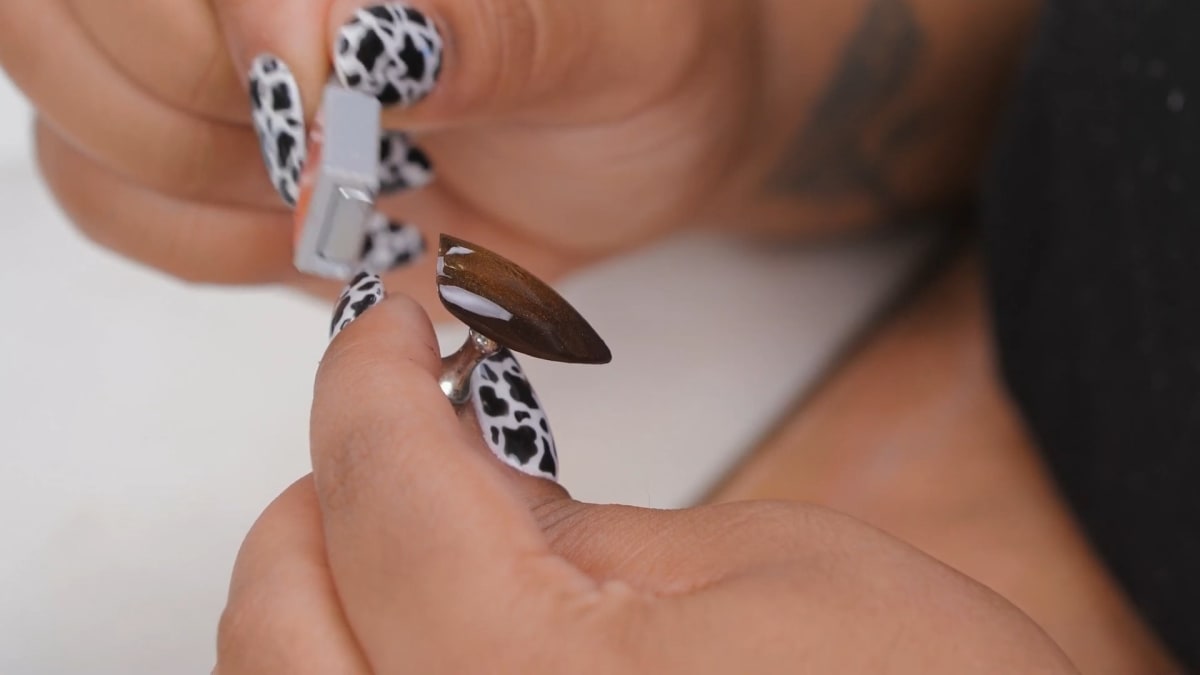
2. Apply the cat eye
Apply a thin, even layer of Steam Punk all over the nail. Use a magnet to push the particles away from the edges, so the edges are slightly darker than the rest of the nail. Cure. This cat eye gel polish layer is what gives the design its glow. Watch this step at 2:20
3. Blend in the green
Put a little Aurora Australis on your palette. It's a cat eye polish, but Steffi uses it without the magnet. With an ombre brush, place a tiny bit at the top of the nail and blend it inwards to give a tint of green shimmer. Cure. Watch this step at 3:40
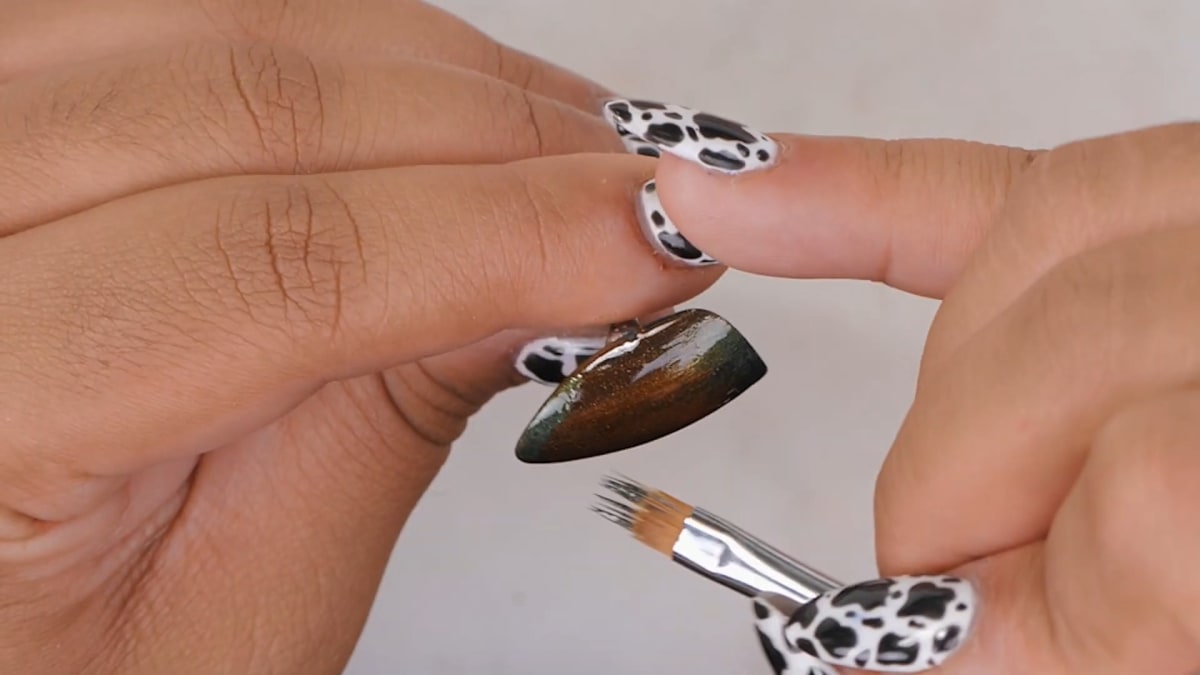
4. Seal the background
Apply a thin layer of Top Coat to seal in the background and cure. Watch this step at 4:10
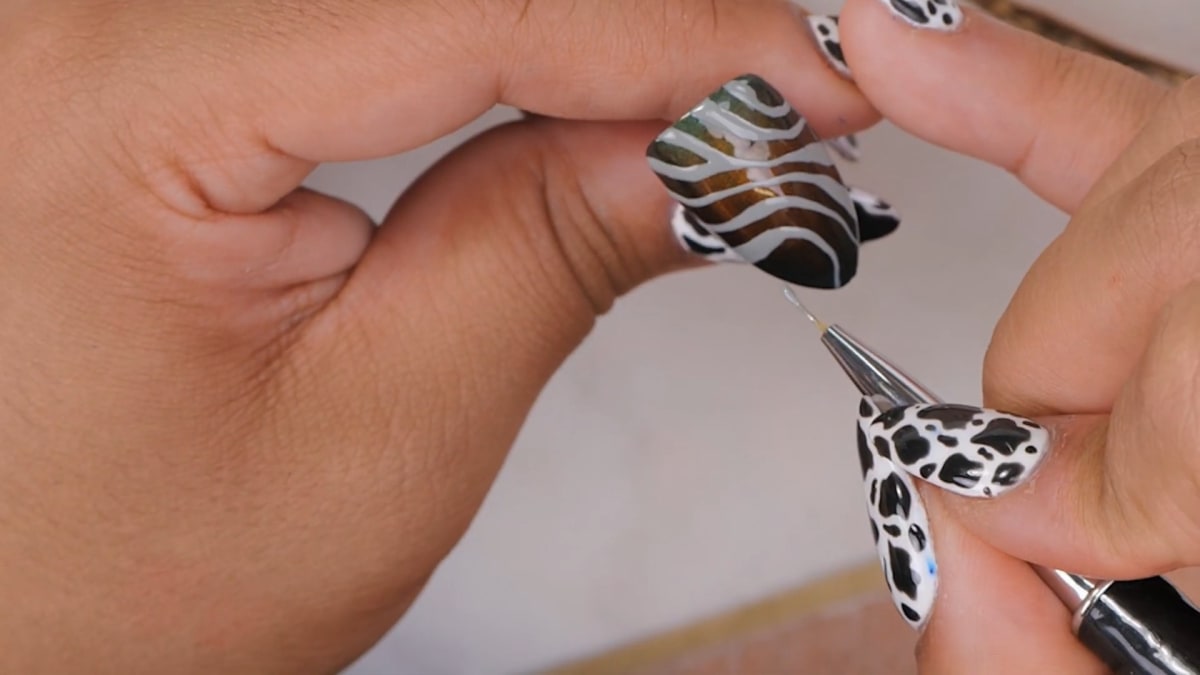
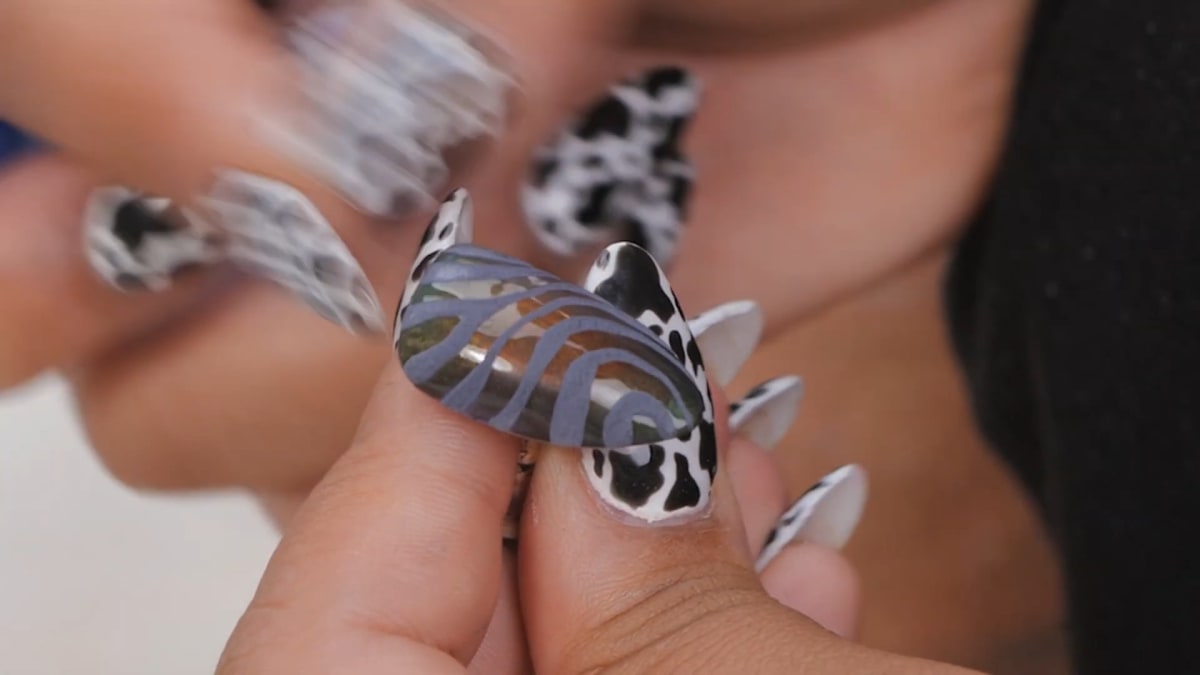
5. Paint the swirls
Put Storm Watch on your palette and, with a detail brush, paint the swirling pattern over the nail, pulling lines through so it looks a little like zebra print. Work fairly quickly, because the colour will start to slide on the shiny background; add to any lines that have moved. Watch this step at 5:20
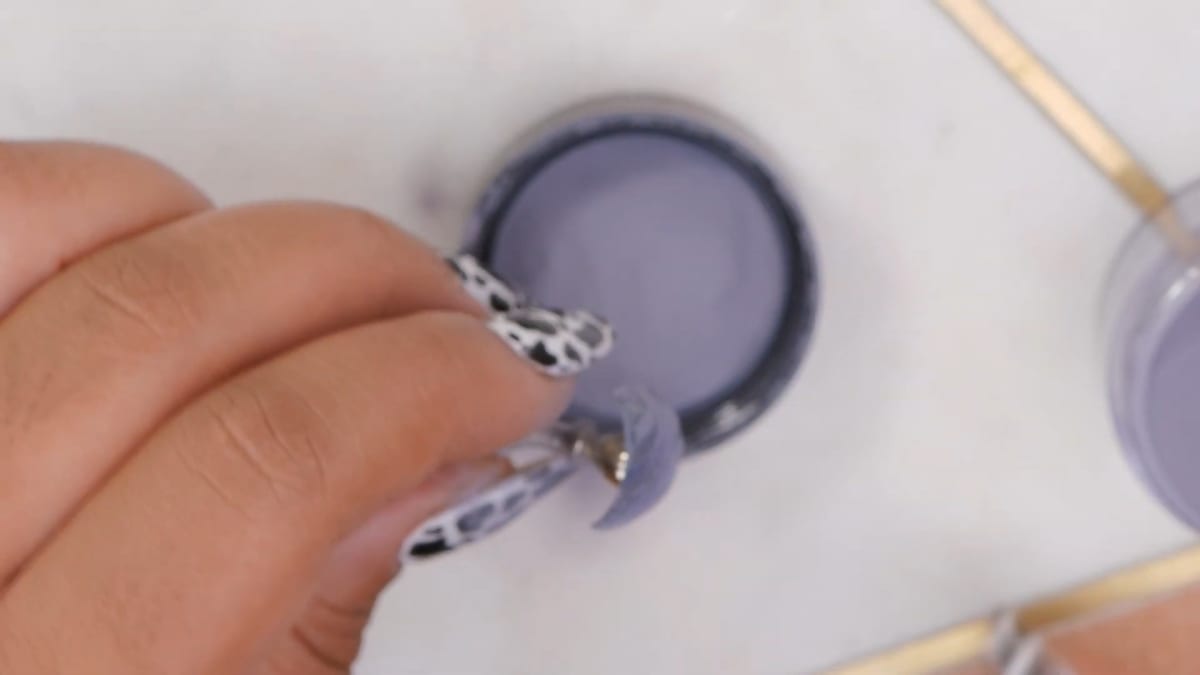
6. Sugar with acrylic powder
Sprinkle plenty of Dark Side acrylic powder over the wet gel, with something underneath to catch the excess so you don't waste it. Pat off the excess and cure fully. Watch this step at 7:40
7. Dust off
Dust the loose acrylic away really well with a dusting brush to reveal the embossed pattern. Watch this step at 8:40
Where to find each stage of the Embossed Zebra Nails video
| Stage | Time |
|---|---|
| Black base | 0:50 |
| Steam Punk cat eye | 2:20 |
| Green shimmer blend | 3:40 |
| Sealing with Top Coat | 4:10 |
| Painting the swirls | 5:20 |
| Sugaring with acrylic powder | 7:40 |
| Dusting off and the finished nail | 8:40 |
Pro Tips
- Cat eye loves black. A black base makes the magnetic effect much stronger.
- Work fast on a shiny surface. Gel painted over Top Coat will slide if you leave it.
- Use plenty of powder. If any gel still looks shiny, there isn't enough powder and it won't look as textured.
- Catch your powder. Put something underneath so the excess isn't wasted.
Who Is This Design For?
This design is for anyone who loves texture and something a little different. It's a striking accent nail for autumn and suits nail artists who enjoy experimenting with finishes and textured gel nails.
Ways to Make It Your Own
- Try a summer version with neon colours.
- Use a different cat eye shade for the background.
- Change the colour of the acrylic powder.
- Stop after the cat eye background for a simpler nail.
Aftercare
Apply cuticle oil daily, wear gloves for cleaning and washing up, and avoid using your nails as tools. Take a little extra care with the textured surface so your embossed zebra nails stay crisp.
Frequently Asked Questions
How do you make embossed zebra nails?
Paint a cat eye background over black and seal it with Top Coat. Paint swirling lines in gel polish, sprinkle acrylic powder over them while wet, cure fully and dust away the excess.
What does sugaring a design mean?
Acrylic powder is sprinkled over uncured gel polish, cured, and the excess dusted away, leaving a raised, textured pattern.
Why is cat eye polish used over black?
Steffi finds cat eye works really well on a black background, as it makes the magnetic effect stronger.
Why does gel polish slide when I paint over top coat?
A cured Top Coat is shiny, so wet gel moves on it. Work fairly quickly and add to any lines that have moved before you cure.
How much acrylic powder do I need for a sugared finish?
Plenty. If any gel still looks shiny there isn't enough powder. Put something underneath to catch the excess so it isn't wasted.
Can I make embossed zebra nails in other colours?
Yes. The technique can be used with any colour of gel.
Give Embossed Zebra Nails a Try
Glowing, textured and completely unique, this is a design that gets noticed. Watch Steffi's full nail art tutorial above and tag us in your embossed zebra nails.


