



To make Toy Story inspired nails, you build a full cover acrylic base, paint each nail in a gel polish base colour, then add the character details with a fine brush: Woody's checked shirt and cow print vest, the famous clouds and the name Andy written on a boot. In part one of this two-part tutorial, Sarah shows every stage.
To infinity and beyond! The nails are built in acrylic first, then decorated with gel polish. These Toy Story nail art designs are fun, colourful and, as Sarah says, totally doable within a salon appointment.
This post covers the products, the steps with their place in the video, Sarah's line work tips and the questions people ask most. Part two, a separate video, covers the 3D Mr Potato Head nail.
At a Glance
- Design: Toy Story inspired nails, part one: Woody, the clouds and Andy's boot
- Artist: Sarah
- Technique: full cover acrylic with hand-painted gel polish character art
- Skill level: the gel designs are beginner friendly
- Key products: Soft Beige Cover Pink Acrylic Powder, Bitter Sweet, Pillar Box, Pisces, Firewood, Bare Hug, Snow White, Serious Black, Ultra Fine Detail Brush
- Video length: about 12 and a half minutes
Why You'll Love These Toy Story Inspired Nails
- All the classics. Woody, the clouds and Andy's name are instantly recognisable.
- Salon friendly. The designs are quick enough to fit into an appointment.
- Simple line work. Stripes, stitches and lettering are all done with one fine brush.
- The easiest clouds. Three dots blended together and you're done.
Products Used in This Video


How to Create Toy Story Inspired Nails
1. Apply the acrylic
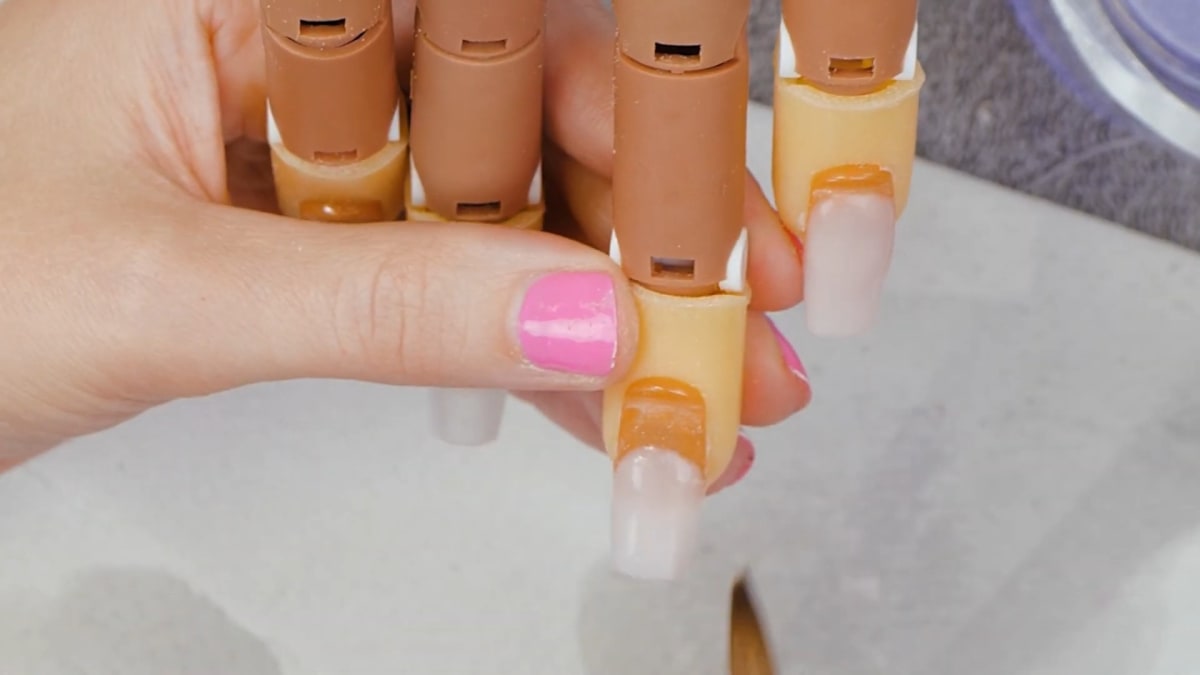
On prepped nails, apply a full cover of Soft Beige acrylic with Maximum Adhesion liquid, using your usual acrylic application. Sarah finds Soft Beige a really good base under colours. Watch this step at 0:12
2. File and shape
File the nails into shape, tidy up with a 240 grit file, dust off around the cuticle and check down the barrel of the nail to make sure everything is even. Use a sanding block to get rid of the scratches, dust off and wipe over with Gel Residue Remover.
3. Paint the base colours
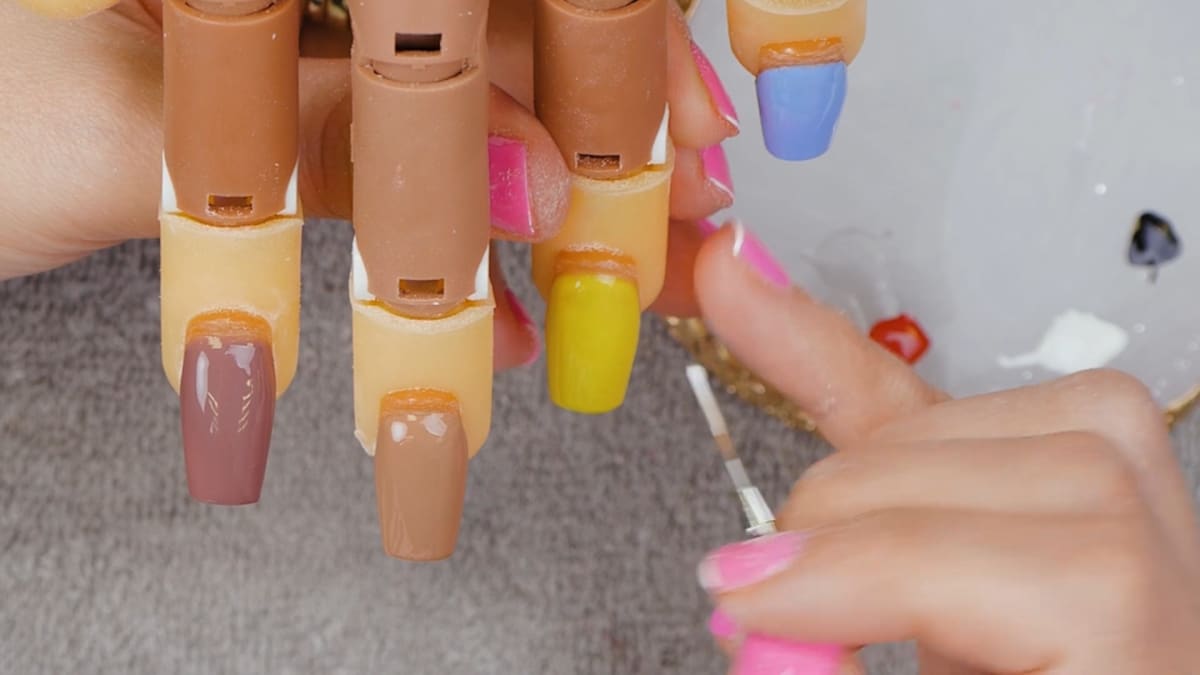
Paint two coats on each nail, curing in between, using Bitter Sweet, Pisces, Firewood and Bare Hug. Bitter Sweet is the yellow base for Woody's top, and the little finger gets a sky base for the clouds. Watch this step at 3:56
4. Paint Woody's top
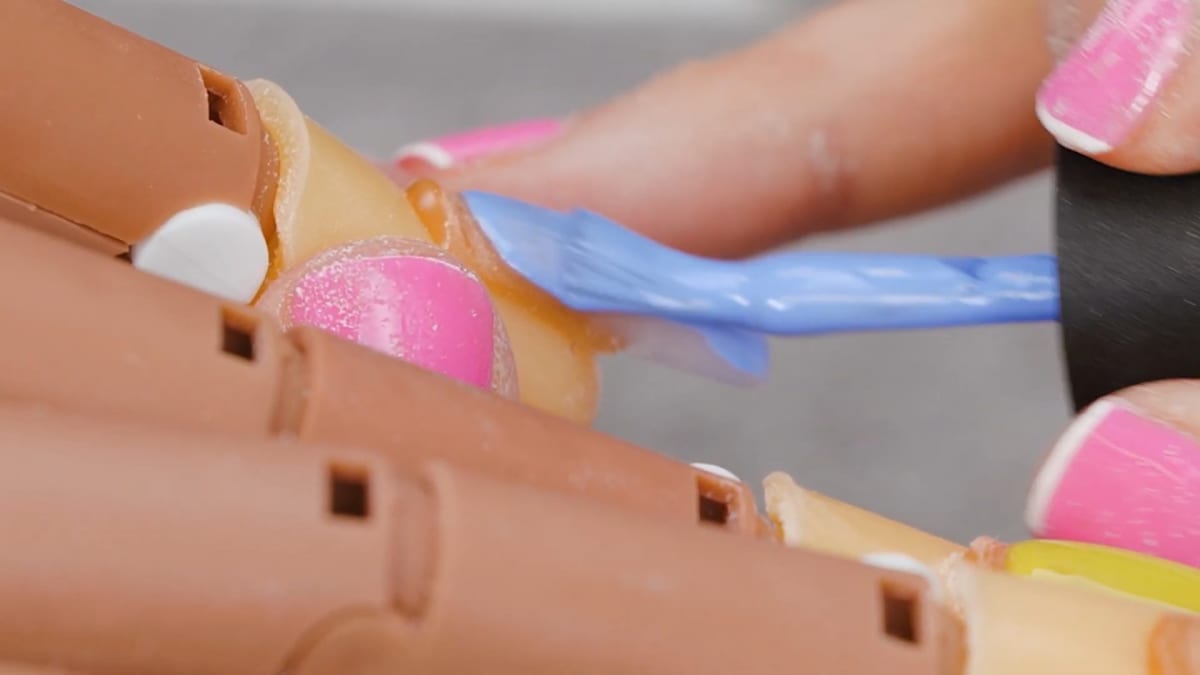
Put Snow White, Pillar Box and Serious Black on your palette. With a 0003 detail brush, paint the sides of the jacket, flash cure, then add red stripes down the centre. Flash cure and outline in Serious Black to finish the Woody nail art. Watch this step at 6:13
5. Add cow print, stitches and buttons
Paint a random cow print on the vest and add the little stitches. Flash cure, then use nail glue to add small silver crystals for the buttons.
6. Paint the clouds
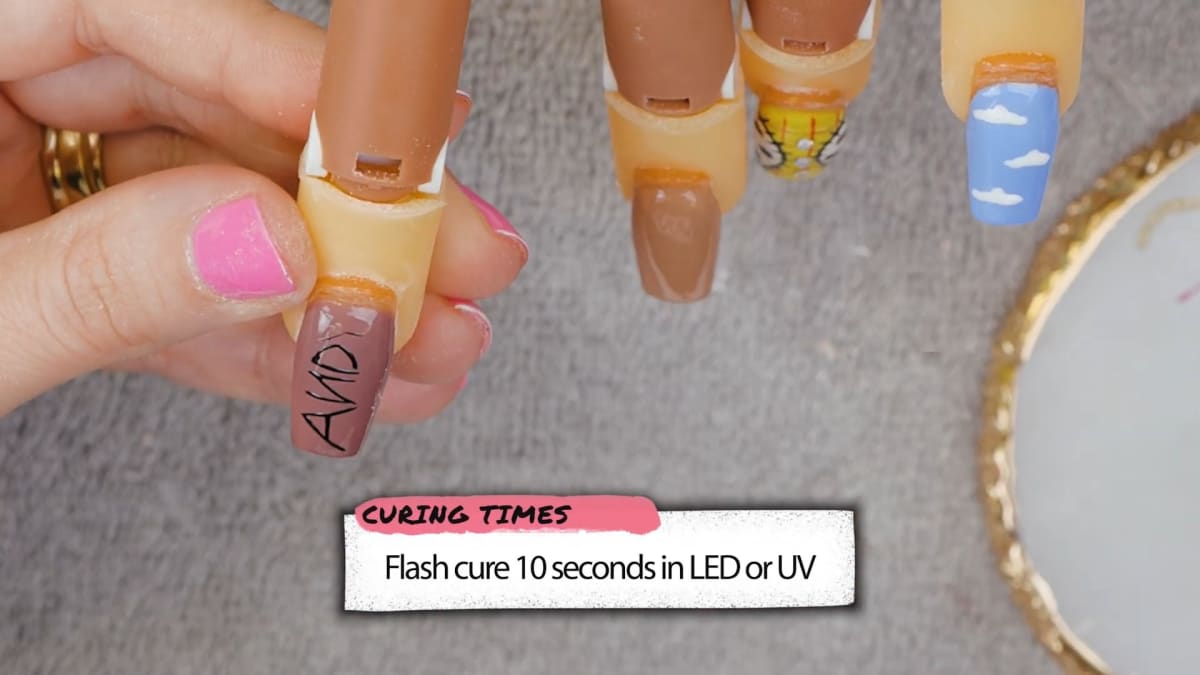
Using Snow White, place three dots and jiggle them together to make a cloud. Repeat a few times over the nail and flash cure. It is the simplest cloud nail design you will ever paint.
7. Write Andy
With Serious Black and the 0003 brush, write ANDY across the boot nail. You can map it out first and then go back over it.
8. Top coat
Finish these designs with a glossy Top Coat. The Mr Potato Head nail is left, as that one is matte and is covered in part two. Watch this step at 11:21
Where to find each stage of the Toy Story Inspired Nails video
| Stage | Time |
|---|---|
| Acrylic application, filing and shaping | 0:12 |
| Base colours | 3:56 |
| Woody's top | 6:13 |
| Top coat | 11:21 |
Pro Tips
- Control your line with pressure. Less pressure on the brush gives nice thin lines; more pressure gives thicker lines.
- Flash cure as you go. Setting each stage stops colours running into each other.
- Map out lettering first. Sketch the letters lightly, then go back over them.
- Check down the barrel. Make sure the nail is even before you start the art.
Who Is This Design For?
These nails are perfect for film fans, children's parties and themed trips, and for nail techs who want character nail art that fits into a normal appointment. The gel designs are beginner friendly.
Ways to Make It Your Own
- Pick one design as an accent nail with plain colours on the rest.
- Write a different name on the boot nail.
- Paint the clouds on every nail for a simpler set.
- Follow part two to add the 3D Mr Potato Head.
Aftercare
Apply cuticle oil daily, wear gloves for cleaning and washing up, avoid using your nails as tools and book regular infills to keep your Toy Story inspired nails and the acrylic underneath in good condition.
Frequently Asked Questions
How do you make Toy Story inspired nails?
Sarah applies a full cover Soft Beige acrylic base, paints two coats of gel polish base colour on each nail, then adds Woody's top, three-dot clouds and Andy's name with a fine detail brush before a glossy Top Coat.
How do you paint the clouds?
Sarah places three dots of Snow White and blends them together, repeating this a few times on the nail.
What are Woody's buttons made from?
Small silver crystals from a mixed crystal set, held in place with nail glue.
Which brush is best for the detail?
Sarah uses the 0003 Ultra Fine Detail Brush for the jacket, stripes, stitches and lettering.
How do you get thin lines with a detail brush?
Use less pressure on the brush for thin lines and more pressure for thicker lines.
How do you write a name neatly on a nail?
Map the letters out lightly first, then go back over them. Sarah does this in Serious Black for Andy's name.
Is the Mr Potato Head nail in this video?
No. This is part one of two. The 3D Mr Potato Head nail is covered in a separate part two video.
Give Toy Story Inspired Nails a Try
Colourful, nostalgic and quicker than they look, these nails are a real crowd-pleaser. Watch Sarah's full nail art tutorial above, then look out for part two to complete your Toy Story inspired nails.


