



Crinkled aluminium nails look like crumpled metal foil set under glass, and they are made with builder gel and a plastic bag. Kirsty Meakin from Naio Nails presses a crumpled food bag into wet builder gel, cures it, peels the bag away to leave the texture, brushes liquid aluminium over it and then encapsulates the whole thing in more gel so it is smooth to wear.
The effect looks amazing and is super easy to do. There is no freehand skill involved at all, so it is a crinkle foil effect that anybody can create.
Below is each stage in order, with the time to watch it in the video.
At a Glance
- Design: a crinkled metallic texture encapsulated in clear gel
- Artist: Kirsty
- Technique: textured builder gel, liquid aluminium, encapsulation
- Base: a prepped, primed clear tip
- Skill level: super easy
- Cure time: two minutes for builder gel, one minute LED for the sealer
- Key products: Clear as Day Builder, acetone, Mega Gloss, Cuticle Oil
- Video length: about 6 minutes
Why You'll Love These Crinkled Aluminium Nails
- Super easy but looks really effective
- Uses simple items like a clear plastic bag
- Metallic facets show up in every nook and cranny
- Encapsulated so it is comfortable to wear
How the Crinkle Effect Works
Builder gel stays soft until it is cured, so it takes an impression of whatever is pressed into it. A plastic bag that has been crinkled really well has hundreds of tiny folds. Pressed onto the wet gel and cured in place, it leaves all of those folds behind as ridges and facets when it is peeled off.
Liquid aluminium brushed over that surface settles into every crease and makes the facets catch the light like foil. A second layer of builder gel then fills the texture level. Turning the nail upside down for a moment lets gravity help the gel settle into the recesses before it is cured.
Products Used in This Video


How to Create Crinkled Aluminium Nails
1. Start with a prepped clear tip
Begin with a clear tip applied and the nail prepped and primed.
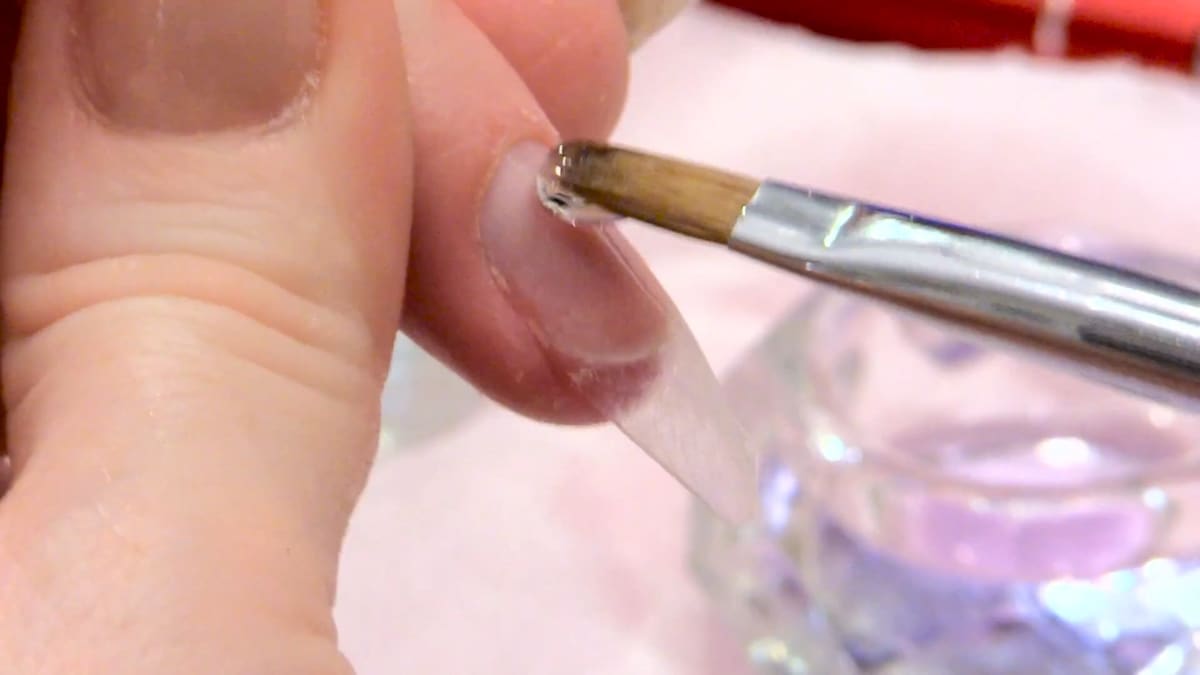
2. Apply builder gel
Use a gel brush to apply builder gel in a circular motion all over the nail, with a good coverage of gel. Watch this step at 0:55
3. Press on the crinkled bag
Crinkle a food bag or clear plastic bag really, really well, then pop it straight on to the nail. Use a tool to press it in around the sides, tucking it in so it does not touch the cuticle. Cure in the lamp for two minutes. Watch this step at 1:35

4. Peel off and tidy
Peel the bag off to reveal the effect. Use cuticle nippers around the edge to take off anything protruding too much. Watch this step at 2:55

5. Add liquid aluminium
Brush liquid aluminium all over the nail, getting into all the nooks and crannies, which shows up all the different facets. Clean any liquid aluminium off the finger with acetone. You could leave it like this, but it can be made more wearable. Watch this step at 3:35
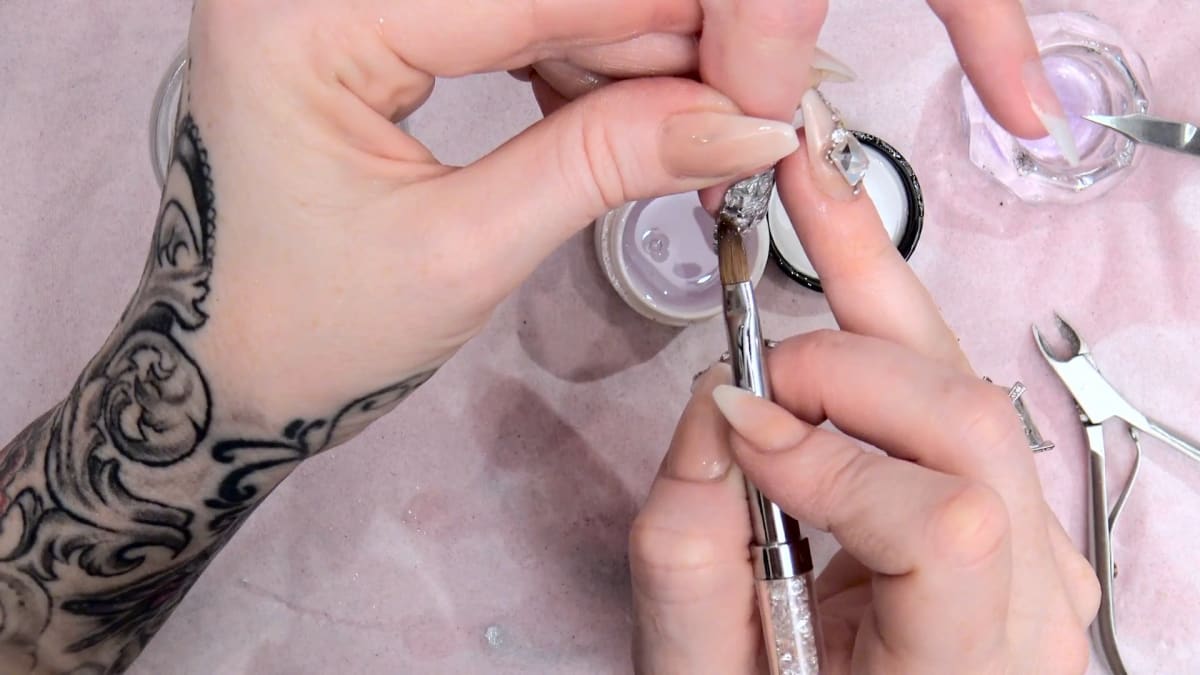
6. Encapsulate with builder gel
Apply builder gel again and let it sit in all the recesses. Take your time and be patient, letting the gel flow into all the little areas. Turn the nail upside down so gravity helps the gel settle, turn it back and cure for two minutes. Watch this step at 5:20

7. File, buff and seal
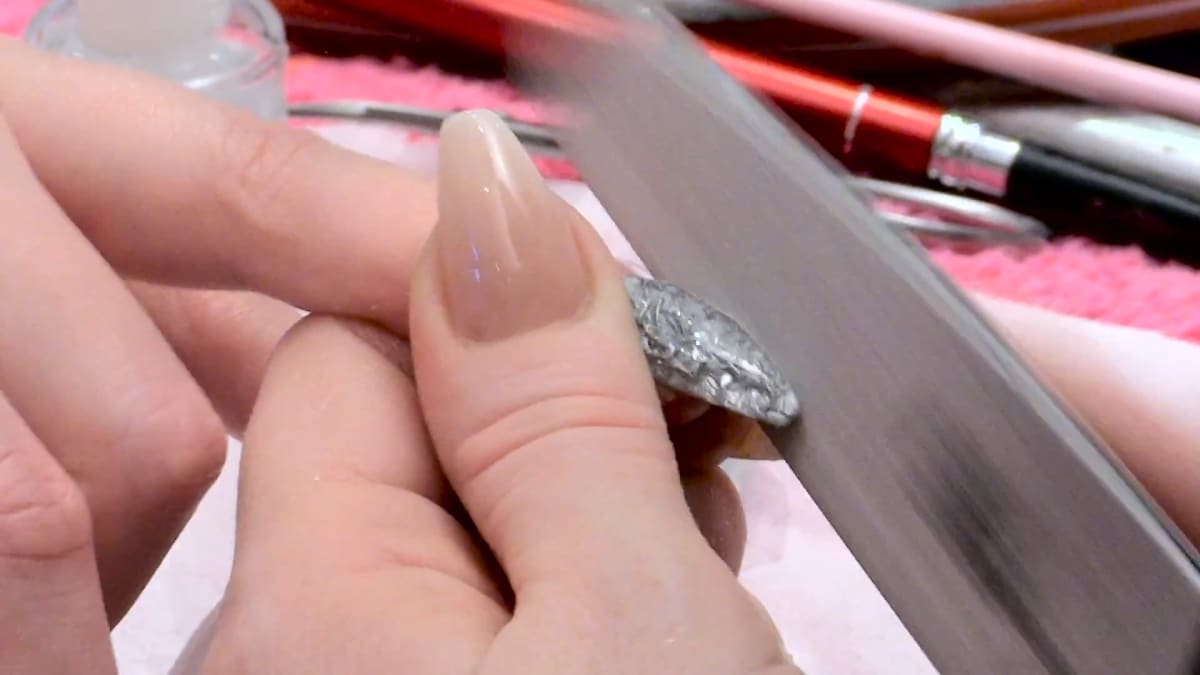
Wipe off the sticky layer and file the side walls and cuticle area very lightly, as gel is soft and easy to file. Buff, clean up, and seal with Mega Gloss Sealer Gel to bring out the shine. Cure in an LED lamp for one minute and finish with cuticle oil.
Where to find each stage of the crinkled aluminium nails video
| Stage | Time |
|---|---|
| Applying builder gel | 0:55 |
| Pressing on the crinkled bag | 1:35 |
| Texture revealed | 2:55 |
| Liquid aluminium | 3:35 |
| Filing lightly | 4:20 |
| Encapsulated close-up | 5:20 |
Pro Tips
- Crinkle the bag as much as you can for the best texture.
- Be patient when encapsulating and let gel flow into every recess.
- Do not file gel aggressively.
Who Is This Design For?
Anyone who wants a striking, edgy nail that is simple to achieve at home or in the salon. Crinkled aluminium nails are a great option when you want metallic nail art with real texture but no painting.
Ways to Make It Your Own
- Do a full set of crinkled nails
- Leave it unencapsulated for a more dramatic look
Aftercare
Rub cuticle oil around the nail every day to keep the cuticles looking soft.
Frequently Asked Questions
What makes the crinkled texture?
A crinkled plastic bag pressed into builder gel and cured in place.
Why encapsulate the nail?
It makes the design smooth and more wearable.
How long does each gel layer cure?
Two minutes for the builder gel and one minute for the sealer in an LED lamp.
How do you get gel into all the creases?
Be patient and let it flow, then turn the nail upside down so gravity helps it settle before curing.
How do you remove liquid aluminium from skin?
Clean it off with acetone.
Can you leave the texture uncovered?
Yes. You could leave it after the liquid aluminium, but encapsulating makes it more wearable.
Give Crinkled Aluminium Nails a Try
Watch the video above and follow along with Kirsty to make your own crinkled aluminium nail.


