



To make hand painted skull nails, you paint nude and black gel polish bases, sponge pink, white and black over them for a mottled background, then paint a skull silhouette and a butterfly on top from a reference photo and seal with matte top coat. In this tutorial Kirsty makes them as birthday nails for Andrea, whose favourite theme is skulls.
She fills the previous set first, then transforms it into the new design.
The sponged pink, white and black base does much of the work, and a little bling finishes it. Below you'll find the products, each step with its place in the video, and Kirsty's tips.
Update: Kirsty used polycolour paint for the skull and butterfly in the video. Urban Graffiti gel polish is now so highly pigmented that you no longer need paint. Use Serious Black and Snow White gel polish for the artwork and cure layer by layer.
At a Glance
- Design: hand painted skull nails with a butterfly and a sponged background
- Artist: Kirsty
- Occasion: birthday nails
- Technique: sponged gel polish with hand-painted artwork and a matte finish
- Key products: Sheer Elegance, Serious Black, Hawaiian Lei, Snow White, Urban Graffiti Top Coat, Urban Graffiti Ultra Matte Top Coat, AcryGel Tube - It's Clear Dear, AB Crystals - Mixed Sizes
- Video length: about 27 and a half minutes
Why You'll Love These Hand Painted Skull Nails
- A bold design that suits anyone who loves skulls
- The irregular skull shape gives you freedom for error
- A sponged background adds depth with little effort
- Matte top coat and a little bling for a finished look
Why a Skull Is Easier to Paint Than It Looks
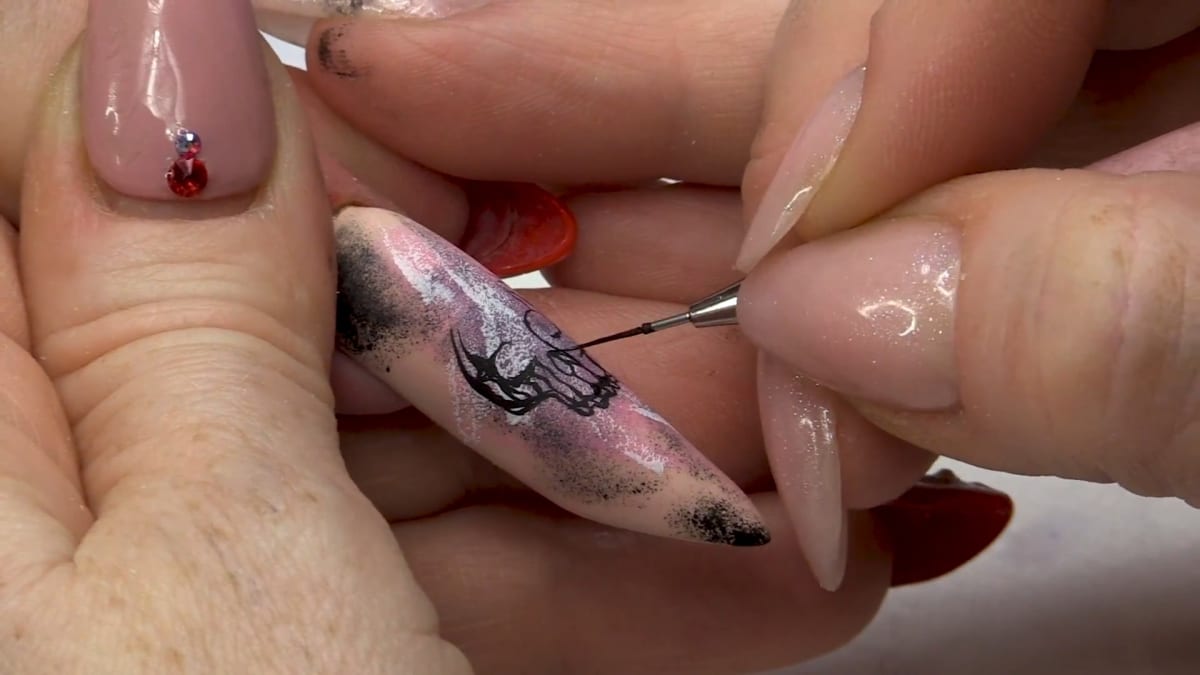
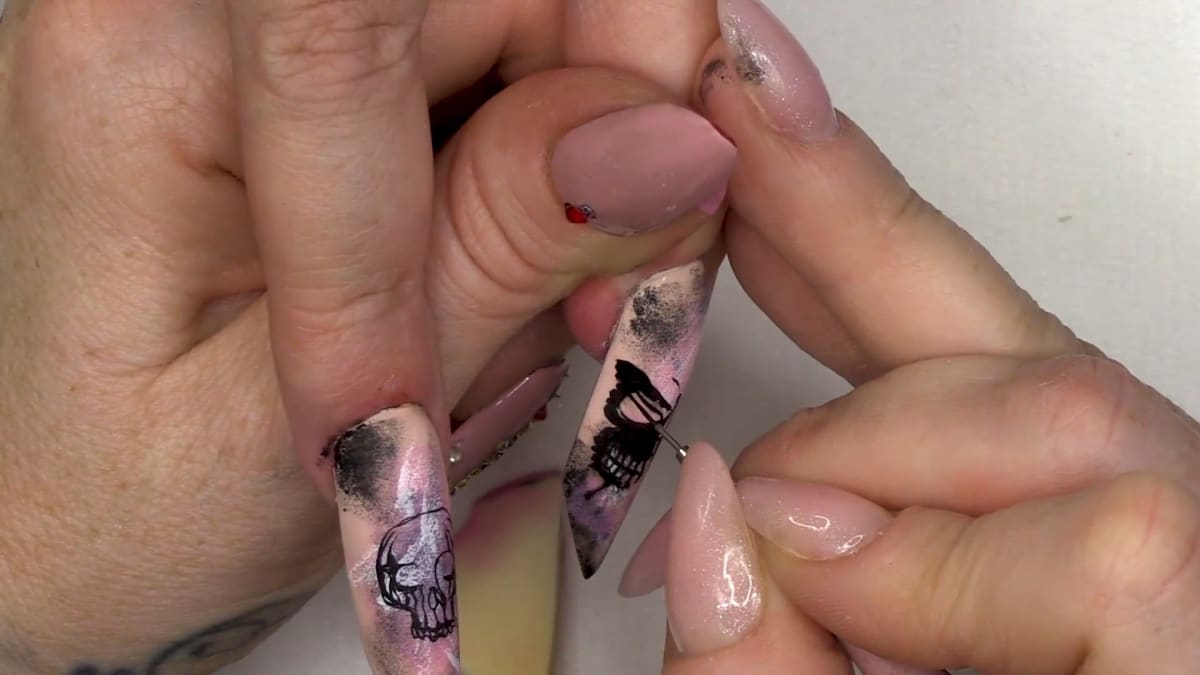
Kirsty paints the skull as a silhouette in black, working from an image on her phone. A silhouette has no shading to get right, and a skull is an irregular shape to begin with, so small wobbles do not show. She starts at the bottom with little wiggly lines, adds the teeth, then outlines the eyes.
The background helps too. Because pink, white and black have already been sponged across the nails, the surface is busy before any artwork goes on, and the painting only has to sit on top. Top coat and a light buff after the sponging give a smooth surface to paint on. It is a forgiving route into hand painted nail art.
Products Used in This Video


How to Create Hand Painted Skull Nails
1. Fill the nails
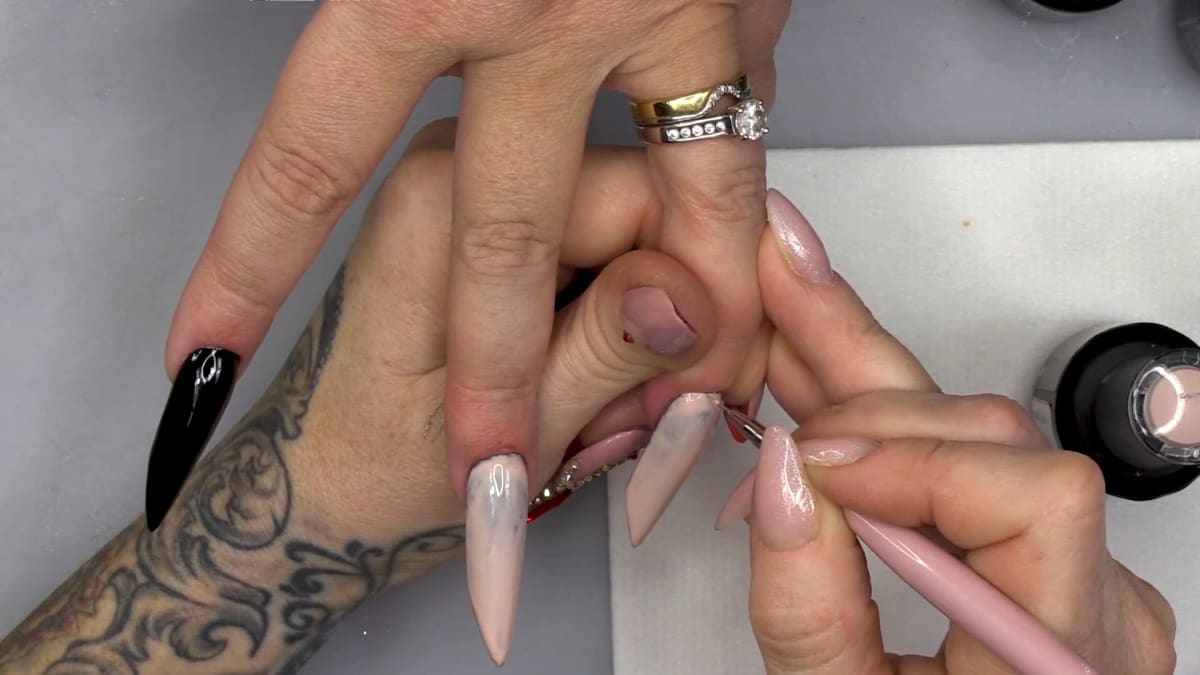
Kirsty starts by filling the existing set so the nails are ready for the transformation. Watch this step at 2:00
2. Apply the base colours
Use Sheer Elegance on the middle two nails, using three coats because the previous design was so dark. Use Serious Black on the other nails, with thin coats and each layer fully cured. Watch this step at 5:00
3. Sponge the colours
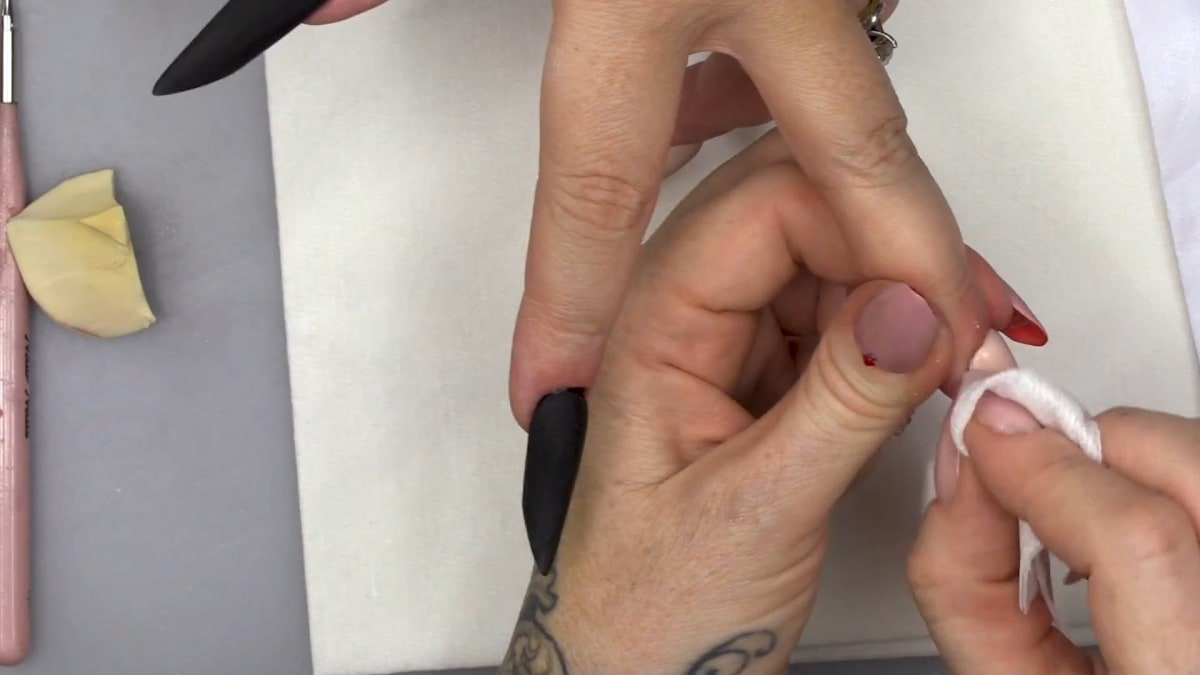
Sponge pink and white gel polish on all the nails, with a little black on the nude nails, curing each layer. Apply top coat and buff smooth. Watch this step at 11:00
4. Paint the skull and butterfly
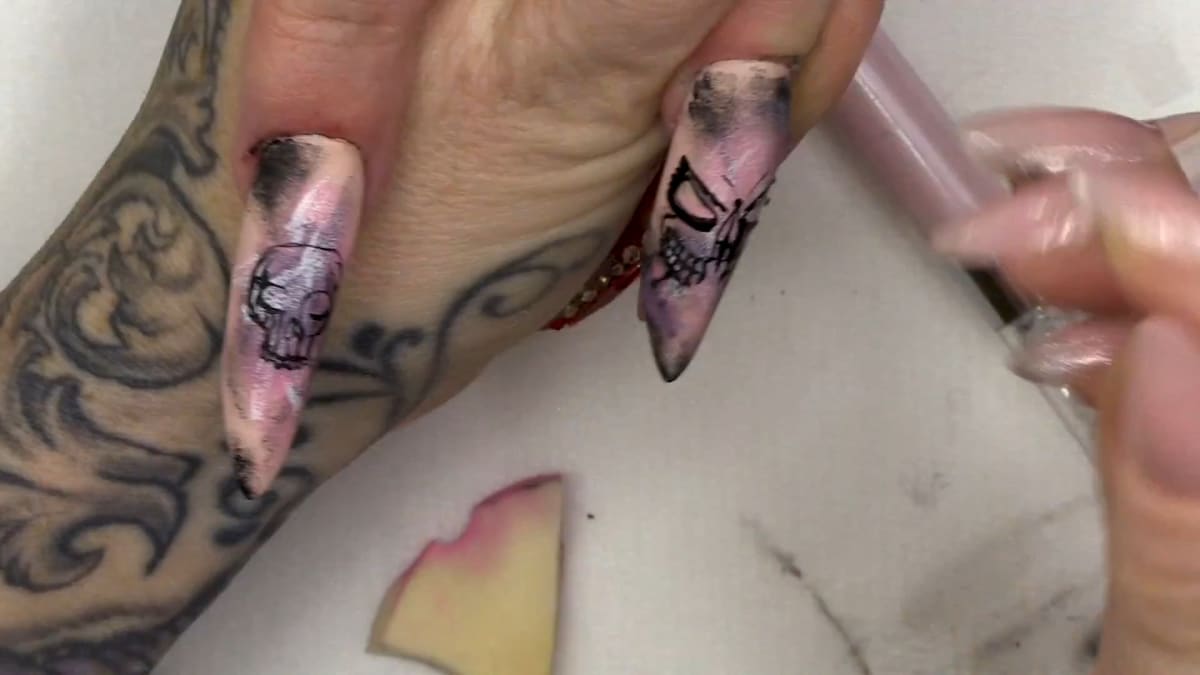
Take a reference photo and use gel polish to paint on the skull and the butterfly, curing layer by layer. Kirsty likes a skull silhouette in black and works from an image on her phone. Start at the bottom with little wiggly lines, add the teeth, then outline the eyes. Watch this step at 16:00
5. Seal with matte top coat
Cover the design with Ultra Matte Top Coat and remember to reseal the edges. Watch this step at 21:00
6. Add the stones
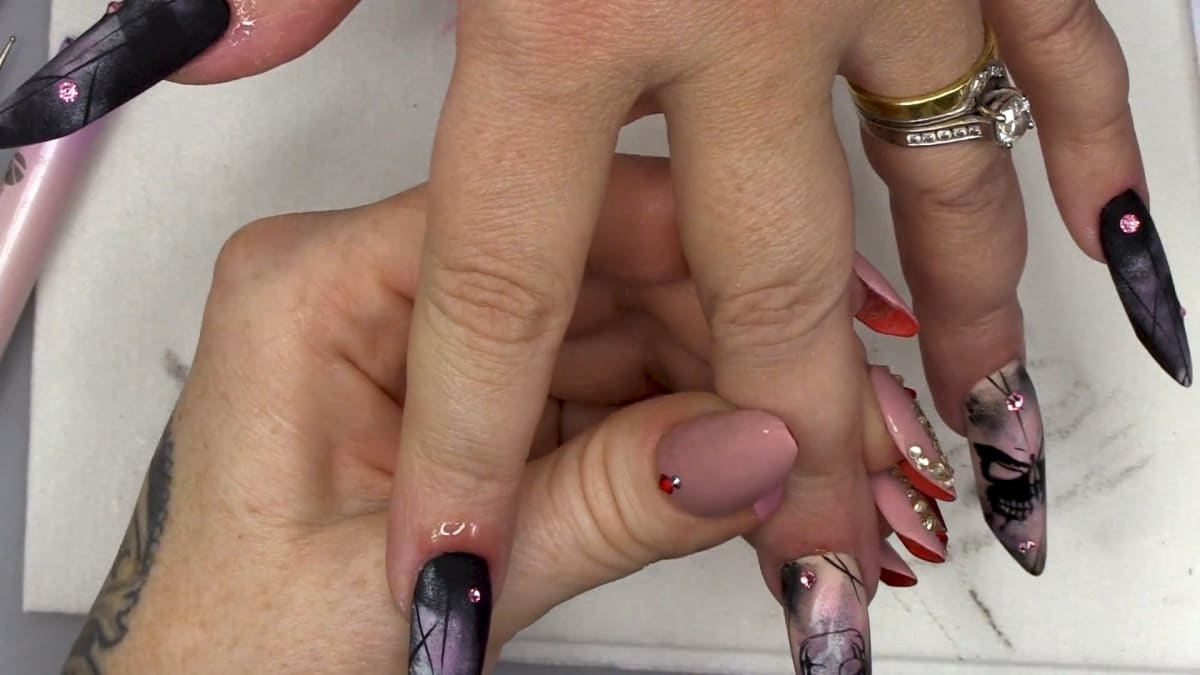
Clean up around the edges with Gel Residue Wipe Off Solution. Place small pieces of AcryGel where you want the stones, flatten them slightly with the wipe off solution, then go directly over the top with matte top coat without curing the AcryGel and press the stones in. Watch this step at 24:00
Where to find each stage of the Hand Painted Skull Nails video
| Stage | Time |
|---|---|
| Filling the existing set | 2:00 |
| Base colours | 5:00 |
| Sponging the background | 11:00 |
| Painting the skull and butterfly | 16:00 |
| Matte top coat | 21:00 |
| Stones | 24:00 |
Pro Tips
- Use thin coats and make sure each layer is fully cured.
- Work from a reference photo for the skull.
- Use only a little bling so it does not take away from the design.
- Reseal the edges after the matte top coat.
Who Is This Design For?
This design is for skull lovers and for nail techs who want a hand painted design that does not need to be perfect. If you are after birthday nails with a darker theme, it is a strong choice.
Ways to Make It Your Own
- Change the painted skull to another silhouette
- Switch the sponged colours
- Add more or fewer stones
Aftercare
Keep cuticles moisturised with oil daily and avoid using nails as tools, to look after your hand painted skull nails.
Frequently Asked Questions
How do you make hand painted skull nails?
Paint nude and black bases, sponge pink, white and black over them, top coat and buff, paint a black skull silhouette and a butterfly from a reference photo, seal with matte top coat and add a few stones.
Do I need to be good at painting?
No. Kirsty explains the skull is irregular, which gives you freedom for error.
Do I need acrylic paint for the skull?
No. Urban Graffiti gel polish is highly pigmented, so you can paint with it and cure layer by layer.
Why use thin coats?
Thin coats that are fully cured give better results than a few thick ones.
How do the stones stay on?
They are pressed into uncured AcryGel and matte top coat so they sink in and stay put.
Why three coats of Sheer Elegance?
Because the previous design underneath was so dark.
Where do you start painting the skull?
At the bottom, with little wiggly lines, then the teeth, then the outline of the eyes.
Give Hand Painted Skull Nails a Try
Watch the nail art tutorial above, then paint your own skulls and share your results.


