



To make napkin nails, you peel a patterned napkin down to its printed layer, rip off a piece, press it onto a wet layer of pink acrylic, blend colour and glitter along the ripped edge and cap the whole nail. Black highlights painted over the top bring the pattern out.
Update: the video uses black and white paint for the highlights. We no longer stock acrylic paint, so the products list uses Serious Black and Snow White gel polish, cured in thin layers, instead.
It is a creative acrylic nail art tutorial that works with any napkin you can find. Below you'll find the products, each step and the tips from the video.
At a Glance
- Design: a printed paper motif set inside the nail, with painted line work
- Technique: paper encapsulated in acrylic over a tip
- Key products: True Pink Transparent Acrylic Powder, Serious Black and Snow White Gel Polishes, a patterned napkin
- Video length: about 9 minutes
Why You'll Love These Napkin Nails
- Use any patterned napkin
- Soft ripped edges blend into the nail
- Thin colour and glitter hide the tip join
- Black highlights bring the pattern to life
Products Used in This Video


How to Create Napkin Nails
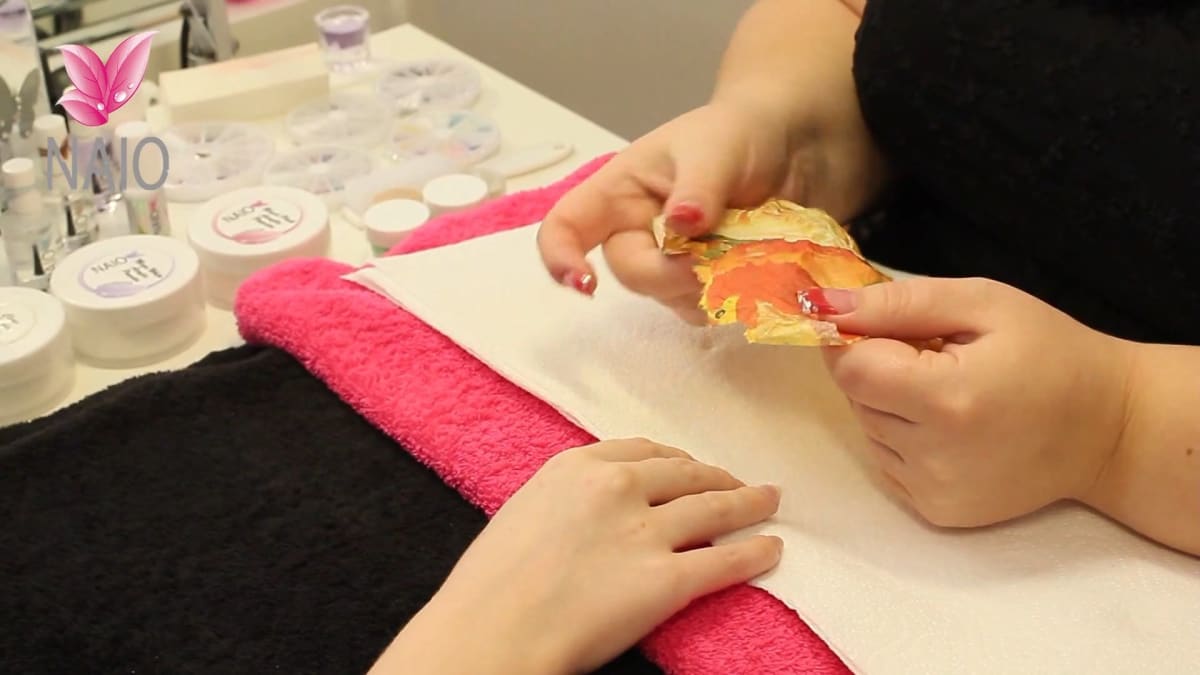
1. Prepare the napkin
Take the extra layers away so only the design layer is left. Rip, rather than cut, a piece so you get nice rough edges.
2. Place the napkin
The nail is already tipped, prepped and primed. Apply a small, quite wet layer of pink acrylic where the napkin will go, place the napkin on and press it down with your brush.
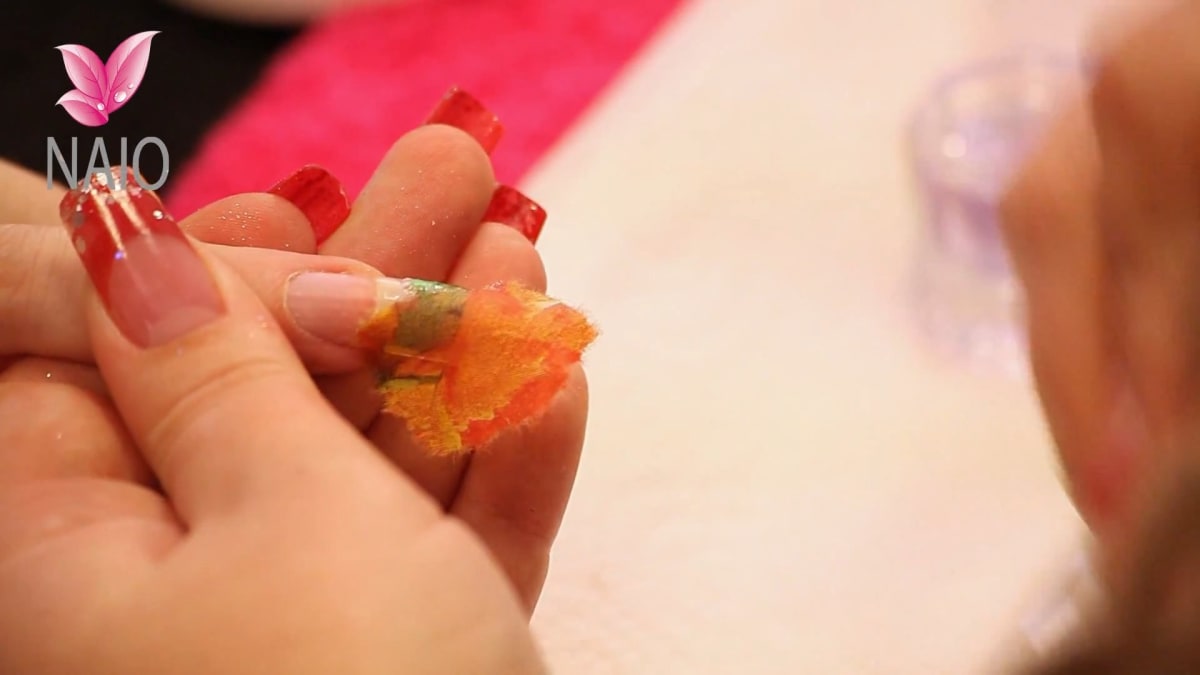
3. Add colour and glitter
Use a selection of colours placed on wet, as in marbling, in a very thin layer along the ripped edge. Add a little glitter so you cannot see the natural nail or tip join.
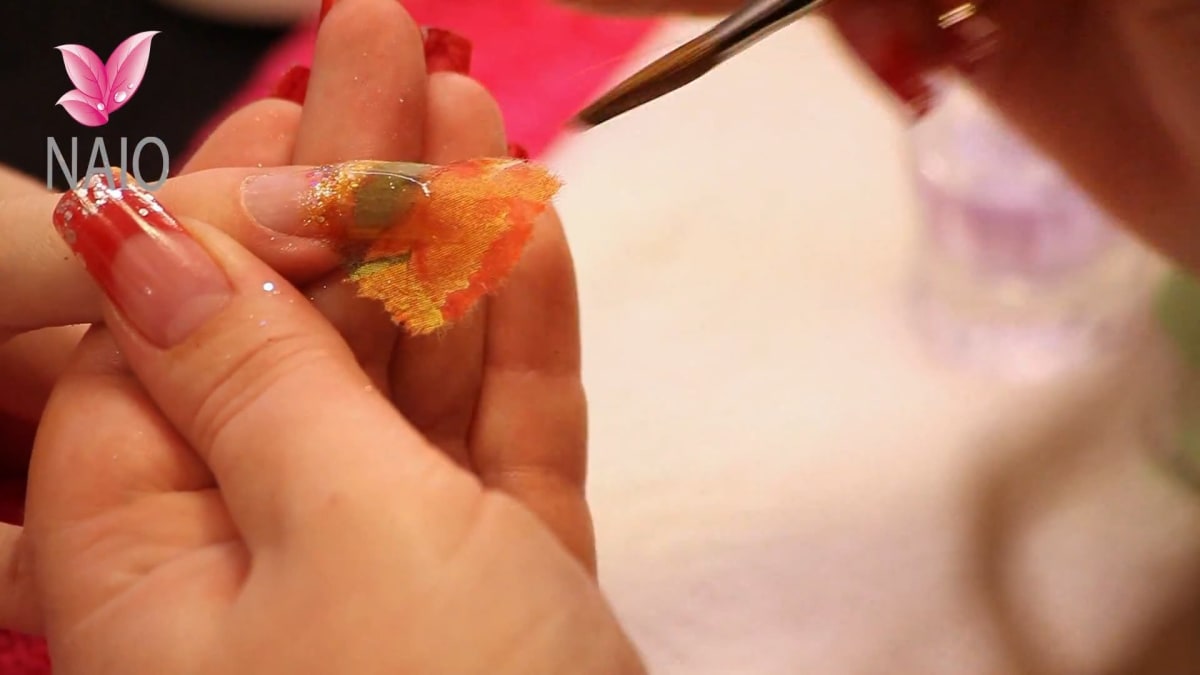
4. Cap the nail
Cap the whole nail in pink. Tilt the client's nail down in zone three so acrylic does not run into the cuticle. The edge is hard to see with this design, so add an extra little bit to make sure there is enough acrylic.
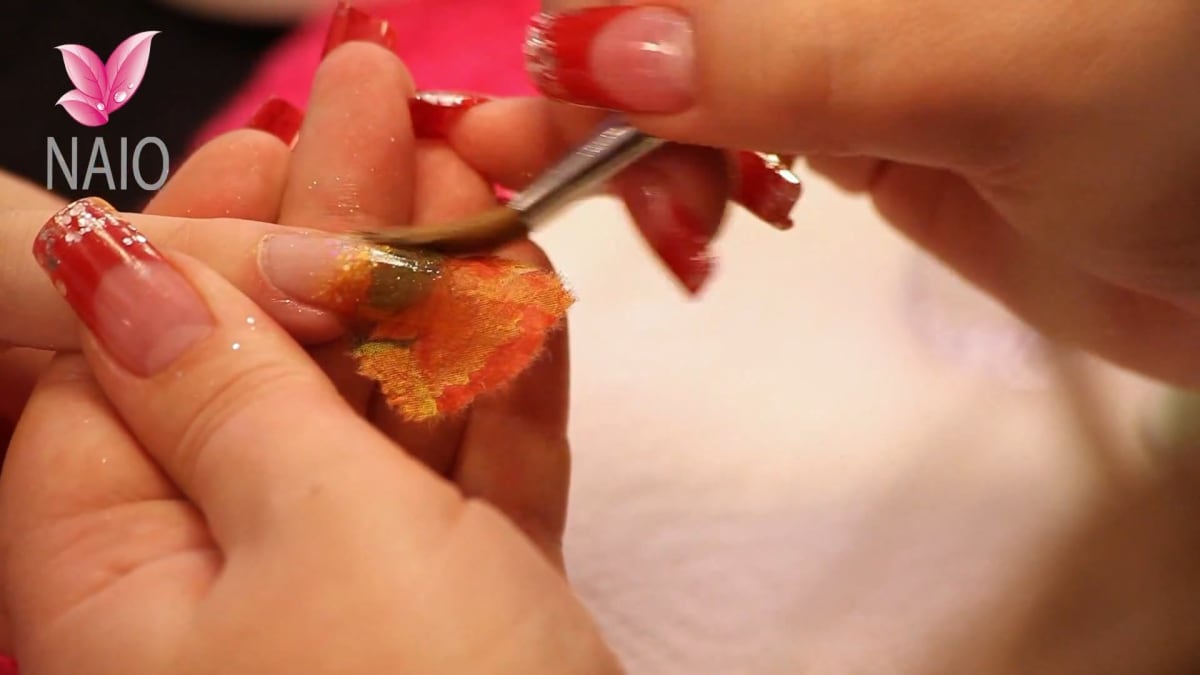
5. Pinch and file
Let it set, place the pinching tool on for a few minutes, pull away the excess tissue and file. The tissue is thin so it files off.
6. Hand paint
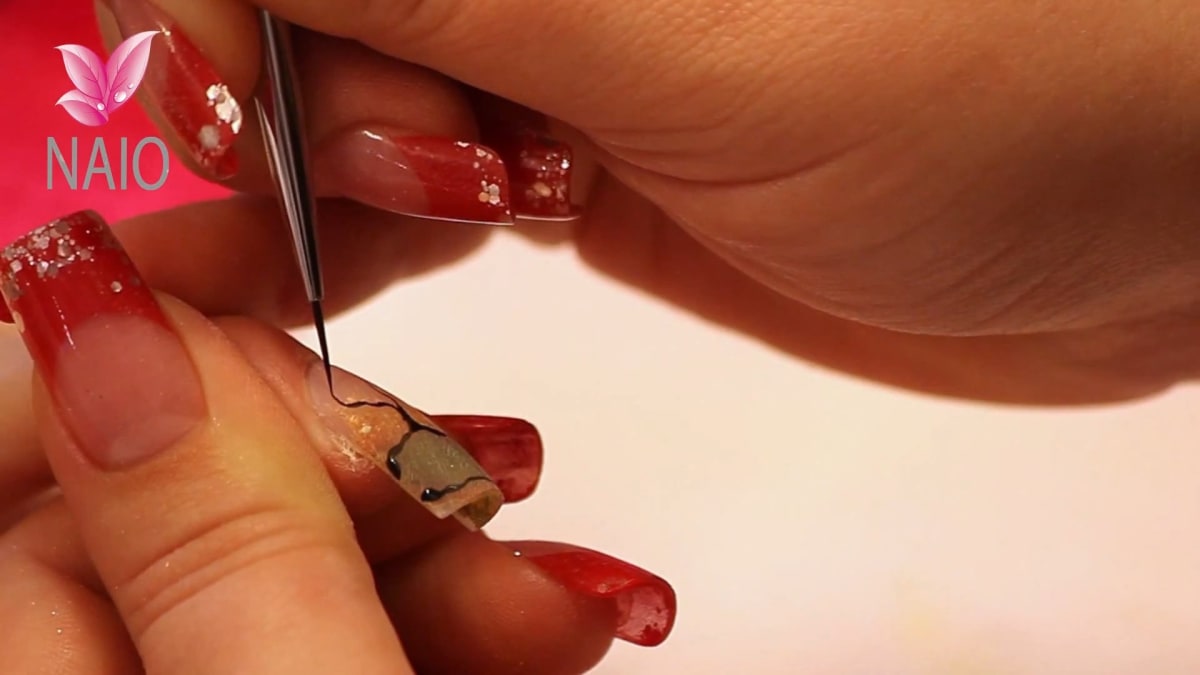
Smooth with a white block and remove the dust. Thin the black gel polish a little and, with a fine detailer brush, highlight the lines created by the napkin. Add white dots in the thicker black areas, curing in thin layers.
7. Finish
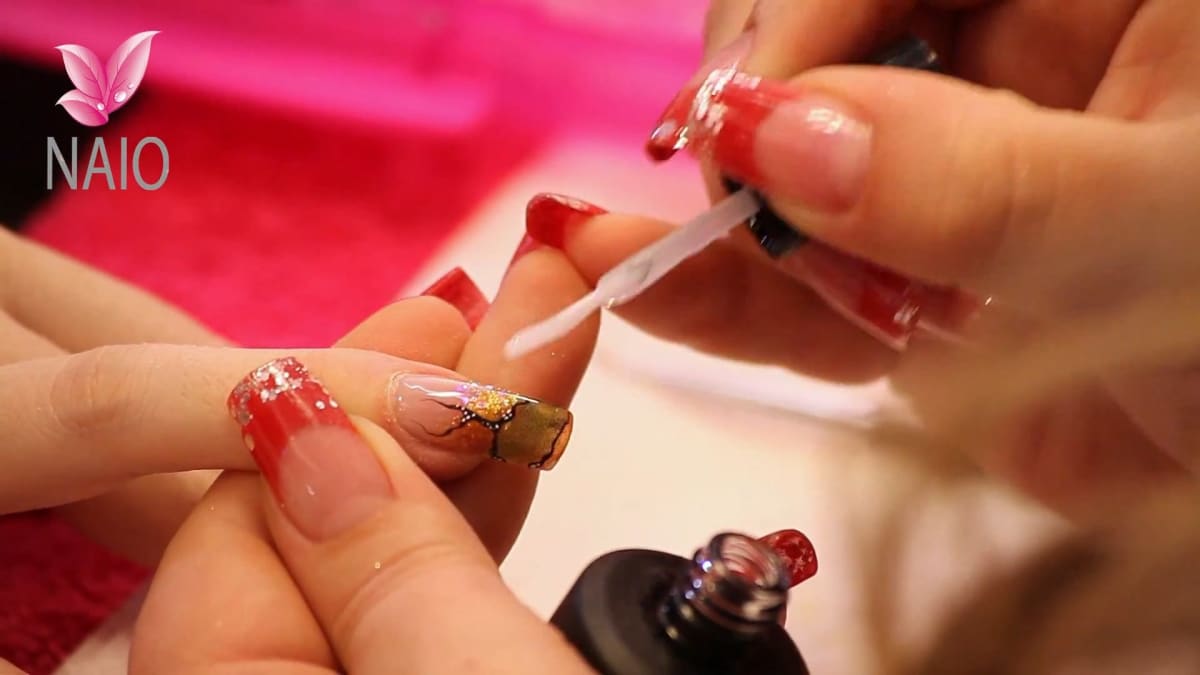
Apply gel top coat, cure for two minutes and massage in cuticle oil.
Pro Tips
- Rip the napkin for soft edges.
- Use only the printed layer.
- Thin the black for movement.
Common Mistakes
- Cutting the napkin instead of ripping it, which leaves hard edges that do not blend in.
- Skipping the extra acrylic when capping, because the napkin edge makes the thickness hard to judge.
Who Is This Design For?
It suits technicians who like to experiment with encapsulation and clients who want a unique patterned nail, a little like decoupage nail art.
Ways to Make It Your Own
- Pick a napkin to match a season
- Highlight with gold instead of black
- Use several small napkin pieces
Aftercare
Apply cuticle oil daily and avoid using nails as tools.
Frequently Asked Questions
How do you make napkin nails?
Peel the napkin to its printed layer, rip a piece, press it onto wet pink acrylic, blend colour and glitter along the edge, cap, pinch and file, then highlight the pattern in black and top coat.
Do I cut or rip the napkin?
Rip it, because you want rough edges, not sharp ones.
What do I do with the extra tissue?
Pull it away; the rest files off.
How long is the top coat cured?
Two minutes.
Which part of the napkin is used?
Only the printed design layer. The extra layers are taken away.
What hides the join with the tip?
A very thin layer of colour and a little glitter along the ripped edge.
Give Napkin Nails a Try
Follow the video above and have fun with your napkin design.


