



M&M inspired nails are made by painting a cheeky sweet character face in gel polish over a bright base colour: two big white eyes, a wide open black mouth with white teeth and a red tongue, eyebrows and a few highlights. In this tutorial Steffi paints the face over two layers of Summer Sky blue, then finishes the nail with Ultra Matte Top Coat.
It's an easy piece of character nail art made from simple shapes: two circles for eyes, a wide mouth, a flick of eyebrow and a few highlights. Paint a different colour and expression on each finger for a really effective set.
Below you'll find the products Steffi uses, every step with a link to that moment in the video, her tips and answers to the questions people ask most.
At a Glance
- Design: a sweet character face with big eyes and an open mouth
- Artist: Steffi
- Technique: hand-painted gel polish nail art
- Skill level: beginner friendly
- Finish: matte
- Key products: Summer Sky, Snow White, Serious Black, Fire Cracker, Ultra Matte Coat, Ultra Fine Detail Brush
- Video length: 7:54
Why You'll Love These M&M Inspired Nails
- Simple shapes, big personality. Circles and lines are all you need.
- Works in every colour. Change the base shade for each nail.
- Different expressions. Give each finger its own face.
- A smooth matte finish. Ultra Matte Top Coat suits the design perfectly.
Products Used in This Video


Why the Tacky Layer Matters
Gel polish cures with a slightly sticky surface, often called the tacky layer. Wet gel painted on top of it can drag into the colour underneath, which is a problem when you are putting white over a strong colour.
That is why Steffi wipes the tacky layer off the blue base before she paints the white eyes, so the two don't mix. She wipes the nail again at the end, before the matte top coat goes on, because matte applied over a sticky layer can leave streaks.
How to Create M&M Inspired Nails
1. Paint the base colour
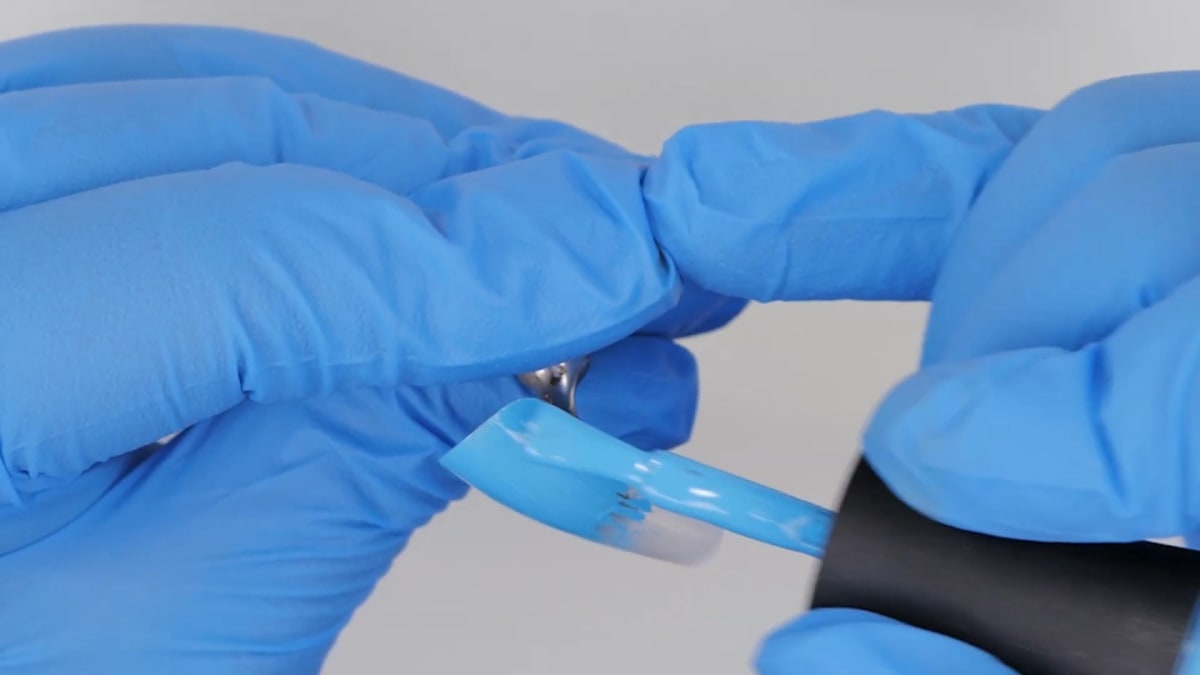
On a buffed nail, apply two thin layers of Summer Sky all over, curing each one. Watch this step at 0:00
2. Wipe off the tacky layer
Wipe the tacky layer off before painting. Steffi does this because she is painting white on top and doesn't want the eyes to mix in with the blue. Watch this step at 1:40
3. Paint the eyes
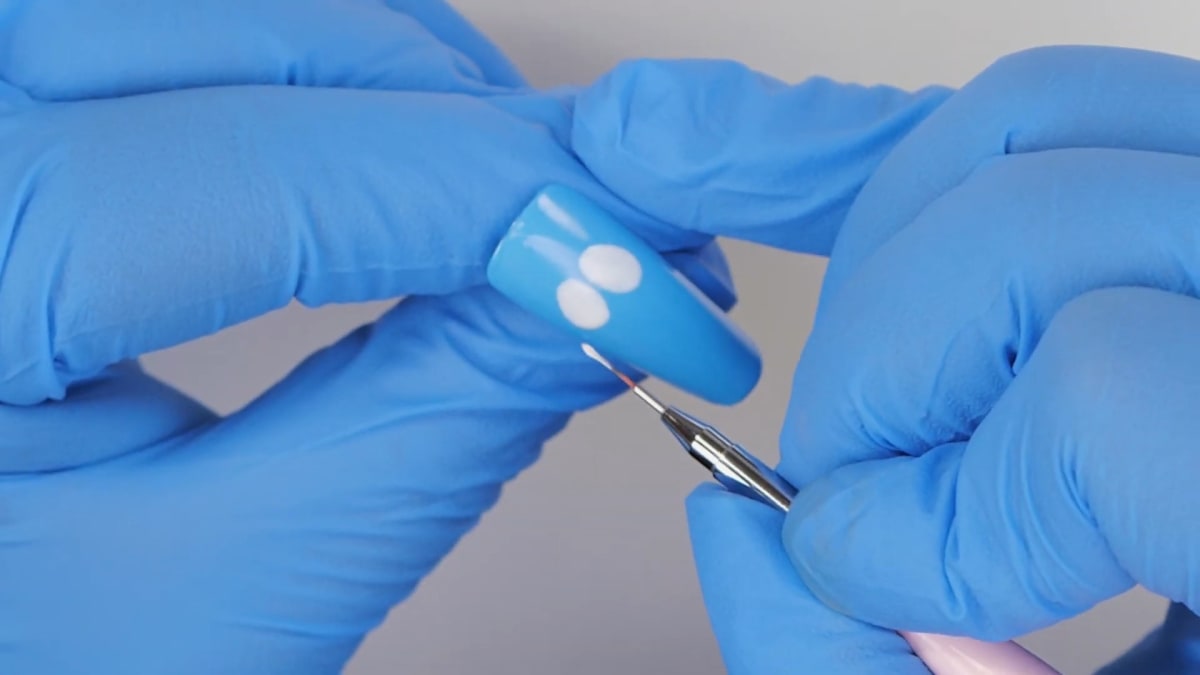
Put Snow White, Serious Black and Fire Cracker on your palette. With Snow White, paint two large circles for the eyes, moving the product around to fill them in. Watch this step at 2:10
4. Paint the mouth and eyebrows
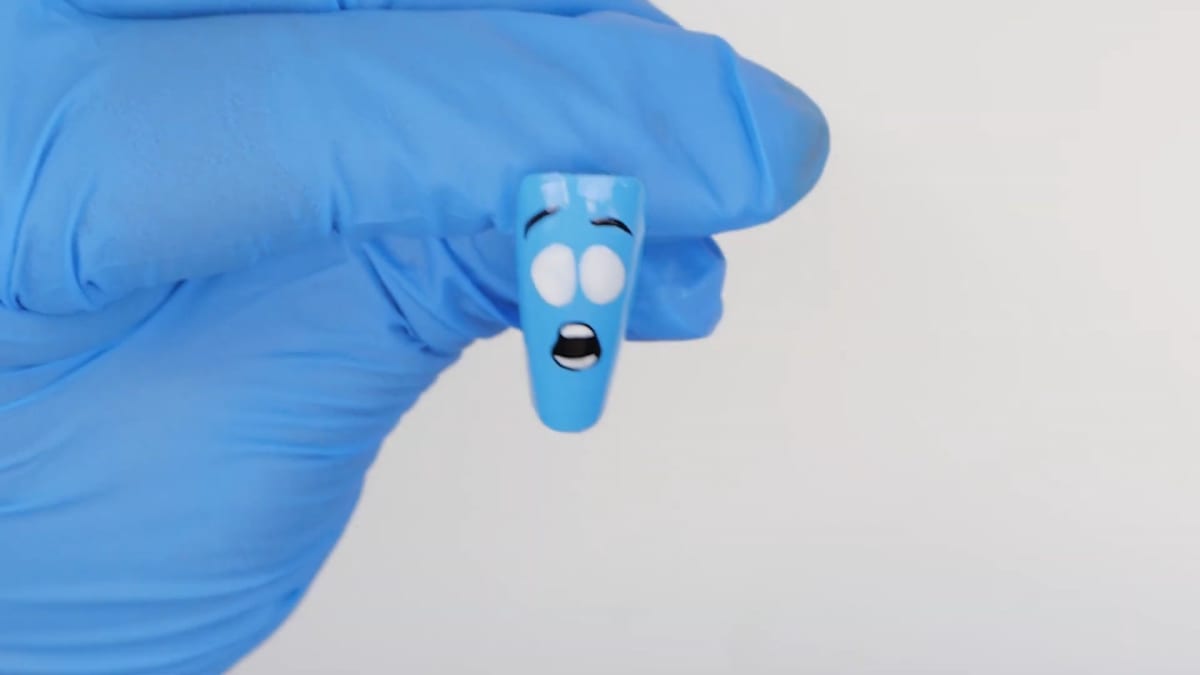
Switch to Serious Black, then outline and fill a big open mouth. Add the eyebrows with a little flick on one side and another on the other side, slightly higher, which gives the character face more expression. Cure. Watch this step at 2:40
5. Add the teeth and tongue
Go back in with Snow White and paint the teeth along the upper section of the mouth, then the bottom. Add a little tongue in the middle with Fire Cracker, leaving a small space between the black and the white. Watch this step at 4:20
6. Paint the pupils and outline the eyes
With Serious Black, paint the middle of each eye and outline both eyes, adding a little more detail as needed. Cure. Watch this step at 5:30
7. Add highlights
Add a little white highlight here and there, plus a small white dot, then cure. Watch this step at 6:40
8. Finish with matte top coat
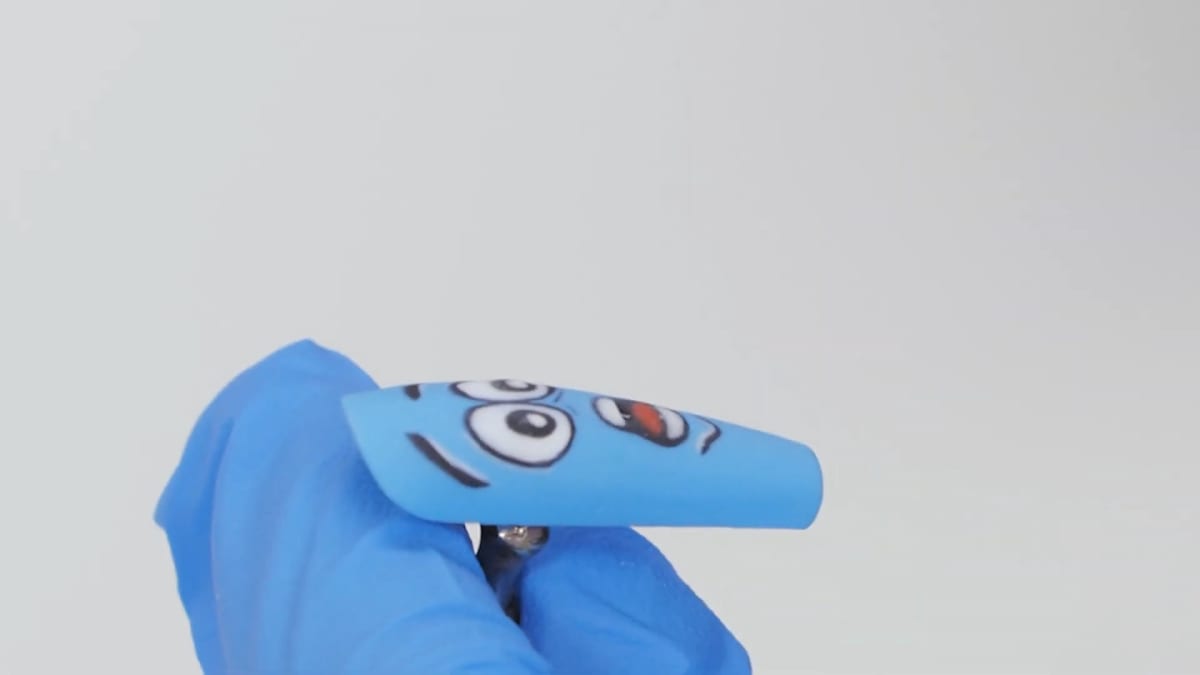
Wipe the nail to remove the tacky layer, then apply Ultra Matte Top Coat and cure.
Where to find each stage of the M&M inspired nails video
| Stage | Time |
|---|---|
| Summer Sky base colour | 0:00 |
| Wiping off the tacky layer | 1:40 |
| White eyes | 2:10 |
| Mouth and eyebrows | 2:40 |
| Teeth and tongue | 4:20 |
| Pupils and eye outlines | 5:30 |
| Highlights | 6:40 |
Pro Tips
- Wipe before white. Removing the tacky layer stops white details mixing into the base colour.
- Wipe before matte, too. Applying matte top coat directly over a sticky layer can leave streaks.
- Leave a gap around the tongue. A little space between the black and white saves you time tidying up.
- Vary the eyebrows. Setting one slightly higher gives the face more expression.
Who Is This Design For?
This is a great design for beginners practising simple character faces, and for anyone who loves bright, playful nails. As nail art for beginners goes, it's forgiving: every shape is a circle, a line or a flick. It works well as a full set of different colours or as a single accent nail.
Ways to Make It Your Own
- Paint each nail a different colour.
- Give every character a different facial expression.
- Add the letter M underneath the face.
- Finish with a glossy Top Coat instead of matte.
Aftercare
Apply cuticle oil daily, wear gloves for cleaning and washing up, and avoid using your nails as tools. Matte finishes can pick up marks, so wipe them gently if needed.
Frequently Asked Questions
How do you make M&M inspired nails?
Paint two cured layers of a bright base colour, wipe off the tacky layer, then paint white eyes, a black open mouth, eyebrows, white teeth, a red tongue, pupils and highlights with a detail brush. Wipe again and finish with matte top coat.
What colours do I need for M&M inspired nails?
Steffi uses Summer Sky for the blue base, Snow White for the eyes, teeth and highlights, Serious Black for the mouth, eyebrows, pupils and outlines, and Fire Cracker for the tongue.
Why wipe off the tacky layer before painting?
Steffi wipes it away so the white eyes don't mix in with the blue base colour.
Can I use a different base colour?
Yes. The design can be done in lots of different colours for a really effective set.
How do I avoid streaks in matte top coat?
Wipe the nail first to remove any sticky layer, then apply the matte top coat.
What brush is used to paint the character face?
Steffi paints the face with the Ultra Fine Detail Brush, working from colours laid out on a palette.
Are M&M inspired nails suitable for beginners?
Yes. The face is built from simple shapes, which makes it good practice for anyone new to gel polish nail art.
Give M&M Inspired Nails a Try
Quick, cute and endlessly customisable, M&M inspired nails are a lot of fun to paint. Watch Steffi's full nail art tutorial above and try a whole handful of characters.


