



To make celestial sun and moon nails, you paint a sun face and a moon face in black gel polish on a sheer nude base, building each one up line by line, then press gold pigment over the raised lines with a silicone tool and seal with top coat. In this tutorial Steffi shows the easiest way to paint them, in simple stages.
The design is a throwback to 90s bedroom decor, with a tarot card and festival vibe.
The gold pigment is what makes the sun and moon nail art really pop. Below you'll find the products, each step with its place in the video, and Steffi's tips.
At a Glance
- Design: celestial sun and moon nails in gold on a sheer nude base
- Artist: Steffi
- Occasion: festivals
- Technique: hand-painted gel polish line work with chrome pigment
- Key products: Pale Bloom, Serious Black, Gold Chrome Pigment Powder, Ultra Fine Detail Brush - 0003, Silicone Tool, Urban Graffiti Top Coat
- Video length: about 21 and a half minutes
Why You'll Love These Celestial Sun and Moon Nails
- A retro 90s design that fits today's trends
- Painted in easy stages, with the face built up line by line
- A tarot card and festival look
- Gold pigment gives a crisp, shiny finish
How the Gold Line Work Happens
Nothing is painted in gold. The whole design is painted in Serious Black and cured, which leaves the lines slightly raised above the base. Gold pigment is then pressed onto those raised lines, and the excess is dusted away so the lines stay crisp.
Two details make that work. The tacky layer is wiped off the Pale Bloom base before any black goes on, so the pigment has nothing to stick to on the background. And Steffi applies the gold chrome pigment with a silicone tool, because it only rubs the raised design. A brush or sponge can push pigment onto the layer underneath.
Products Used in This Video


How to Create Celestial Sun and Moon Nails
1. Apply the sheer nude base
Apply two coats of Pale Bloom, letting the sheer shade self level before it goes in the lamp. Wipe the tacky layer off with gel residue wipe off solution and a lint free wipe so the pigment does not stick to it later. Watch this step at 1:00
2. Map out the sun
Load the brush with Serious Black and paint half a circle for the sun. Break the circle into sections rather than going for the full curve straight away. Watch this step at 3:00
3. Paint the face
Add a curved line for the face, a small line on top, an eyebrow made from two lines and a small connecting line, then the nose and thick lips with a long line at the edges. Use the finer brush for eyelashes. Watch this step at 12:30
4. Add the rays
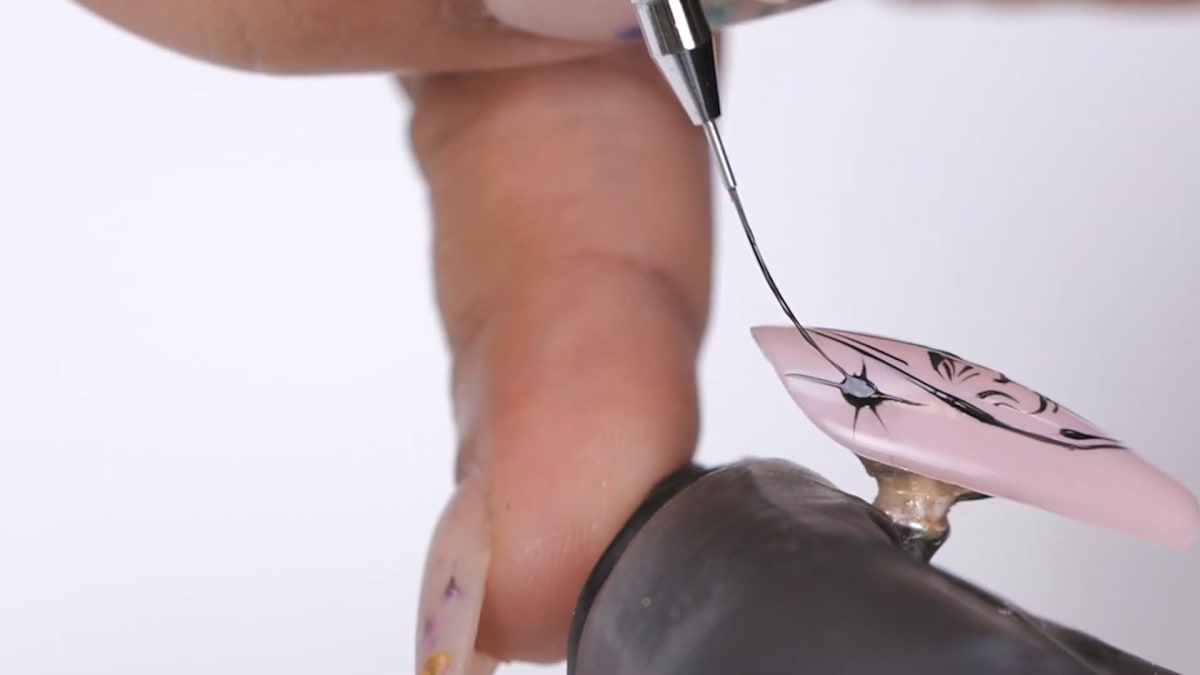
Paint straight rays around the half circle, leaving a gap in the middle, then wavy rays between them. Add a couple of little stars on the face.
5. Buff in the gold pigment
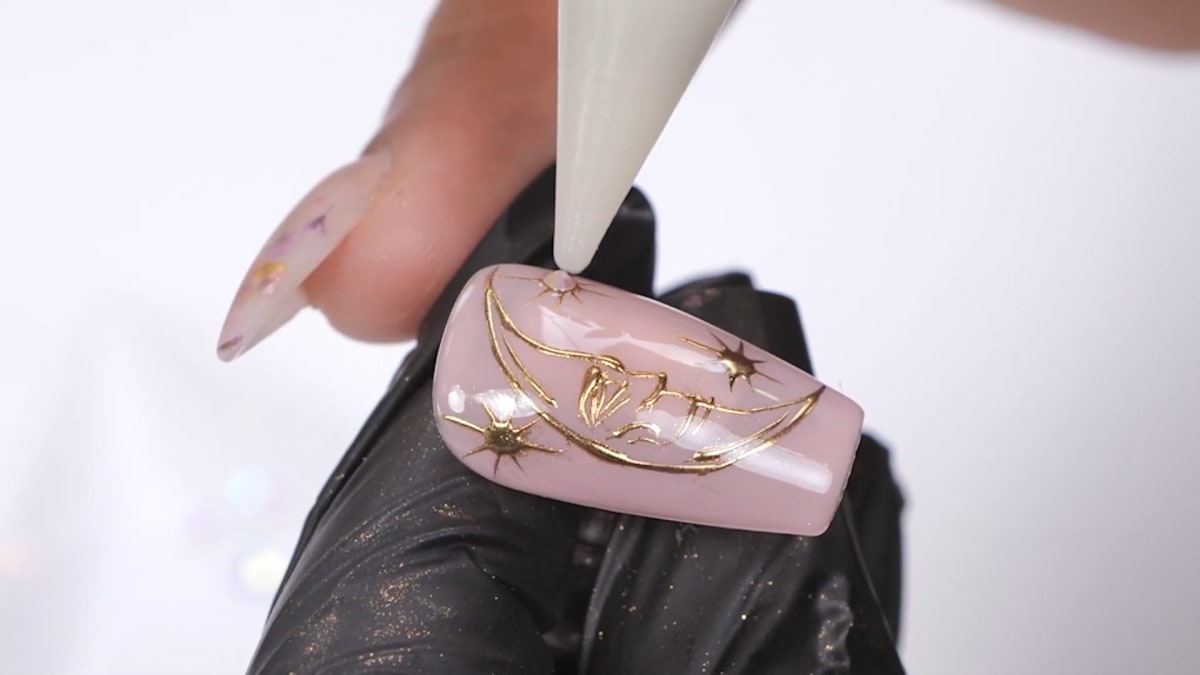
After curing, dip the silicone tool in gold pigment and wrap it on top of the design. Steffi prefers a silicone tool because it only rubs the raised design. A brush or sponge can make the pigment stick to the layer underneath. Watch this step at 16:40
6. Dust and top coat
Dust off the excess so the lines stay crisp, then top coat and cure.
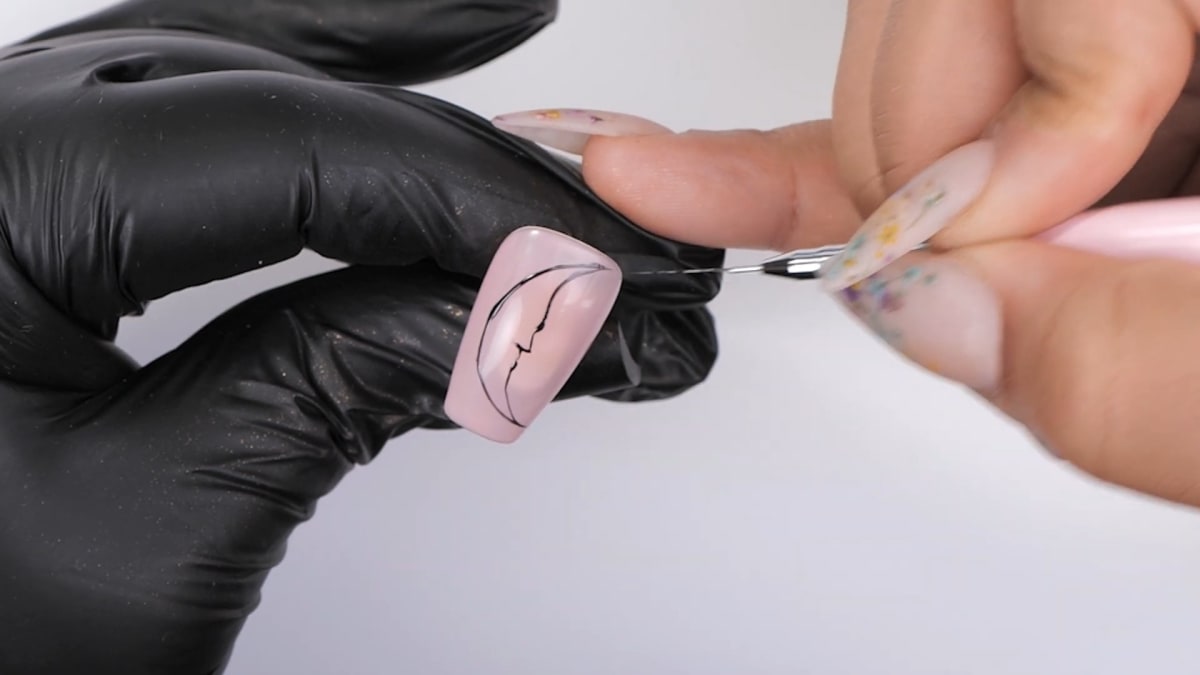
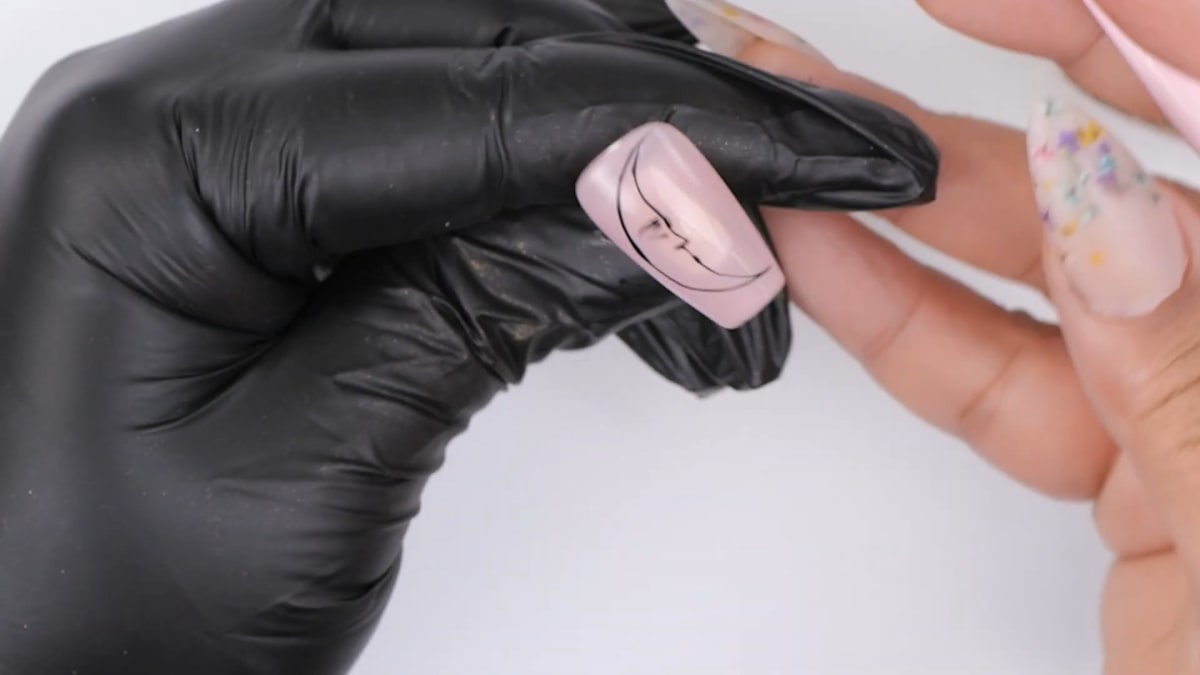
7. Paint the moon
Use the same Pale Bloom base. Paint a long curved line at the top and bottom of the moon shape, then add the face in the middle. On the moon design, Steffi adds small crystals to the stars around the moon. Watch this step at 16:00

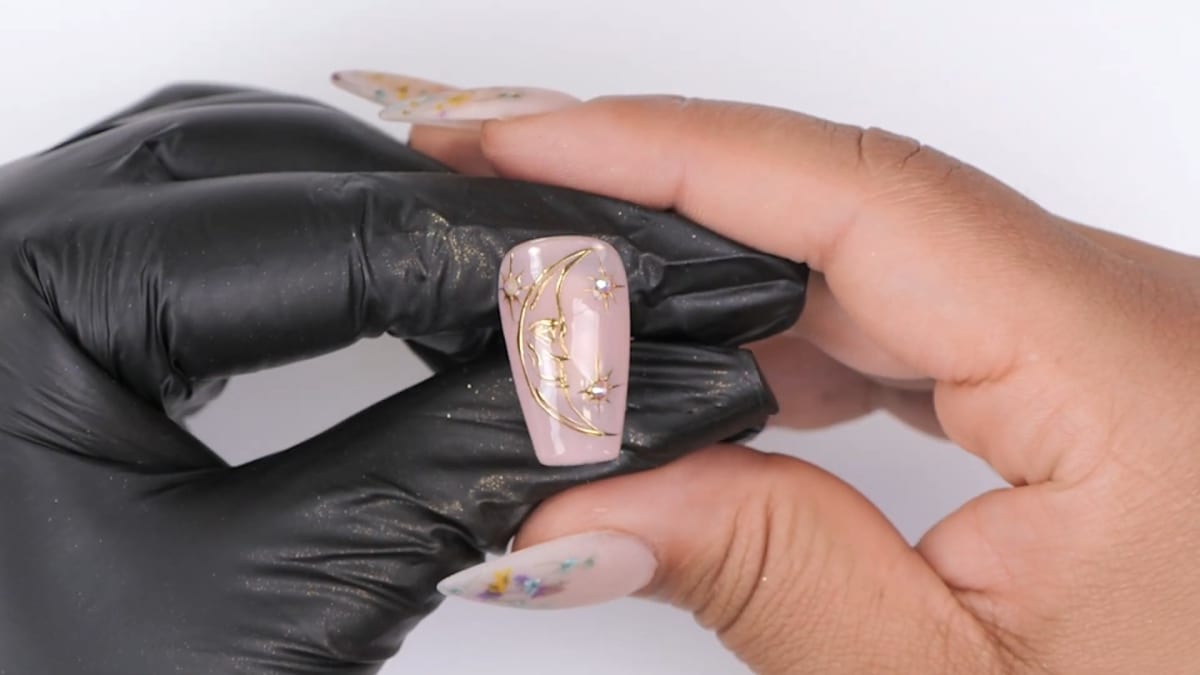
Where to find each stage of the Celestial Sun and Moon Nails video
| Stage | Time |
|---|---|
| Sheer nude base | 1:00 |
| Mapping out the sun | 3:00 |
| Painting the face | 12:30 |
| Painting the moon | 16:00 |
| Gold pigment | 16:40 |
Pro Tips
- Let sheer polish self level before curing.
- Wipe off the tacky layer before applying pigment.
- Use a silicone tool, not a sponge or brush, so you do not smudge the background.
- Break the half circle into sections for a neater shape.
Who Is This Design For?
This design is for anyone who loves retro 90s style, tarot card vibes or festival nail art. The faces are made of short, simple lines added one at a time, so it is more approachable than it looks.
Ways to Make It Your Own
- Use another background colour, such as a deep blue or one of the pearly gels
- Try copper or mirror pigment instead of gold
- Add crystals to the stars
Aftercare
Keep your cuticles moisturised with oil daily and avoid using your nails as tools to protect the finish on your celestial sun and moon nails.
Frequently Asked Questions
How do you paint celestial sun and moon nails?
Apply a sheer nude base and wipe off the tacky layer, paint the sun and moon faces in black, cure, press gold pigment over the raised lines with a silicone tool, dust off the excess and top coat.
Do I need Pale Bloom?
No, Steffi says you can use any background colour you like.
Why use a silicone tool for the pigment?
It rubs only on the raised design, so it will not mess up the background.
Is this design good for festivals?
Yes, the team says it would be perfect for festivals.
Why wipe the base before painting the design?
So the pigment does not stick to the tacky layer on the background later.
Can you use a different pigment?
Yes. Copper and mirror chrome are mentioned as alternatives to gold.
How do you get a neat half circle for the sun?
Break it into sections rather than painting the whole curve in one go.
Give Celestial Sun and Moon Nails a Try
Watch the nail art tutorial above, then paint your own sun and moon set.


