



To make ripped lightning bolt nails, you layer several bright gel polish colours one over another, cover them with a nude and a matte top coat, then carve a lightning bolt down through the layers with an electric file so the colours show, and fill the dip with builder gel. In this tutorial Kirsty carves a pastel rainbow.
It is a brighter, more summery take on her ripped nail design.
This carved nail art technique ends with a smooth surface and a whole heap of bling. Below you'll find the products, each step with its place in the video, and Kirsty's tips.
At a Glance
- Design: ripped lightning bolt nails with a pastel rainbow reveal
- Artist: Kirsty
- Season: summer
- Technique: layered gel polish carved with an electric file, filled with builder gel
- Key products: Azure, Velvet Ribbon, Mimosa, Carambola, Chartreuse, Cashmere, Ultra Matte Top Coat, Clear as Day Builder in a Bottle
- Video length: about 13 minutes
Why You'll Love These Ripped Lightning Bolt Nails
- A pastel rainbow revealed from under a nude
- A precise lightning bolt carved with an e-file
- Clients love watching the design being revealed
- Finished with a whole heap of bling
How the Ripped Effect Works
The colours are stacked in reverse. The first colour you lay down is the last one you will see, because the file reaches it last. In the video Azure goes on first, followed by Velvet Ribbon, Mimosa, Carambola and Chartreuse, each one cured before the next. Two thin coats of Cashmere then hide everything under a plain nude.
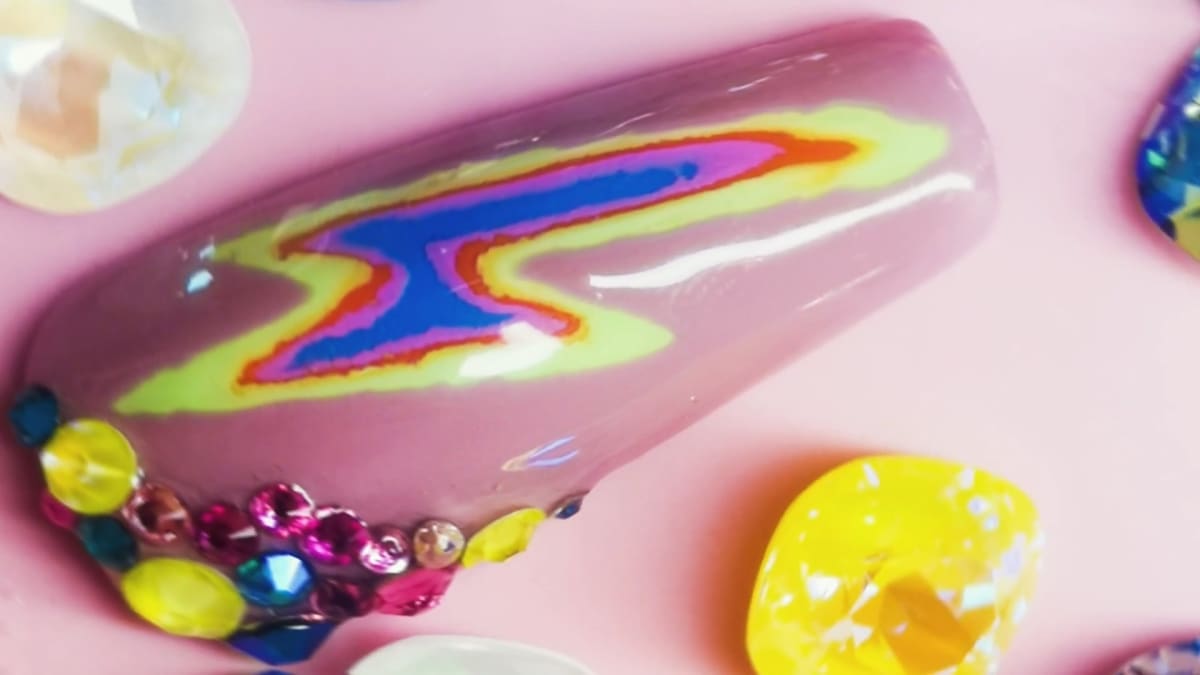
Carving the bolt cuts a sloped channel through all of those layers, so each colour shows as a band along the edge, with the blue at the bottom. That leaves a dip in the nail, which is why Kirsty fills it with builder gel, a thicker product than top coat. It is the step that turns e-file carving into a smooth, wearable nail.
Products Used in This Video


How to Create Ripped Lightning Bolt Nails
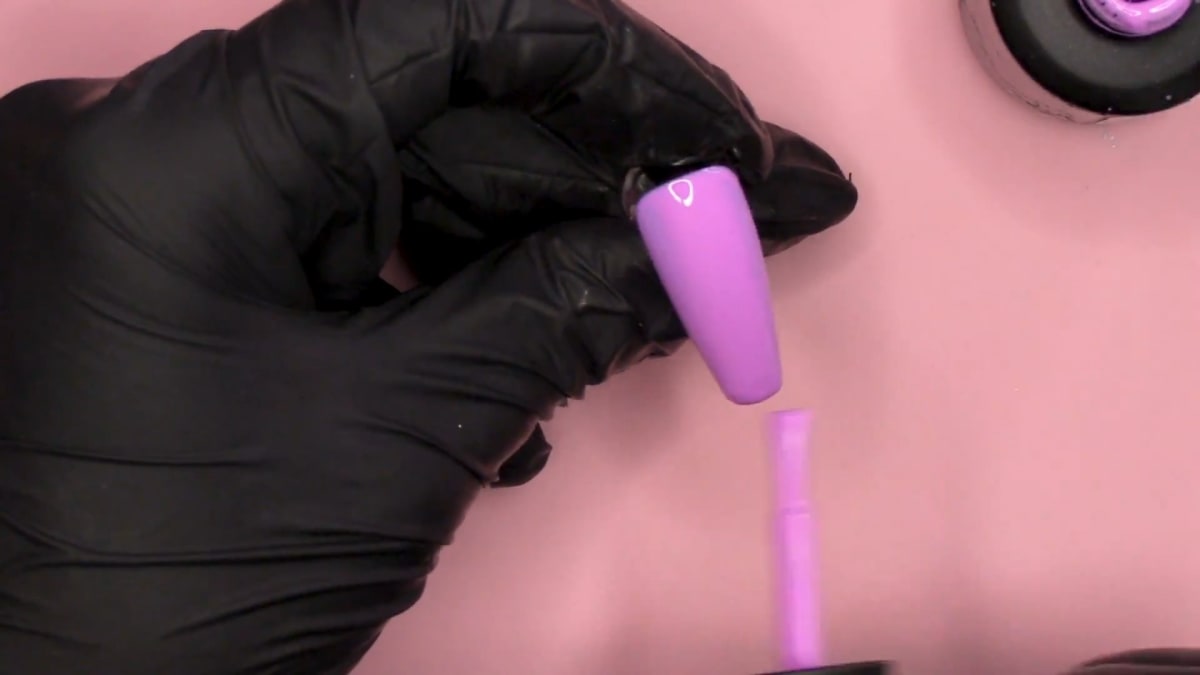
1. Lay down the rainbow layers
Work on a nail tip. The first colour you lay down is the last colour you will see. Apply one layer of each colour and cure each one: Azure first, then Velvet Ribbon, Mimosa, Carambola and Chartreuse. Use really pigmented, super opaque colours, keep the main colour down the middle and go thin at the sides to keep the nail slim. Watch this step at 1:40
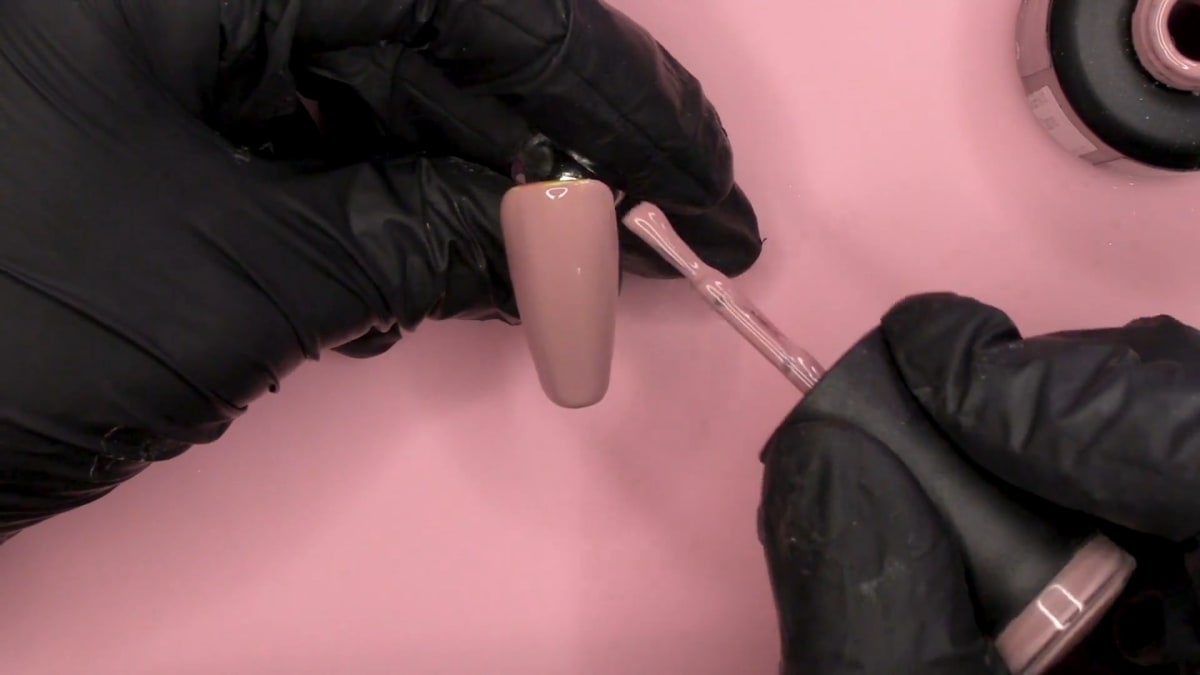
2. Apply the nude
Apply Cashmere in two thin, even coats and cure. Watch this step at 3:20
3. Matte top coat
Apply Ultra Matte Top Coat and cure. Watch this step at 5:00
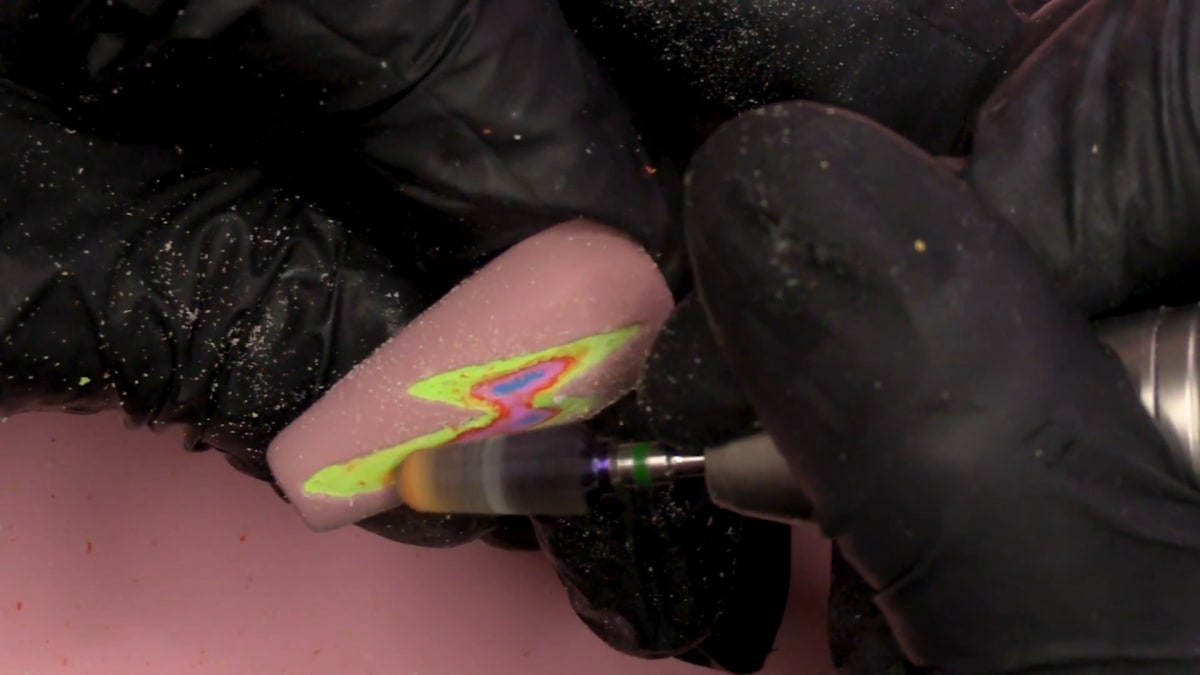
4. Carve the lightning bolt
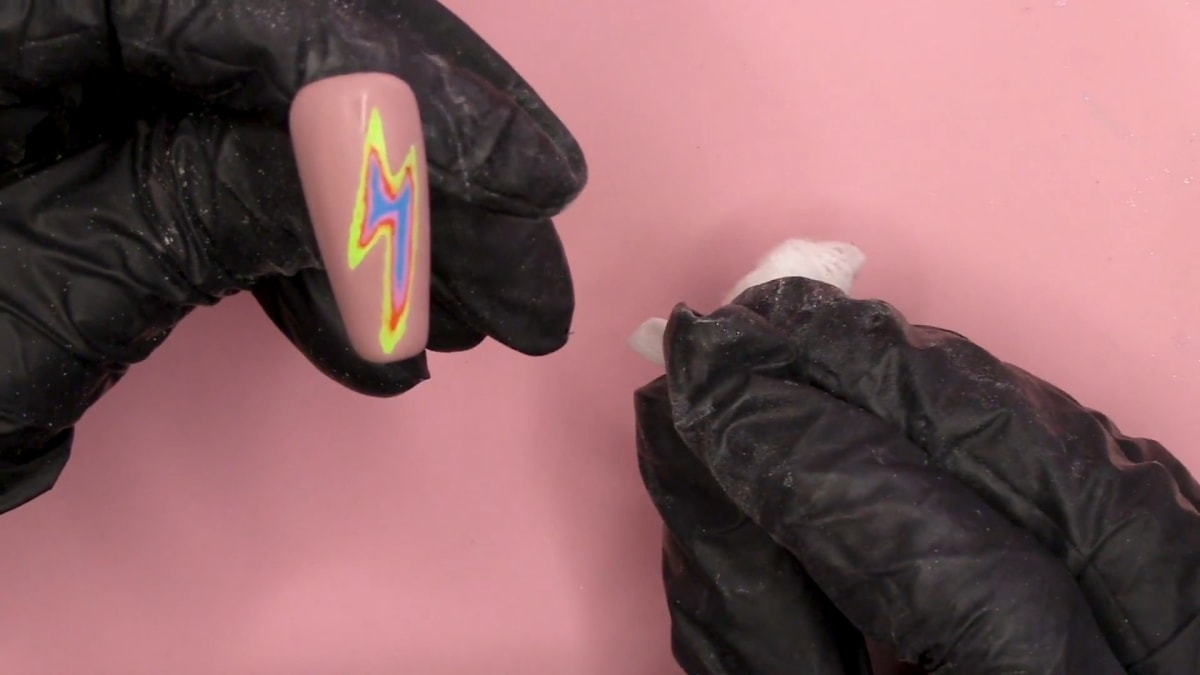
Mark out the lightning bolt roughly first. Using an electric file, use a pointy bit to do the edges, then a rounder bit to take out the colour in the centre. Keep going through each colour until you meet the blue. Watch this step at 8:20
5. Smooth and clean
Use a buffer to soften any edges, then clean with gel residue wipe off solution to remove dust. Watch this step at 9:20
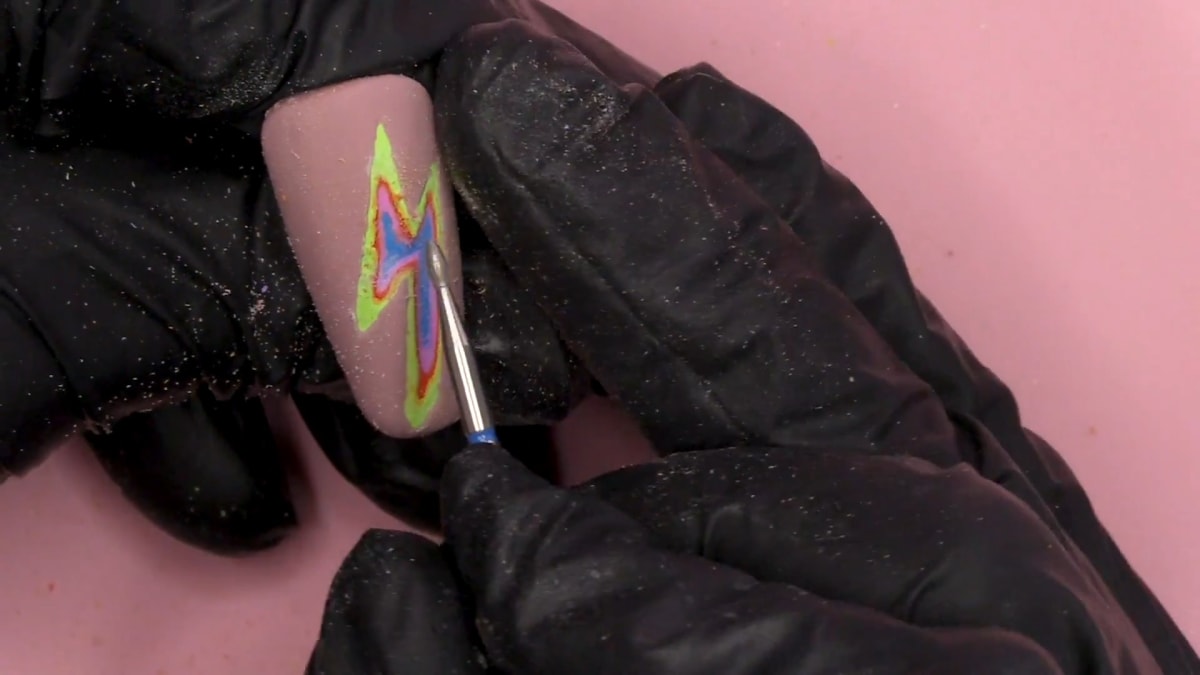
6. Fill the dip
Apply Clear as Day builder gel straight into the dip. It is thicker than top coat, so it fills a deep dip. Smooth the edges with a gel brush, turn the hand upside down so gravity does its job, cure, wipe off the sticky layer and buff. Watch this step at 11:40
7. Finish with a gloss top coat and crystals
Kirsty goes glossy rather than matte and adds crystals. Watch this step at 12:50
Where to find each stage of the Ripped Lightning Bolt Nails video
| Stage | Time |
|---|---|
| Rainbow colour layers | 1:40 |
| Cashmere nude layer | 3:20 |
| Matte top coat | 5:00 |
| Carving the lightning bolt | 8:20 |
| Smoothing and cleaning | 9:20 |
| Filling the dip with builder gel | 11:40 |
| Gloss finish and crystals | 12:50 |
Pro Tips
- Use very pigmented, opaque gel polishes.
- Drag excess colour off the sides to keep the nail slim.
- Choose your nude carefully, as colour choice is key for this design.
- Use a thicker product like builder gel to fill a deep carve.
Who Is This Design For?
This design is for anyone who loves bold colour and bling, and for nail techs comfortable with an electric file. If you enjoy pastel rainbow nail art with a surprise in it, this is a fun one to show clients.
Ways to Make It Your Own
- Choose any colour combination
- Carve different shapes and designs
- Finish matte instead of glossy
Aftercare
Keep your cuticles moisturised with oil daily and avoid using your nails as tools to protect the finish on your ripped lightning bolt nails.
Frequently Asked Questions
How do you make ripped lightning bolt nails?
Layer and cure several gel polish colours, cover with a nude and a matte top coat, carve a lightning bolt through the layers with an electric file, fill the dip with builder gel, then top coat and add crystals.
Do you need an electric file?
An electric file gives a precise design, but a hand file still gives a cool look.
Why use builder gel to fill the carve?
It is thicker, so it fills the dip where a top coat alone might not.
Can you do this with acrylic?
Kirsty says you could, but it would be more difficult.
Which colour goes on first?
The one you want to see last. In the video that is Azure, the blue at the bottom of the carve.
Which bits are used for carving?
A pointy bit for the edges, then a rounder bit to take out the colour in the centre.
How do you stop the nail getting thick?
Keep the main colour down the middle and go thin at the sides with each layer.
Give Ripped Lightning Bolt Nails a Try
Watch the nail art tutorial above, then give it a go and share your results.


