



To make Pikachu nails, you break the character down into simple shapes, paint them in an opaque yellow gel polish, add shading and facial details, outline everything in black and fill in a sparkly blue background last. In this character challenge, Steffi takes on the most famous Pokémon of them all, step by step.
Gotta paint them all! The character was chosen on the day of filming, so Steffi paints him for the very first time on camera, which makes this a reassuring watch if you are new to Pokémon nail art.
Below you'll find the products, each step with its place in the video, Steffi's tips for character work and answers to the questions people ask most.
At a Glance
- Design: Pikachu nails on a glittery blue background
- Artist: Steffi
- Technique: hand-painted gel polish character art with a matte finish
- Skill level: improving painters, one stage at a time
- Key products: Sherbet Lemon, Snow White, Star Fruit, Coral Bay, Saffron, Serious Black, Royal Sparkle, Ultra Matte Coat, Ultra Fine Detail Brush
- Video length: just under 18 minutes
Why You'll Love These Pikachu Nails
- Character art made simple. Pikachu is broken down into a rounded square, rabbit-like ears and a blob for the body.
- A trick for yellow. A drop of white makes yellow gel polish far more opaque.
- A background that makes him pop. Sparkly blue contrasts beautifully with the yellow.
- Nostalgic and fun. A great design for fans of all ages.
How to Break a Character into Shapes
The secret to character nail art is not drawing the character at all, but drawing the shapes it is made from. Steffi paints Pikachu's face as a rounded square, his ears as rabbit ears and his body as a blob, filling each one in as she goes so she can see straight away whether the shape is right.
The details then go on in a set order. The nose comes first because it sits in the centre, so the eyes, mouth and cheeks can all be placed around it. The black outline comes near the end, and the background is left until last so the yellow never has to be built up over a dark colour.
Products Used in This Video


How to Create Pikachu Nails
1. Mix an opaque yellow
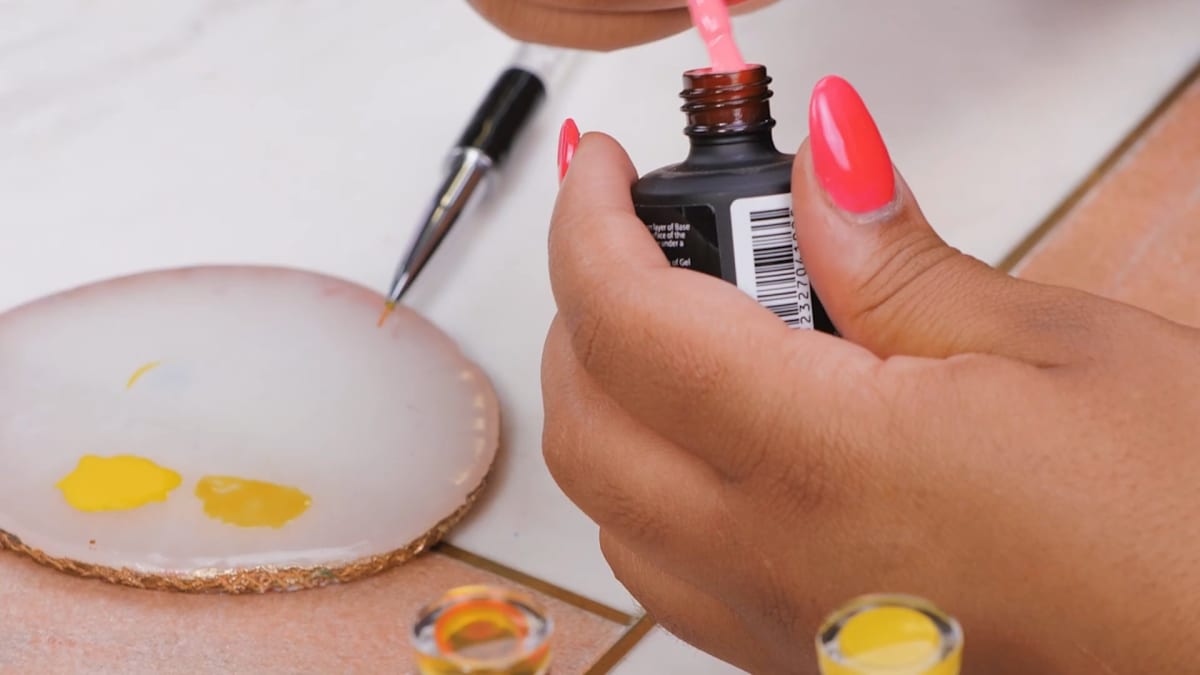
Put quite a bit of Sherbet Lemon on your palette and mix in just a tiny bit of Snow White. It isn't enough to lighten the colour, but it makes the yellow a lot more opaque. Watch this step at 1:00
2. Map out the head and ears
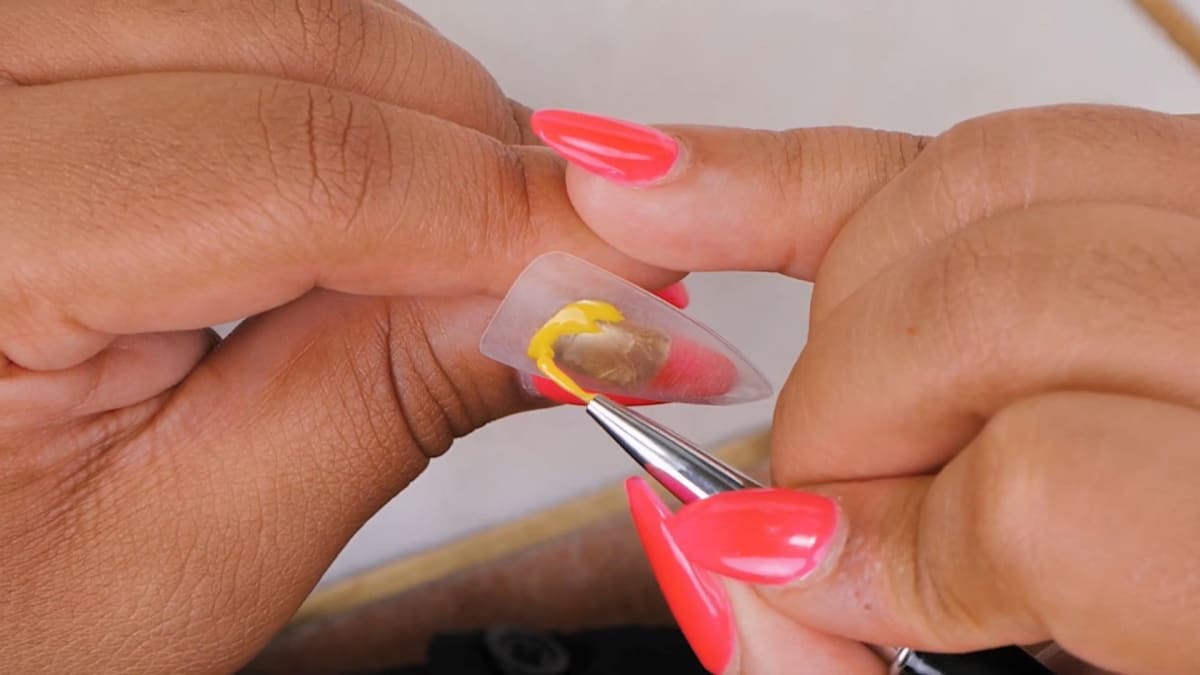
Break the character down into shapes. Paint the face as a rounded square and fill it in as you go, which helps you judge the shape. Add the ears, which look a little like rabbit ears, and fill them in. Watch this step at 2:30
3. Add the body and arm
Paint a blob underneath for the body, dragging the product down, and add his hand. Move the product around until it's nice and even, then cure. Watch this step at 4:10
4. Shade
Using Star Fruit with a little Coral Bay mixed in to darken it, add a triangle of shading where the arm is, a blob on one ear and a little at the bottom. Watch this step at 5:50
5. Paint the nose, eyes and mouth shape
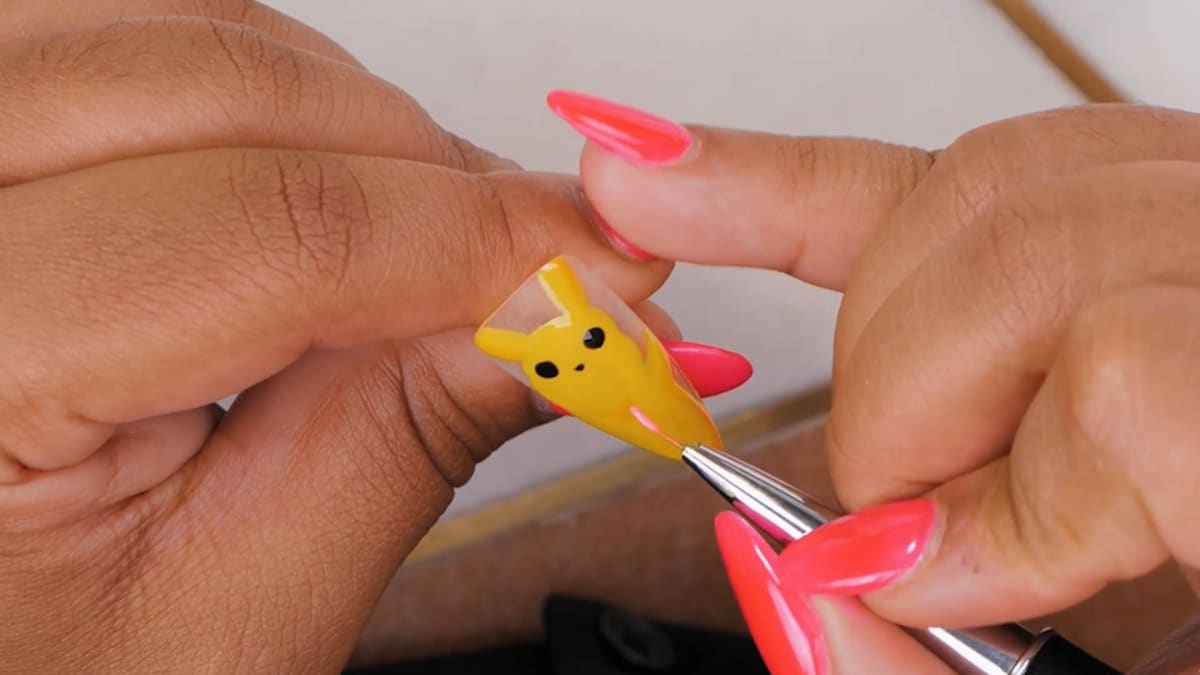
With Serious Black, paint the tiny nose first, as it sits in the centre and you can work out from there. Use a dotting tool for the two eyes so they're more equal. Map out the mouth in Coral Bay as a deep U shape with two curved lines, and fill it in. Cure. Watch this step at 7:30
6. Add depth to the mouth, eye dots and cheeks
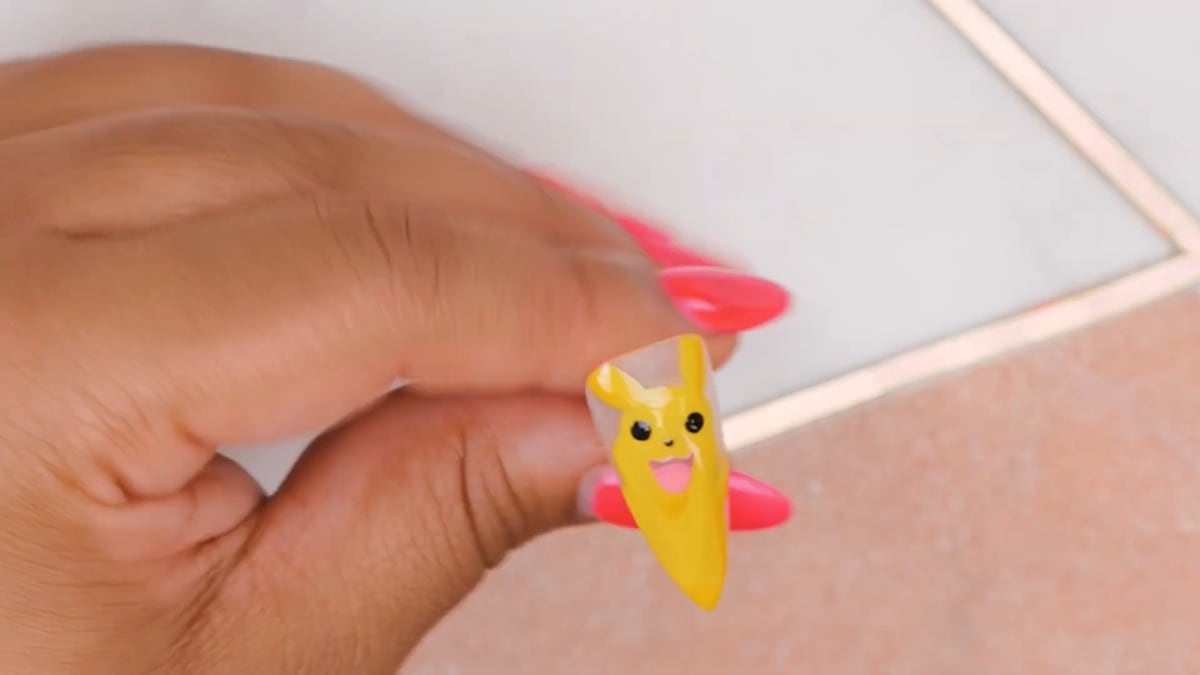
Mix a little black into Coral Bay to make two darker shades. Paint an arch with one and fill the rest of the mouth with the darker one. Add white dots to the eyes with a dotting tool, then paint the red cheeks in Saffron. Cure. Watch this step at 9:10
7. Outline
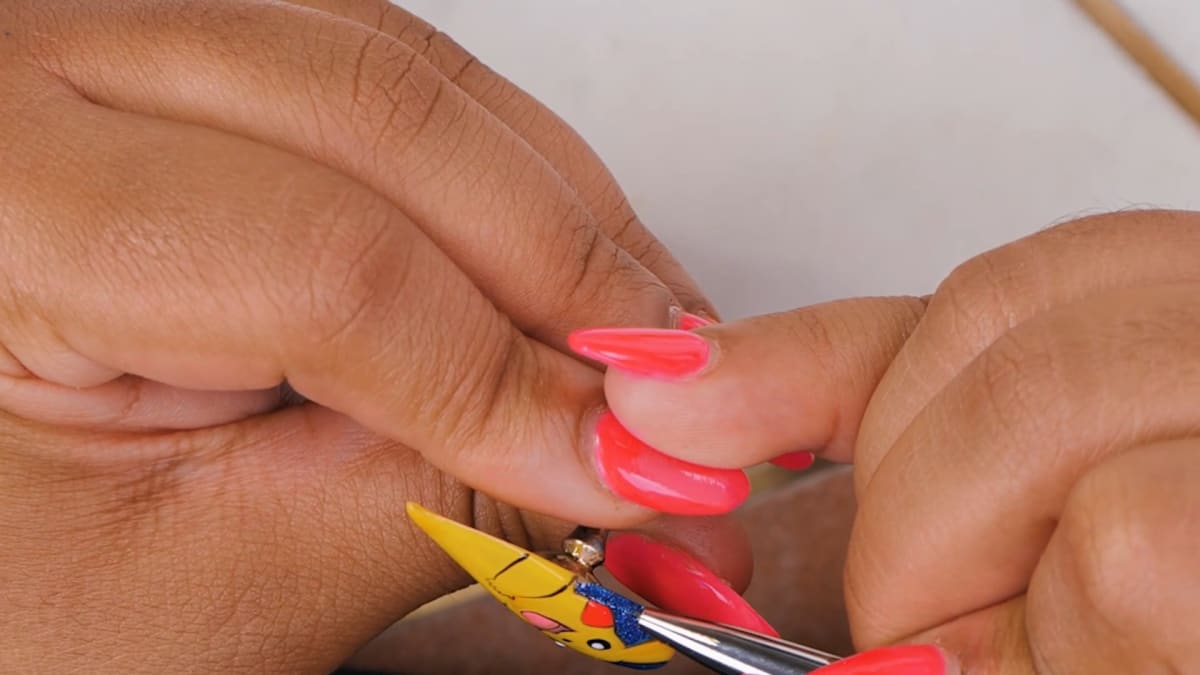
Outline Pikachu in Serious Black: the head, ears, arms with a few little fingers, cheeks and mouth. Add black to the tips of the ears. Cure. A crisp outline is what turns the yellow shapes into finished hand-painted nail art. Watch this step at 10:50
8. Paint the background
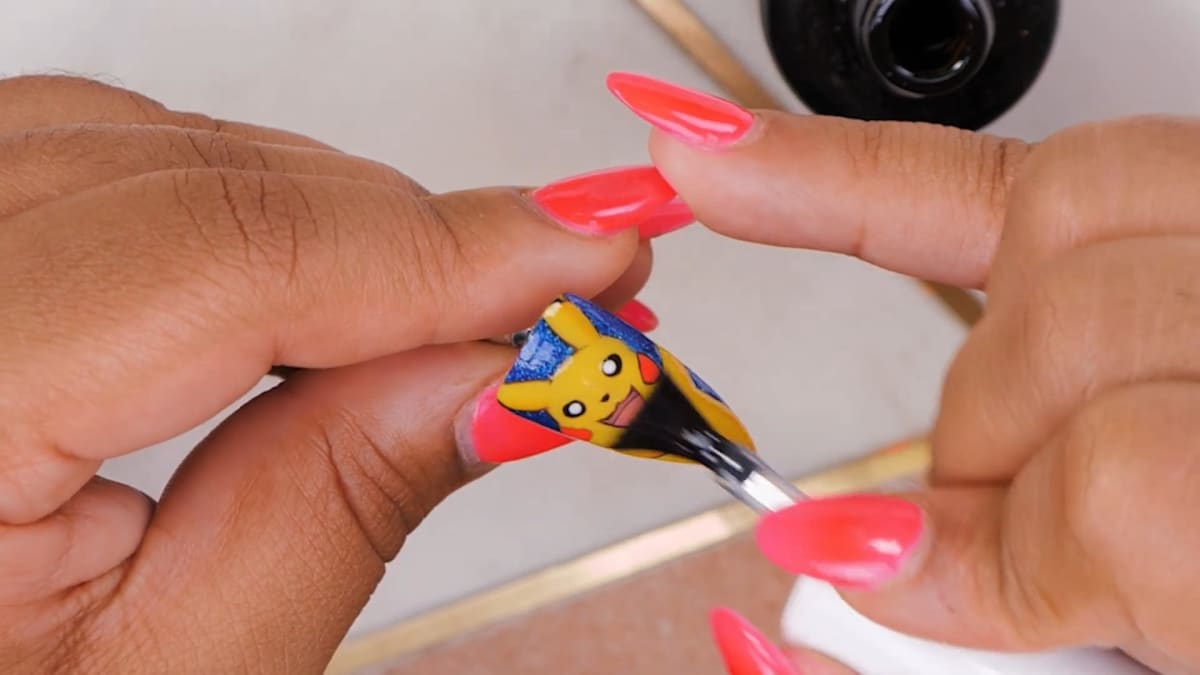
Fill in the background around him with Royal Sparkle and cure. Steffi leaves the background until last so she isn't layering yellow over a dark colour. Watch this step at 14:10
9. Top coat
Apply a glossy Top Coat to seal the art and give a smooth layer, cure, then apply matte top coat over it. Steffi found he looked even better matte. Watch this step at 16:40
Where to find each stage of the Pikachu Nails video
| Stage | Time |
|---|---|
| Mixing an opaque yellow | 1:00 |
| Head and ears | 2:30 |
| Body and arm | 4:10 |
| Shading | 5:50 |
| Nose, eyes and mouth | 7:30 |
| Mouth depth, eye dots and cheeks | 9:10 |
| Black outline | 10:50 |
| Sparkly blue background | 14:10 |
| Top coat and matte finish | 16:40 |
Pro Tips
- Ask what it looks like. Thinking of the ears as rabbit ears, for example, makes shapes easier to paint.
- Fill as you go. Filling in each shape shows you straight away whether it's right.
- Start with the nose. It's central, so everything else can be placed around it.
- Use a dotting tool for eyes. It keeps them the same size.
- Add white to yellow. A tiny amount improves opacity without changing the shade much.
Who Is This Design For?
This design is for Pokémon fans and for nail artists who want to practise character work. The steps are simple enough for improving painters to follow one stage at a time, and the yellow gel polish trick is worth knowing whatever you paint next.
Ways to Make It Your Own
- Choose a different background colour.
- Finish glossy instead of matte.
- Paint him as an accent nail with plain yellow or blue nails alongside.
- Use the same method for your own favourite character.
Aftercare
Apply cuticle oil daily, wear gloves for cleaning and washing up, and avoid using your nails as tools. Wipe matte nails gently if your Pikachu nails pick up any marks.
Frequently Asked Questions
How do you paint Pikachu nails?
Paint a rounded square for the head, rabbit-like ears and a blob for the body in opaque yellow. Add shading, the nose, eyes, mouth and cheeks, outline in black, then fill in the background and top coat.
How do you make yellow gel polish more opaque?
Steffi mixes a tiny bit of Snow White into Sherbet Lemon, which makes it a lot more opaque.
Why paint the background last?
So the yellow doesn't have to be built up in lots of layers over a darker colour.
How do you get both eyes the same size?
Use a dotting tool rather than a brush. Steffi paints the nose first, then dots an eye either side of it.
Which colours are used for the shading on Pikachu nails?
Star Fruit with a little Coral Bay mixed in to darken it, placed where the arm is, on one ear and at the bottom.
Matte or glossy?
Steffi seals the design with a glossy Top Coat first, then adds matte top coat on top.
Give Pikachu Nails a Try
Cute, bright and full of nostalgia, this is a brilliant character to practise on. Watch Steffi's full nail art tutorial above and take on the Pikachu nails challenge yourself.


