



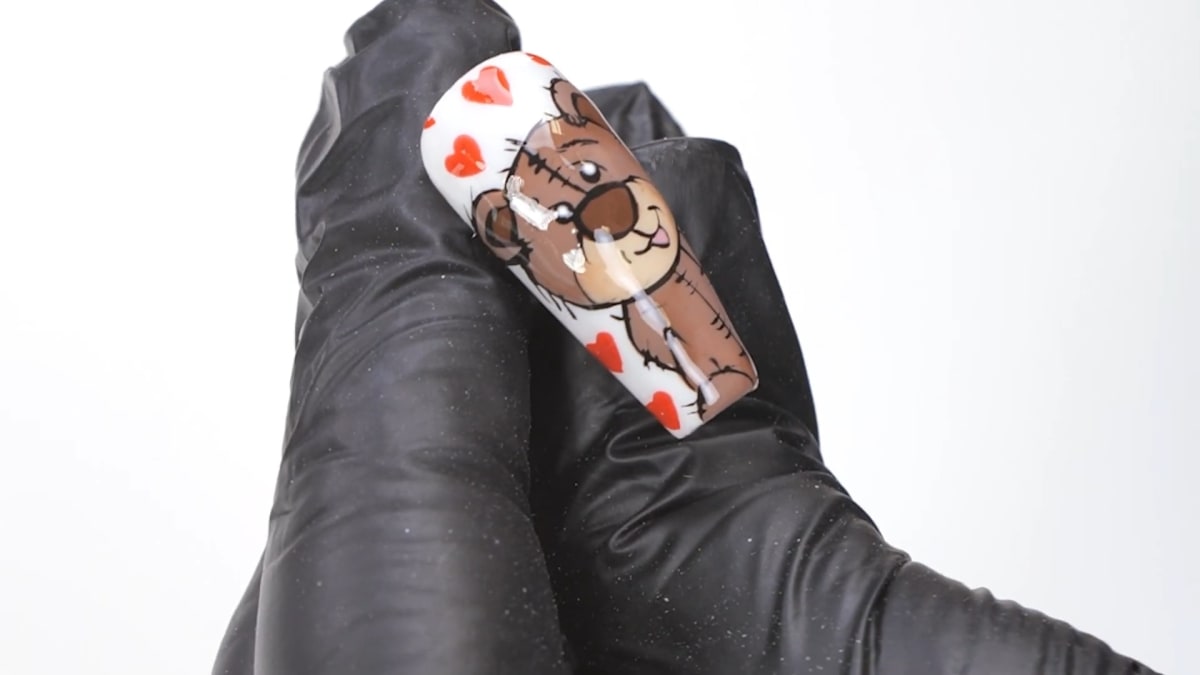
To make teddy bear nails, you paint a round head, two ears and a pear-shaped body in chocolate brown gel polish, add a cream muzzle, darker ears and nose, then finish with soft shading, black eyes, an outline and sewn details. In this tutorial Steffi hand paints the cutest teddy for National Teddy Bear Day.
The bear is built from simple shapes in a few browns, black and white, with red hearts in the background.
It is an easy cute teddy bear nail art design because nothing has to be perfect first time. Below you'll find the products, each step with its place in the video, and Steffi's tips.
At a Glance
- Design: teddy bear nails with red hearts in the background
- Artist: Steffi
- Occasion: National Teddy Bear Day
- Technique: hand-painted gel polish with a fine detail brush and dotting tool
- Key products: Chocolate Shake, Butterscotch, Friar's Robes, Ballet Shoes, Serious Black, Snow White, Ultra Fine Detail Brush - 0003, Dotting Tool, Urban Graffiti Top Coat
- Video length: about 17 and a half minutes
Why You'll Love These Teddy Bear Nails
- A really cute character design with simple shapes
- Easy shapes you can fix as you go
- Translucent shading adds depth
- Red hearts in the background finish it off
How the Bear Gets Its Colour and Depth
The bear uses three tones of brown. Chocolate Shake is the main colour for the head, ears and body. The cream muzzle is mixed rather than taken straight from a bottle: a little Chocolate Shake goes into Butterscotch (or Eggnog) to give a cream with a hint of brown, like an iced coffee. Friar's Robes, the darkest brown, is used inside the ears and for the nose.
The shading is the clever part. Steffi mixes a very small amount of Friar's Robes with top coat so it is super translucent, then uses that to add shadows. This translucent shading technique gives depth without hard lines.
Products Used in This Video


How to Create Teddy Bear Nails
1. Paint the head and body
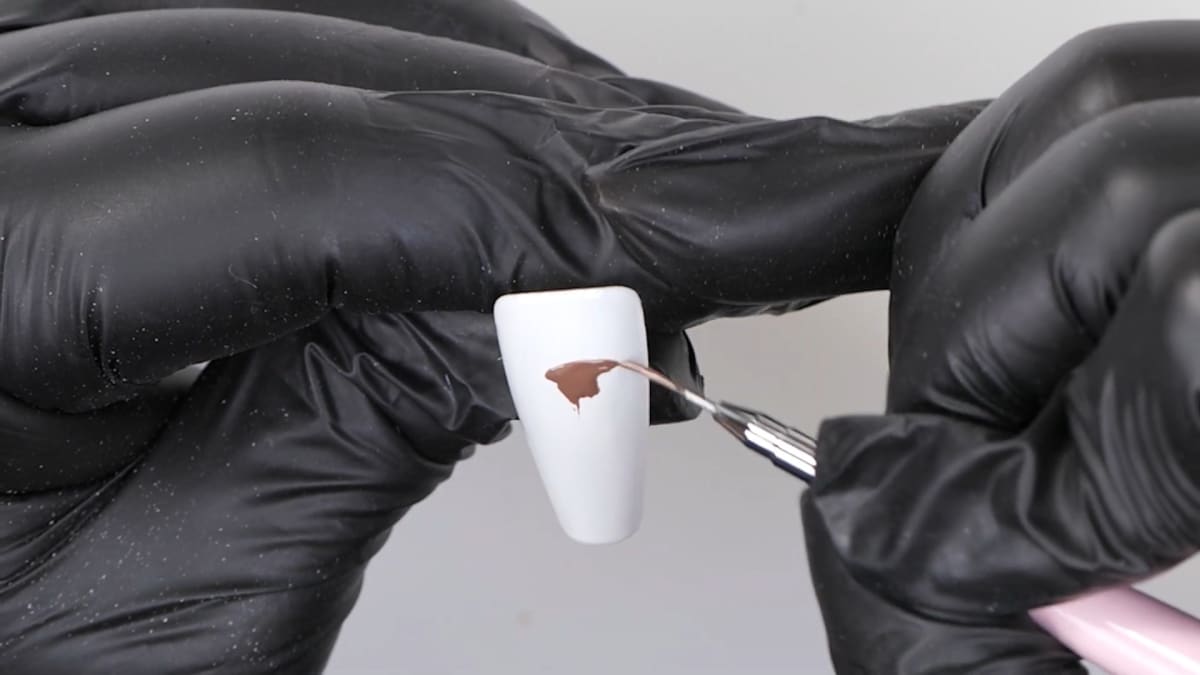
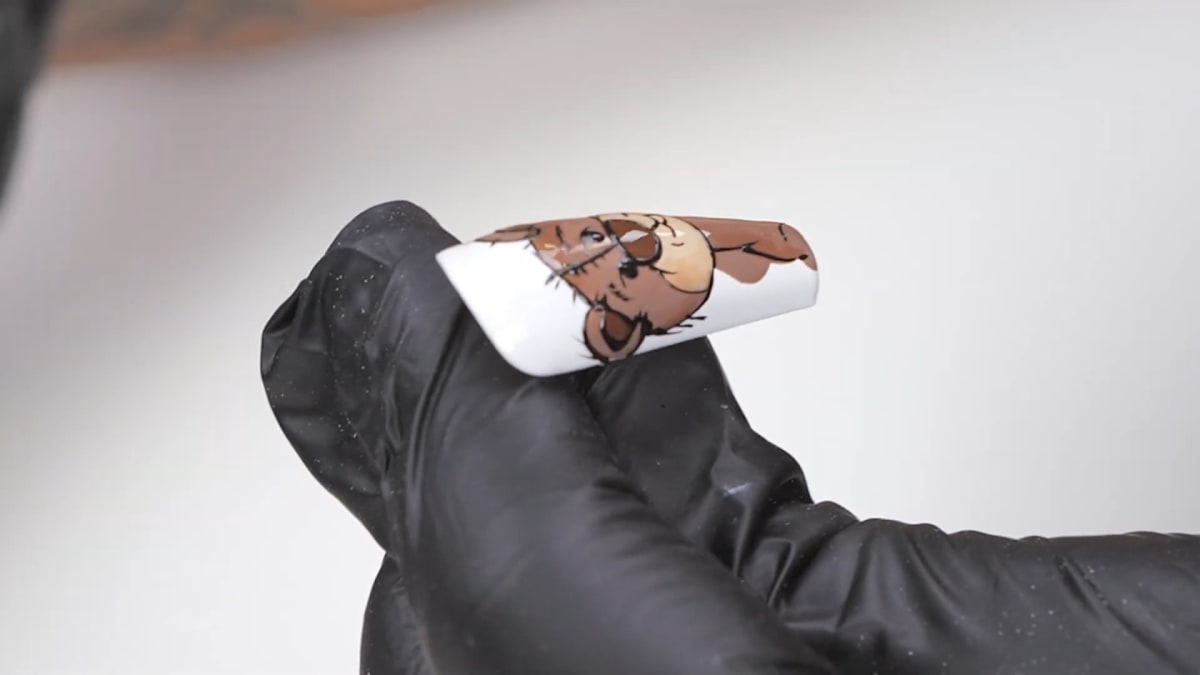
Use Chocolate Shake to map out a big round head with two wide semi-circle ears, then pull the colour down to paint a pear-shaped body, a curved arm line and one leg. Do not worry too much about the shape, you can fix it as you go. Cure. Watch this step at 1:40
2. Mix the muzzle colour
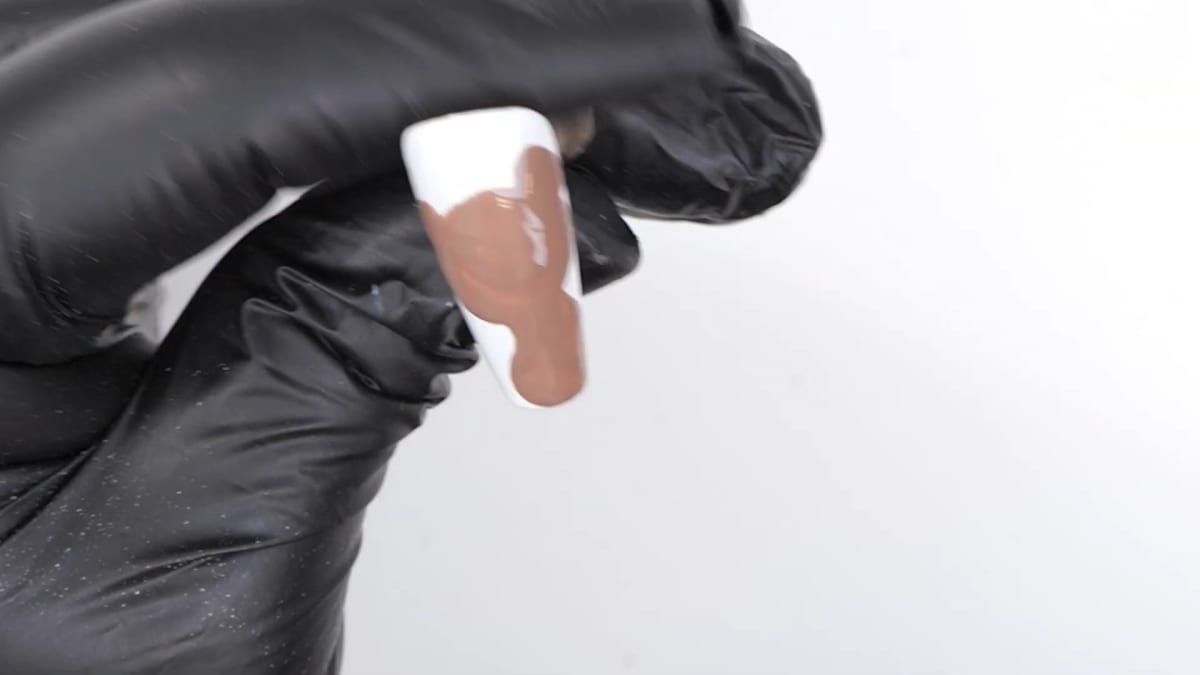
Mix a little Chocolate Shake into Butterscotch (or Eggnog) to get a cream colour with a hint of brown, like an iced coffee. Paint the bottom of the head and a cloud-like blob for the mouth and nose area, then cure for 30 seconds. Watch this step at 3:40
3. Add the ears and nose
Use Friar's Robes, the darkest brown, to paint the inside of the ears and a triangle nose, then cure. Watch this step at 8:40
4. Add shadows
Mix a very small amount of Friar's Robes with top coat so it is super translucent and use it to add shadows to the bear. Watch this step at 8:40
5. Paint the eyes and details
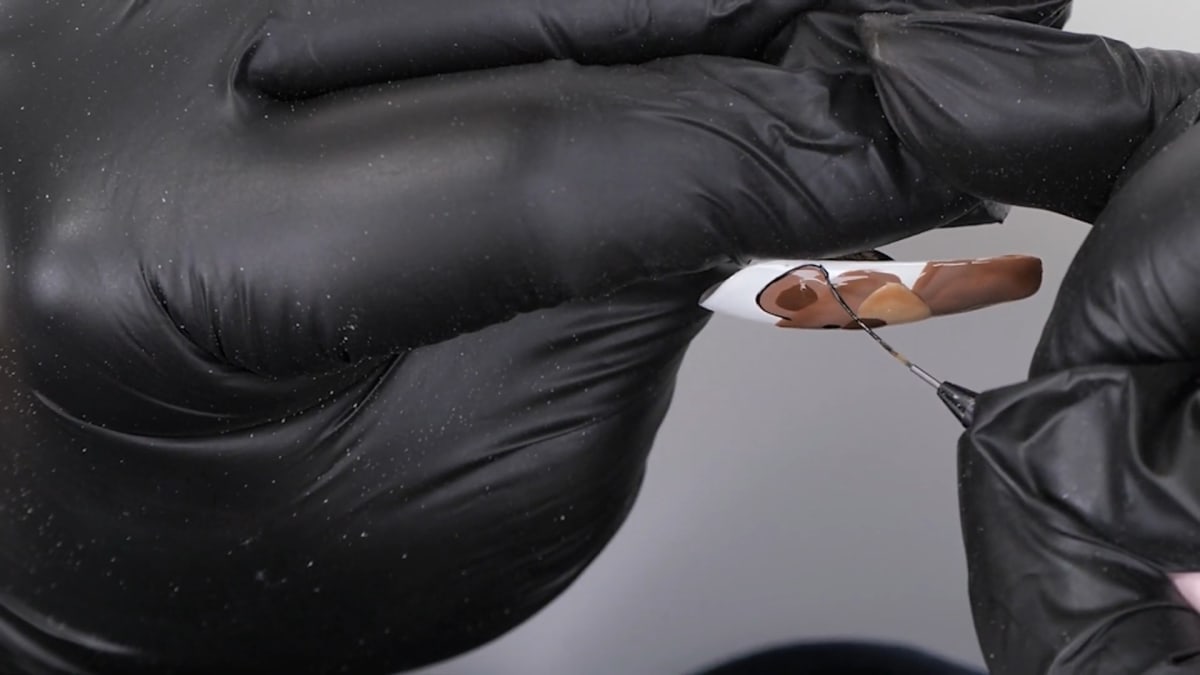
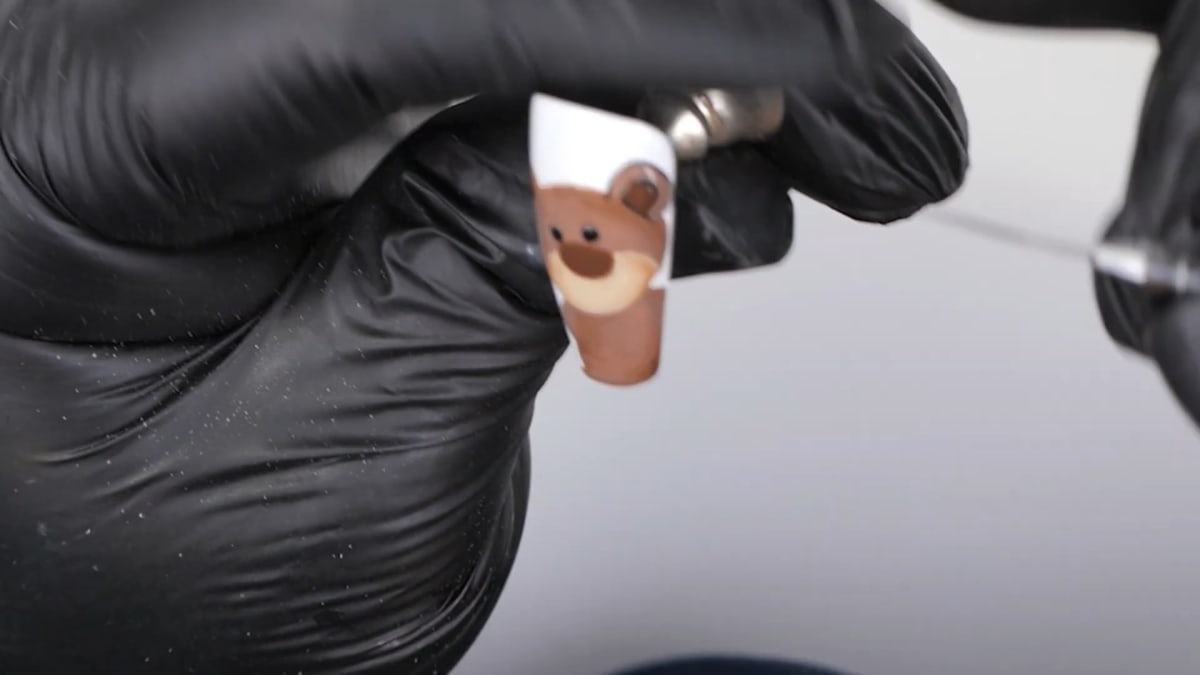
Use a dotting tool and Serious Black for the eyes, then a fine detail brush for the outline, hair and sewn details. Watch this step at 11:20
6. Final touches
Add Ballet Shoes to the tongue, white to the eyes and red hearts in the background, then top coat. Watch this step at 12:30
Where to find each stage of the Teddy Bear Nails video
| Stage | Time |
|---|---|
| Head, ears and body | 1:40 |
| Mixing and painting the muzzle | 3:40 |
| Ears, nose and shadows | 8:40 |
| Eyes, outline and sewn details | 11:20 |
| Tongue, eye highlights, hearts and top coat | 12:30 |
Pro Tips
- Do not worry about a perfect shape at the start, you can fix it as you go.
- Pull the colour in to keep it opaque and even.
- Mix a tiny amount of brown into top coat for soft translucent shadows.
Who Is This Design For?
This design is for anyone who loves cute character nails, or wants to celebrate National Teddy Bear Day or Valentine's. The forgiving shapes make it a friendly first character to paint.
Ways to Make It Your Own
- Use other brown shades for the bear
- Change the colour of the hearts
- Add the bear to every nail
Aftercare
Keep your cuticles moisturised with oil daily and avoid using your nails as tools to protect the finish on your teddy bear nails.
Frequently Asked Questions
How do you paint teddy bear nails?
Paint the head, ears and body in Chocolate Shake, add a cream muzzle, use a darker brown for the ears and nose, shade with brown mixed into top coat, then add the eyes, outline, sewn details and hearts before top coat.
How do you make the cream muzzle colour?
Mix Butterscotch with a small amount of Chocolate Shake.
How do you shade the bear?
Mix a very small amount of the dark brown with top coat for a translucent shadow.
Is it hard to paint the bear?
Steffi uses simple shapes that you can fix as you go.
What do you use for the eyes?
A dotting tool and Serious Black, with a little white added at the end.
Which browns are used for teddy bear nails?
Chocolate Shake for the body, Butterscotch or Eggnog mixed with Chocolate Shake for the muzzle, and Friar's Robes for the ears, nose and shading.
How long do you cure the muzzle?
Steffi cures it for 30 seconds.
Give Teddy Bear Nails a Try
Watch the nail art tutorial above, then paint your own teddy for National Teddy Bear Day.


