



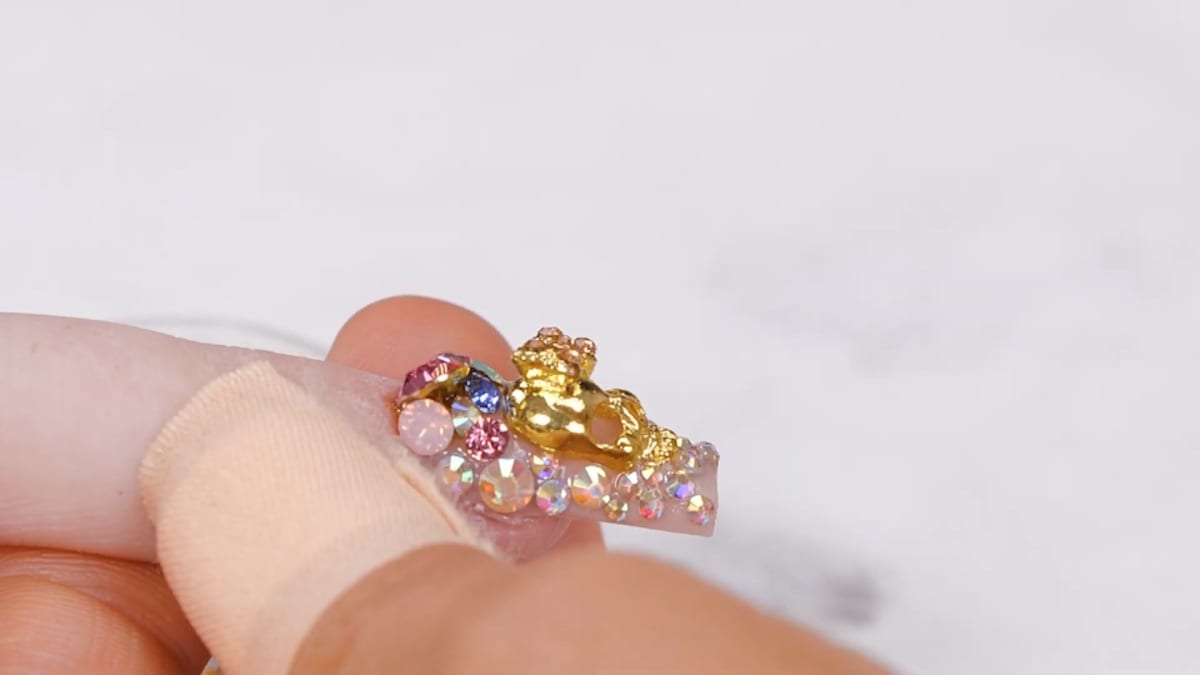
To make full bling diamond nails, you spread clear AcryGel over a finished nail, press the largest crystals into it first, fill the gaps with smaller gems and flatback diamonds until the nail is covered, then cure everything in the lamp. In this tutorial Sarah covers a sculpted ballerina nail in colourful gems, flatback AB diamonds and a gold skull charm.
If you love bling, this one is for you. Sarah uses the design to show off the new crystal collections, and the result is a true statement nail.
This crystal nail art looks dramatic but is much easier than it appears, with clear AcryGel acting as the glue that holds every crystal in place. Below you'll find the products, each step with its place in the video, and Sarah's tips.
At a Glance
- Design: full bling diamond nails with a gold skull charm
- Artist: Sarah
- Technique: crystals and charms set in clear AcryGel
- Nail shape: sculpted ballerina
- Skill level: nail techs building confidence with crystals
- Key products: Loud and Clear - Clear AcryGel, Wax Picker Upper Pen, Ornate Gold & Multi-colour Crystal charms, Mixed Crystal Set, Gold Skull charms, Gel Brush - Oval #6
- Video length: about 11 and a half minutes
Why You'll Love These Full Bling Diamond Nails
- A true statement nail that is covered in crystals
- Easier to create than it looks
- AcryGel lets you move the crystals around until you cure
- Mixes colourful gems, flatback AB diamonds and a gold charm
Why AcryGel Works as Crystal Glue
AcryGel is a thick gel that holds its shape and only hardens when it is cured in the lamp. That makes it ideal for crystal encrusted nails: it is thick enough to grip a stone from the sides as well as underneath, and it stays workable for as long as you need.
Sarah uses it as the glue for every stone on these full bling diamond nails. The large colourful crystals are not flatbacked, so she makes sure there is a good amount of AcryGel around each one and packs smaller stones in around them as a barrier. Nothing is fixed until the nail goes in the lamp, so stones can be moved until she is happy.
Products Used in This Video


How to Create Full Bling Diamond Nails
1. Start with a sculpted nail
Sarah works on an already sculpted ballerina nail with a blue base colour. Watch this step at 0:20
2. Add the AcryGel
Place a small amount of clear AcryGel onto the nail. This is the glue for all of the crystals. Use a gel brush and a little gel residue remover to smooth out the edges. Watch this step at 1:00
3. Place the large crystals first
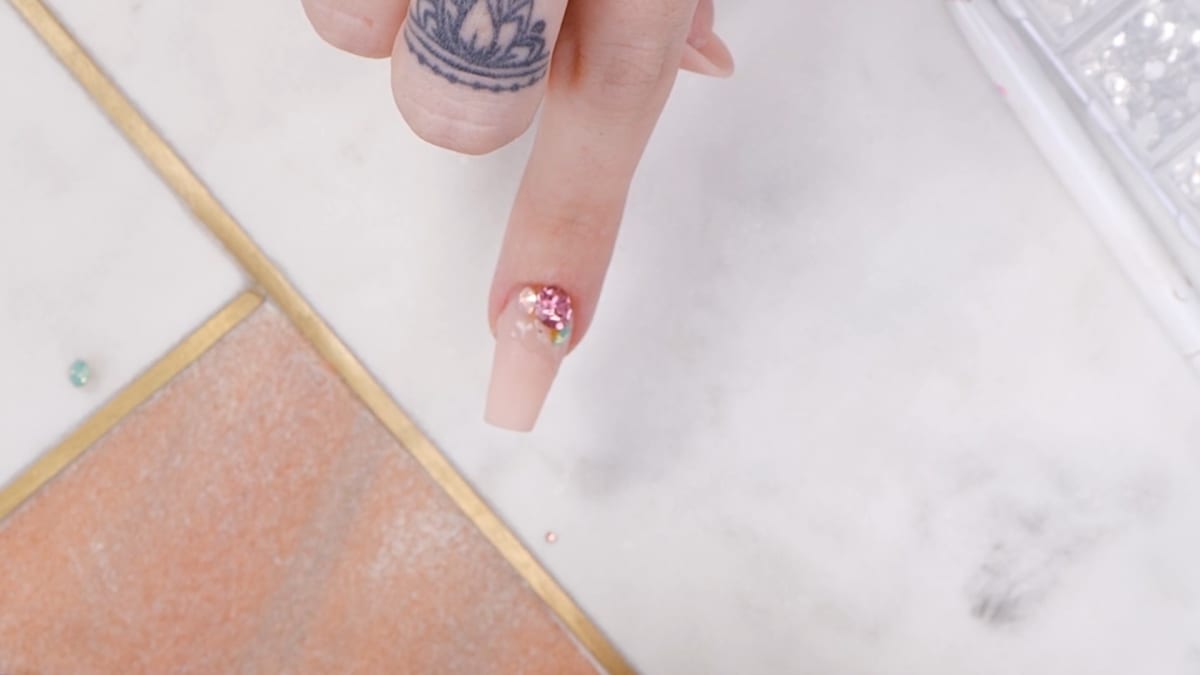
Start with the largest colourful crystals. These are not flatbacked, so make sure there is a good amount of AcryGel around each one, and use smaller stones around them as a barrier so they cannot be knocked off. Watch this step at 2:30
4. Fill in with colour and diamonds
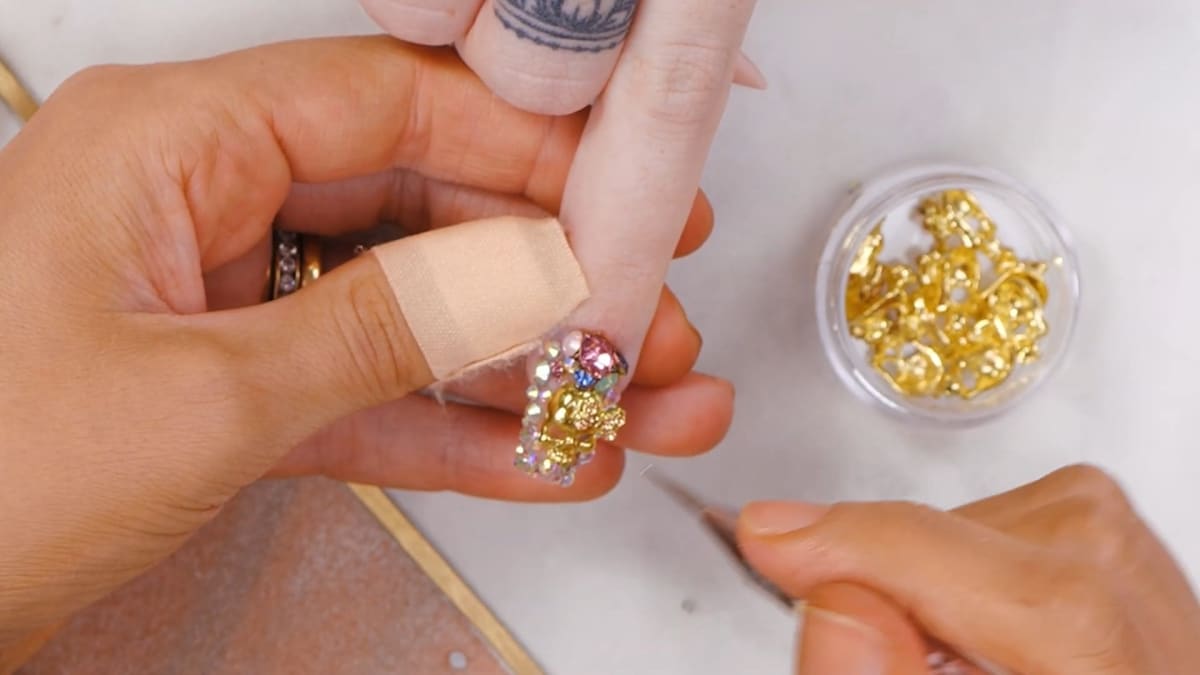
Go back and forth between the colourful gems and the flatback crystals, the AB diamonds, adding more AcryGel as you need it, until the nail is covered. Watch this step at 6:40
5. Add the skull charm
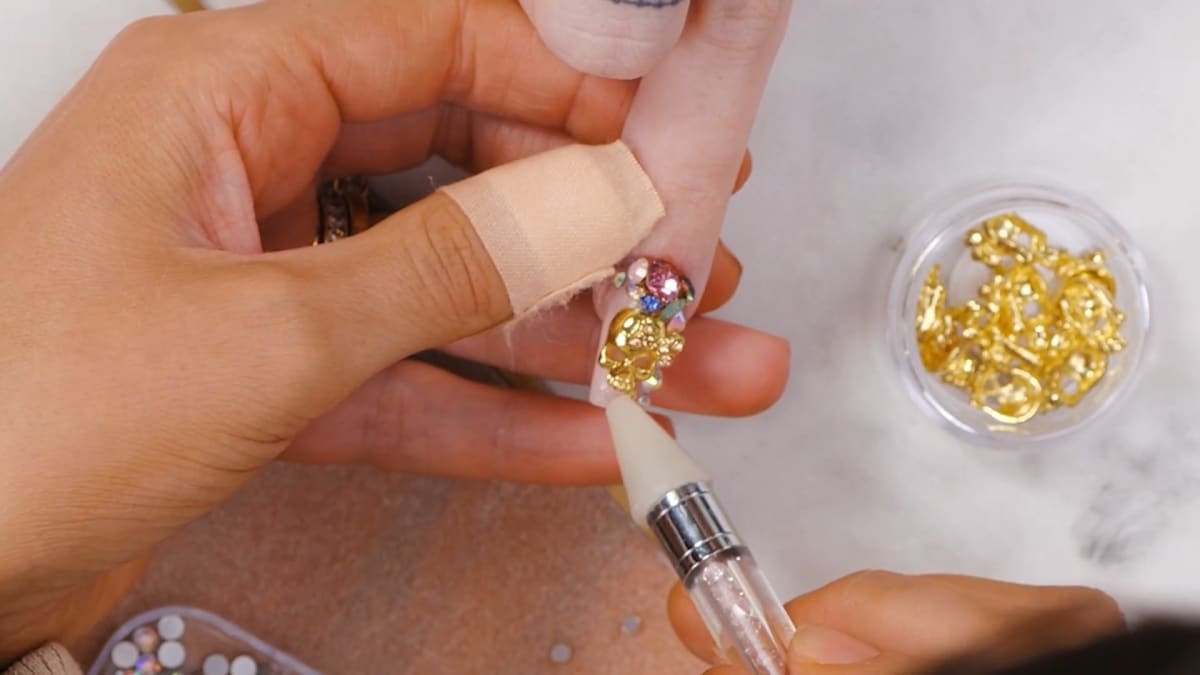
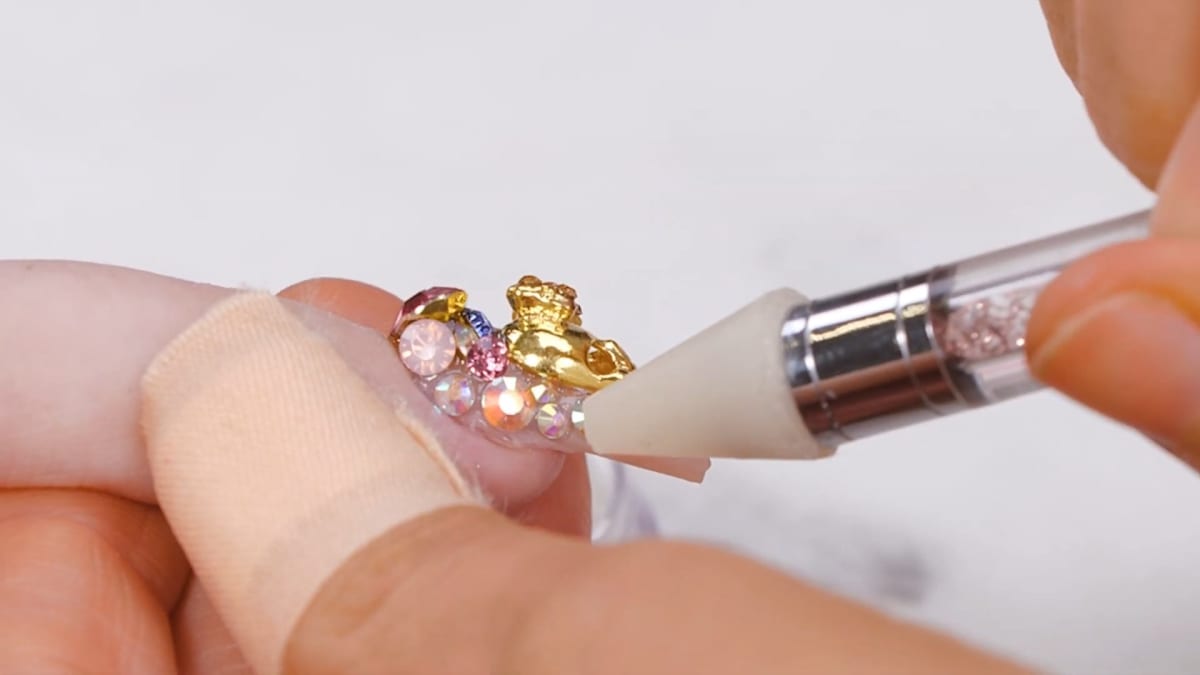
Nestle the gold skull charm in the middle of the crystals. Watch this step at 5:00
6. Cure and finish
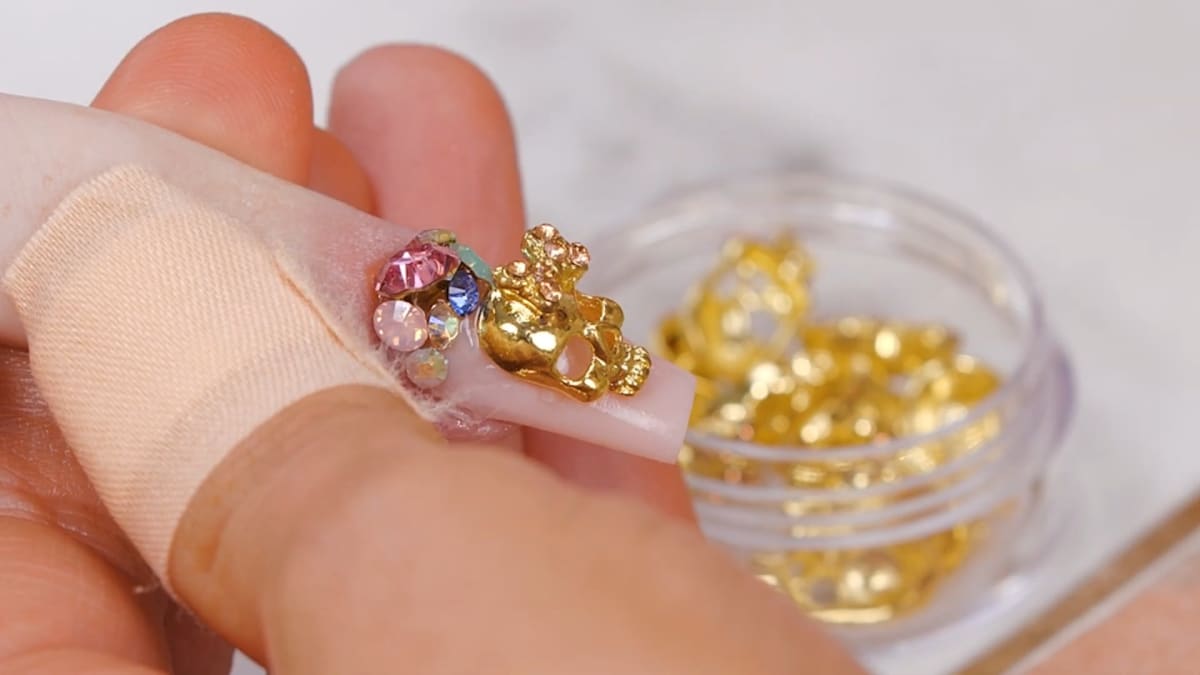
Cure the nail under the lamp so everything is fully stuck, then add cuticle oil. Watch this step at 10:00
Where to find each stage of the Full Bling Diamond Nails video
| Stage | Time |
|---|---|
| The sculpted ballerina nail | 0:20 |
| Applying the clear AcryGel | 1:00 |
| Large colourful crystals | 2:30 |
| Gold skull charm | 5:00 |
| Filling in with gems and AB diamonds | 6:40 |
| Curing and cuticle oil | 10:00 |
Pro Tips
- Give non-flatback crystals plenty of AcryGel around them.
- Use smaller stones as a barrier around large ones.
- AcryGel will not cure until it is in the lamp, so you have time to move stones around.
Who Is This Design For?
This design is for clients who love bling and want a real statement nail. It is a good project for nail techs building confidence with crystals.
Ways to Make It Your Own
- Choose a different mix of crystal colours
- Use a different charm in the centre
- Cover one accent nail or the full set
Aftercare
Moisturise the cuticles with oil daily and be careful with the crystals when washing or using your hands, to help your full bling diamond nails stay intact.
Frequently Asked Questions
How do you make full bling diamond nails?
Spread clear AcryGel over a finished nail, place the largest crystals first, fill in with smaller gems and flatback diamonds until the nail is covered, then cure in the lamp.
What holds the crystals on?
Clear AcryGel, which stays workable until it is cured in the lamp.
Can I use crystals that are not flatbacked?
Yes, but use plenty of AcryGel around them and surround them with smaller stones.
How do you pick up and place small crystals?
Sarah uses a wax picker pen to pick up each crystal and press it into the AcryGel.
Can I move a crystal after placing it?
Yes. AcryGel will not cure until it is in the lamp, so there is time to move stones around first.
What nail shape is used for full bling diamond nails?
An already sculpted ballerina nail.
Give Full Bling Diamond Nails a Try
Watch the nail art tutorial above to see each crystal go on, then try full bling diamond nails of your own.


