



To make Korean ice aurora nails, you rub a blue chrome pigment into a top-coated clear nail, stick a strip of iridescent angel paper on top with builder gel, encapsulate it until the surface is smooth, then file and top coat to bring the shine back. In this nail art tutorial Steffi shows the trend from start to finish.
The look is all about shine. Steffi layers the products to give the nail real depth, then encapsulates the angel paper in builder gel so it looks like part of the nail. It works best on clear nails.
Below you'll find the products, each step with its place in the video, and Steffi's tips for a bubble-free finish.
At a Glance
- Design: Korean ice aurora nails
- Artist: Steffi
- Technique: chrome pigment, angel paper, builder gel encapsulation
- Skill level: anyone comfortable working with builder gel
- Key products: Clear Builder Gel, Sapphire Chrome Pigment Powder, Angel Paper Set, Base Coat, Urban Graffiti Top Coat, Silicone Tool
- Video length: about 11 minutes
Why You'll Love These Korean Ice Aurora Nails
- A holographic, icy look that catches the light
- Two layers of shine from the chrome and the angel paper
- Works with different angel paper and chrome colours
- Looks best on clear nails
What Angel Paper Does
Angel paper is a thin iridescent film that is cut into pieces and sealed inside the nail. On its own it shifts colour as it catches the light; laid over a chrome-tinted clear nail, it gives the layered, icy depth that the aurora nail trend is known for.
In this video Steffi uses a pre-cut strip from the Angel Paper Set. She sticks it down with a tiny amount of builder gel, fills in around its edges, then floats more builder gel over the top so the paper is fully encapsulated. Filing leaves the nail matte, and a final top coat brings out the shine of both the paper and the chrome.
Products Used in This Video


How to Create Korean Ice Aurora Nails
1. Apply base coat
Apply a layer of base coat to the buffed nail and cure for 30 seconds. Watch this step at 0:20
2. Add top coat and chrome
Apply top coat and cure, so the pigment has a shiny surface to work into. Pick up Sapphire chrome with a silicone tool and rub it all over the nail, generously, until you have a satin finish and a bluish aurora tint. Watch this step at 1:40
3. Stick on the angel paper
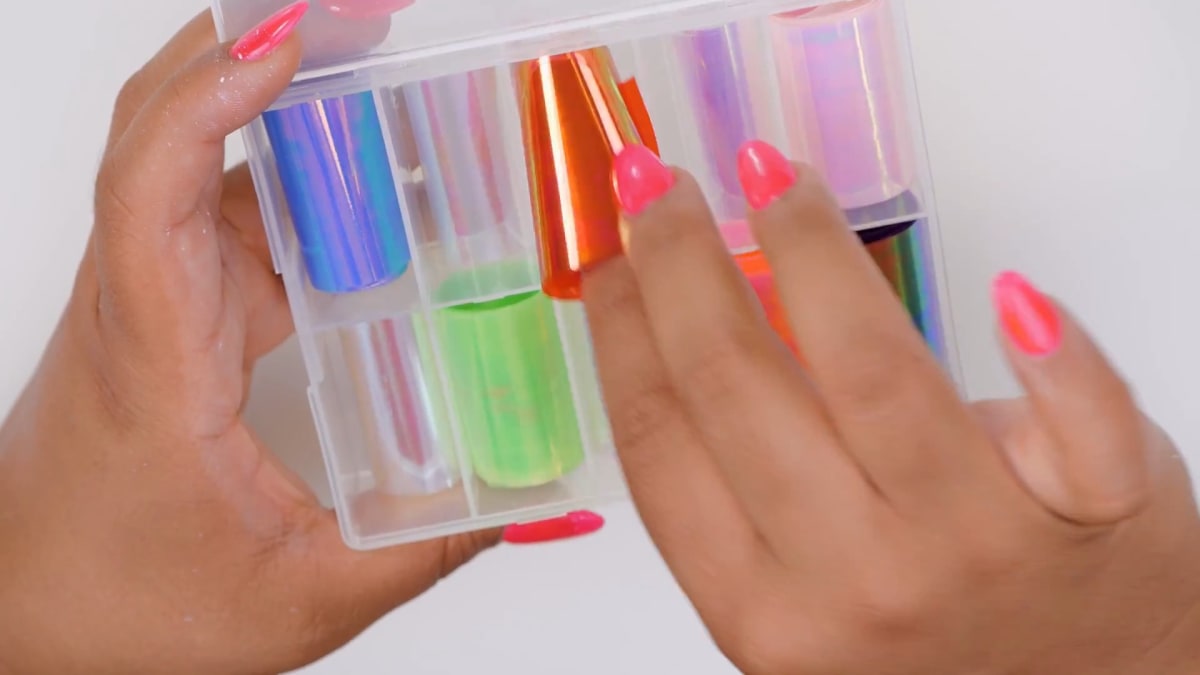
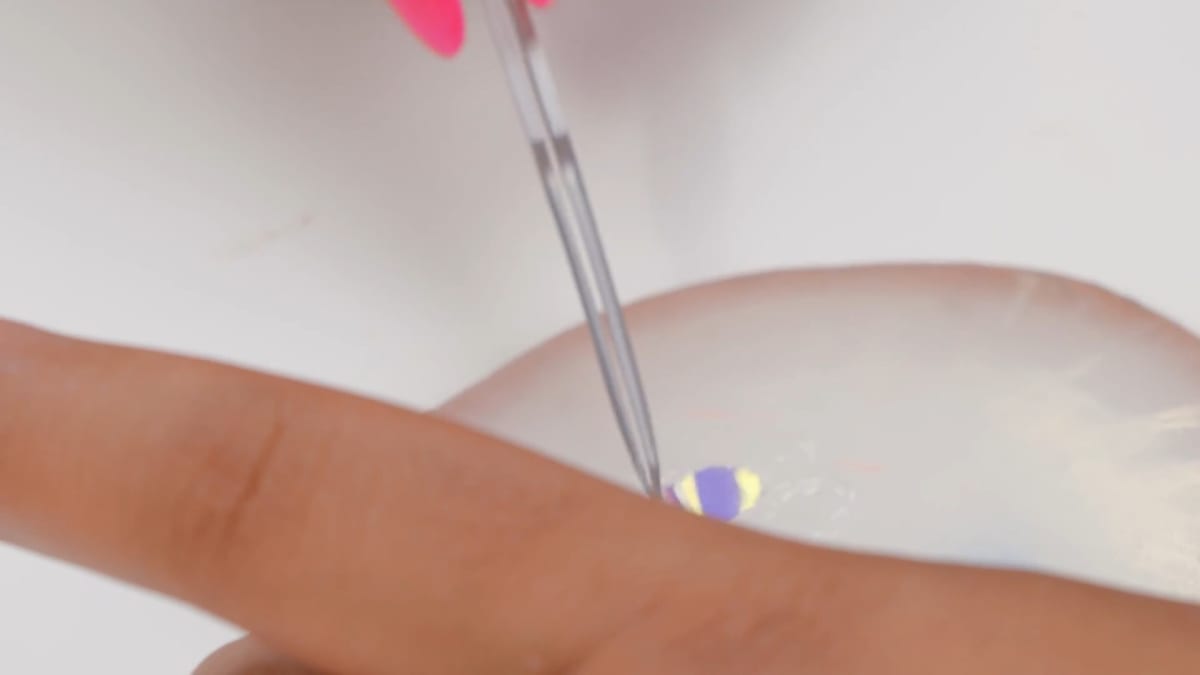
Put a tiny amount of builder gel flat on your palette. Dip one side of a pre-cut strip of angel paper into it with tweezers, place it on the nail and press it down. Cure for 30 seconds. Watch this step at 3:00
4. Fill in the edges
Add a little clear gel around the edges of the paper so it is easier to encapsulate, and cure again. Watch this step at 5:00
5. Encapsulate
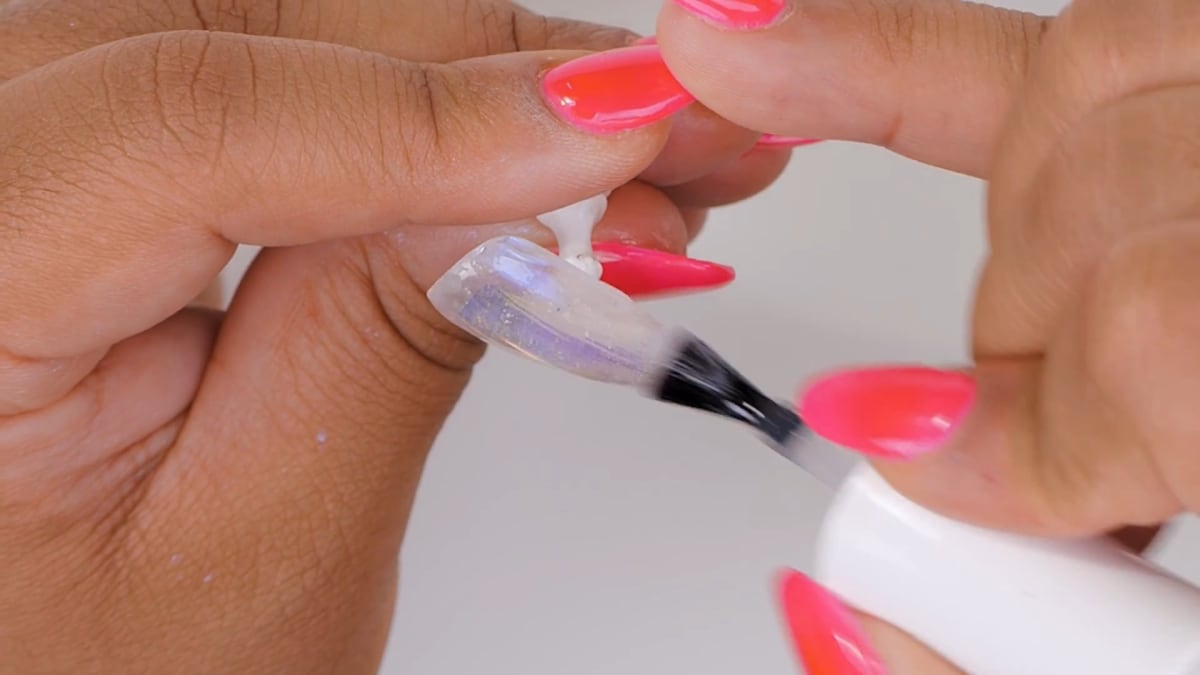
Pick up a bead of builder gel and float it around the nail from side to side, keeping the brush in contact to avoid bubbles. A detail brush can pull product to any areas that need it. Cure once you are happy with the shape. This is what turns the paper into true encapsulated nail art. Watch this step at 7:30
6. File and finish
Wipe off the tacky layer with gel residue remover, then file and buff the nail into shape. It will look matte at this stage. Apply top coat and cure to bring out the shine of the angel paper and chrome. Watch this step at 10:00
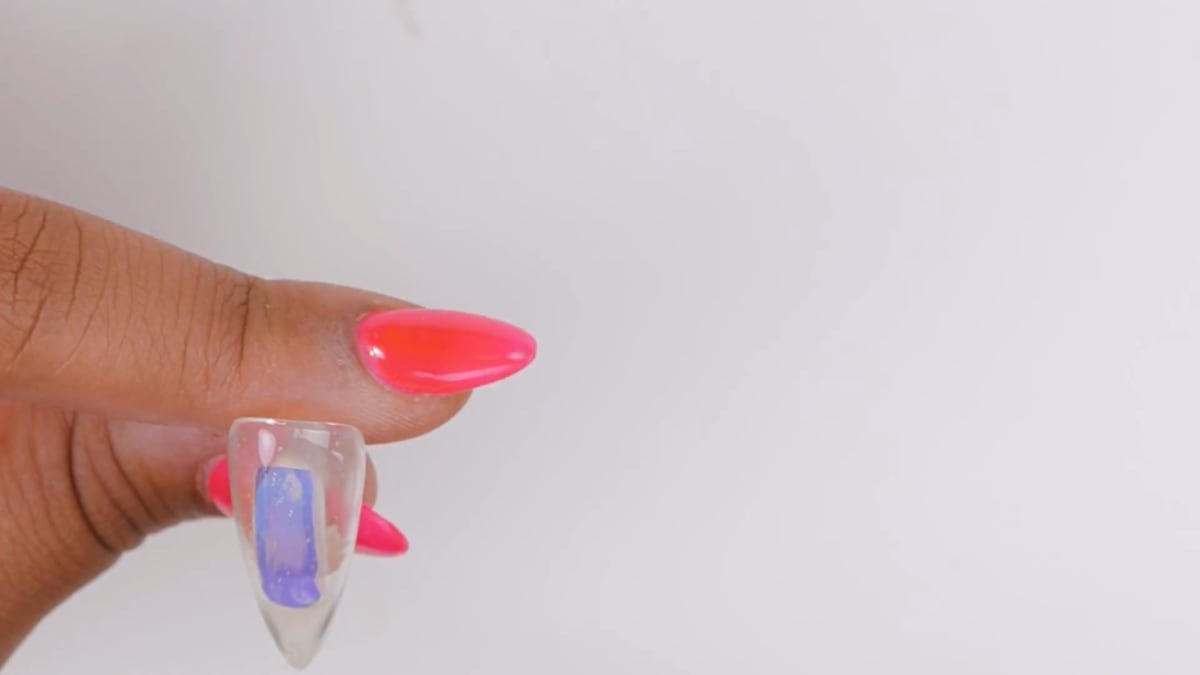
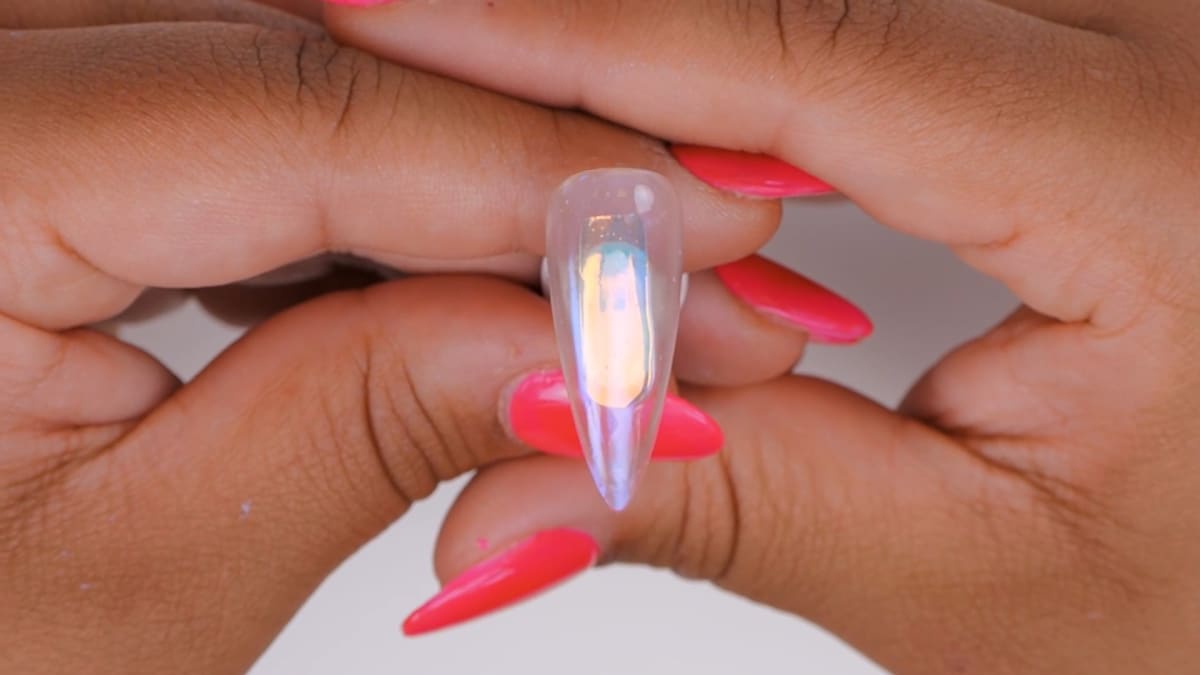
Where to find each stage of the Korean Ice Aurora Nails video
| Stage | Time |
|---|---|
| Base coat | 0:20 |
| Top coat and Sapphire chrome | 1:40 |
| Choosing and sticking the angel paper | 3:00 |
| Filling in the edges | 5:00 |
| Encapsulating in builder gel | 7:30 |
| Filing, top coat and the finished nail | 10:00 |
Pro Tips
- Use only a tiny amount of builder gel when sticking the paper down.
- Rub the chrome in generously for a full satin finish.
- Keep the brush touching the gel as you float it to avoid bubbles.
Who Is This Design For?
This design is for anyone who loves holographic nails and shiny trends and is comfortable working with builder gel. It looks especially good on clear nails.
Ways to Make It Your Own
- Use a different angel paper colour and a matching chrome
- Try it on a coloured nail instead of clear
- Cut the paper into different shapes
Aftercare
Keep your cuticles moisturised with oil daily and avoid using your nails as tools to protect the finish on your Korean ice aurora nails.
Frequently Asked Questions
How do you make Korean ice aurora nails?
Rub chrome pigment into a top-coated clear nail, stick a strip of angel paper on with builder gel, encapsulate it in more builder gel, then file and top coat.
Why apply top coat before the chrome?
Steffi wants the pigment to be really worked in, which needs a shiny surface.
How do you stick angel paper to a nail?
Dip one side of the strip into a tiny amount of builder gel with tweezers, press it onto the nail and cure for 30 seconds.
How do you avoid bubbles when encapsulating?
Float the builder gel from side to side and keep the brush in contact with the gel the whole time.
Why does the nail look matte after filing?
Filing removes the shine from the builder gel. Top coat brings the shine back.
Can I make Korean ice aurora nails in other colours?
Yes. Steffi says you can use different angel paper colours with a matching chrome.
Give Korean Ice Aurora Nails a Try
Watch the nail art tutorial above to follow every step, then try Korean ice aurora nails on your own set.


